
Introduction
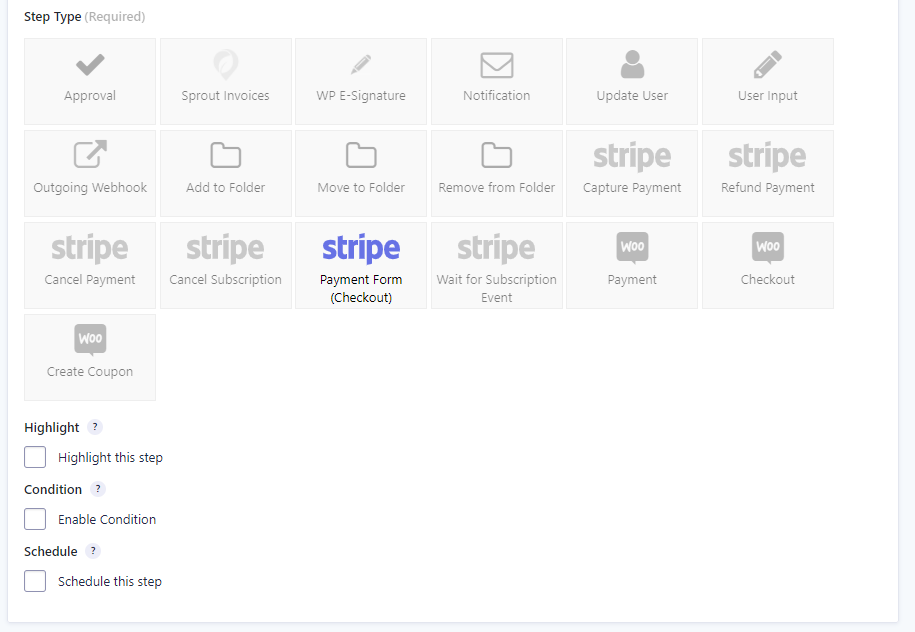
The Gravity Flow Stripe Extension allows administrators to add a single checkout step at any point in the workflow. For example, a subscription could be started or a payment requested after approval.
Note: The Stripe Extension only supports processing one Gravity Forms Stripe Add-On feed per workflow. It’s not currently possible to add more than one Payment Form (Checkout) step to a workflow.
Prerequisites
Before adding a Payment Form (Checkout) step to your workflow:
- Configure the Gravity Forms Stripe Add-On with your Stripe account credentials
- Set the payment collection method to Stripe Payment Form (Stripe Checkout, SCA-ready)
- Add a Stripe feed to your form using the Stripe feed configuration guide
How This Step Works
The Payment Form (Checkout) step redirects the assignee to a Stripe-hosted checkout page where they complete payment. After the customer submits payment (or cancels), Stripe redirects them back to the workflow detail page with a status update.
Note: The Stripe feed is automatically selected from your form configuration. You do not need to select a feed in the step settings. The step uses the Stripe feed already configured on your form.
Step Settings
Assign To
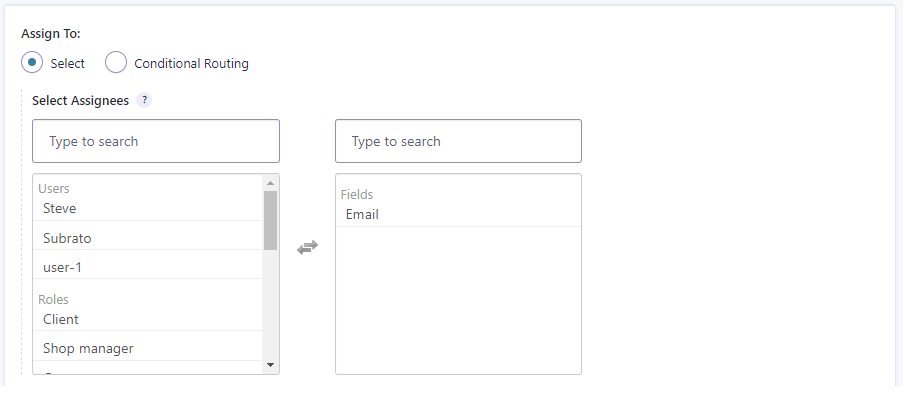
Just like the User Input and Approval steps, you can assign the Payment Form (Checkout) step to a registered user, a role, or an email address field provided by the customer on form submission or previous step with editable fields.
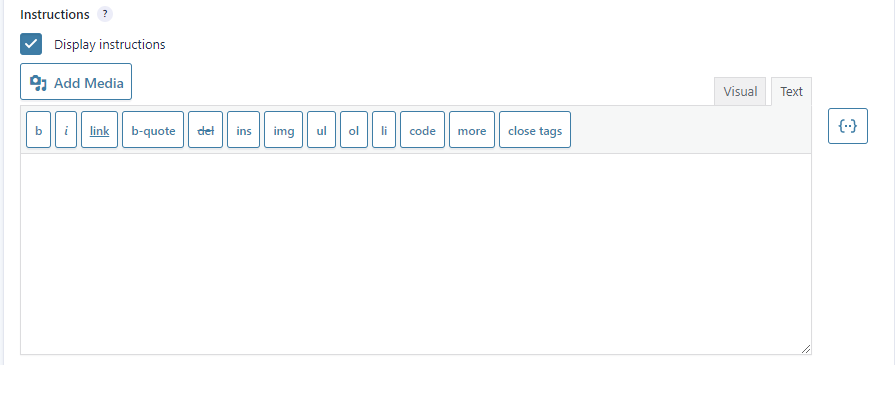
Instructions
Configure a message to display on the workflow detail page when the assignee accesses the entry. Use this to provide context about what payment is being requested and why.
Display Fields
Select which form fields the assignee should see on the workflow detail page before being redirected to checkout. This helps provide context for the payment request.

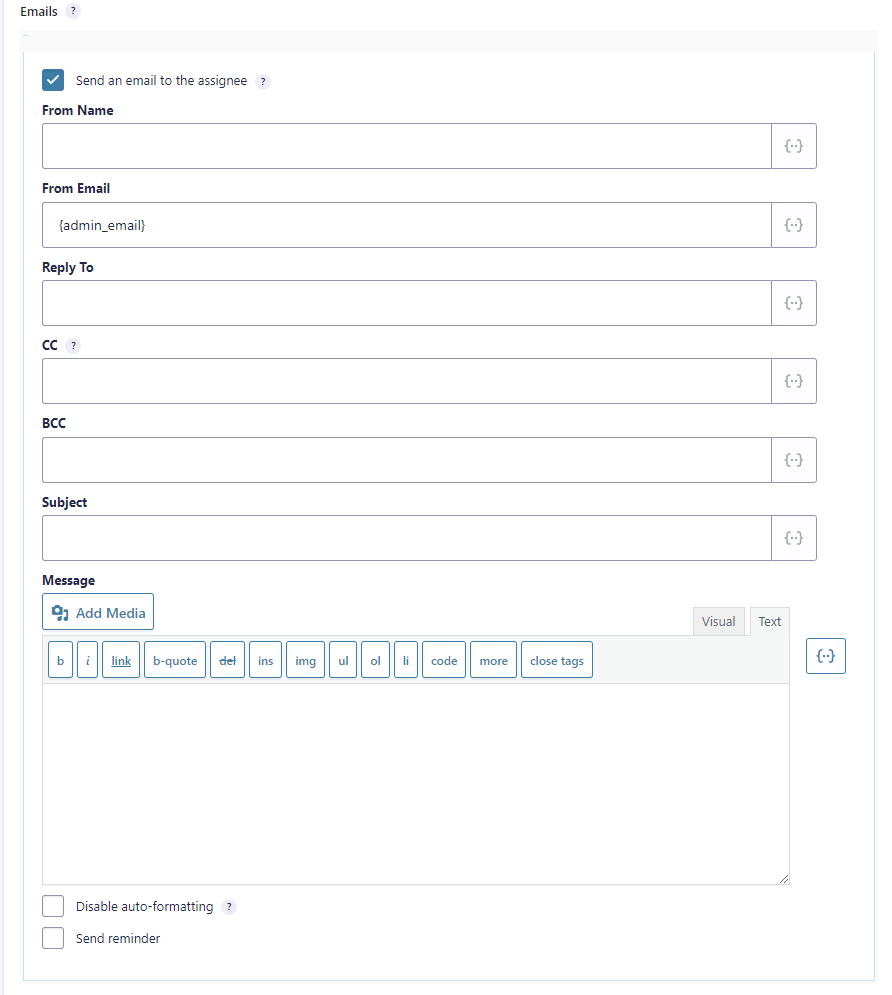
Emails
Configure an email to send to the assignee notifying them that payment is required. You can use the {workflow_entry_link} merge tag to link them directly to the workflow detail page for the entry they are assigned to.
Button Label
Enter the text you would like to appear on the button, which will redirect the assignee from the workflow detail page to the Stripe-hosted checkout page. Merge tags are supporte,d so you can use a field merge tag to include a price in the label (for example, “Pay {Product Price:5}”).

Confirmation Message
This message displays when Stripe redirects the customer from the hosted checkout page back to the workflow detail page after payment submission.
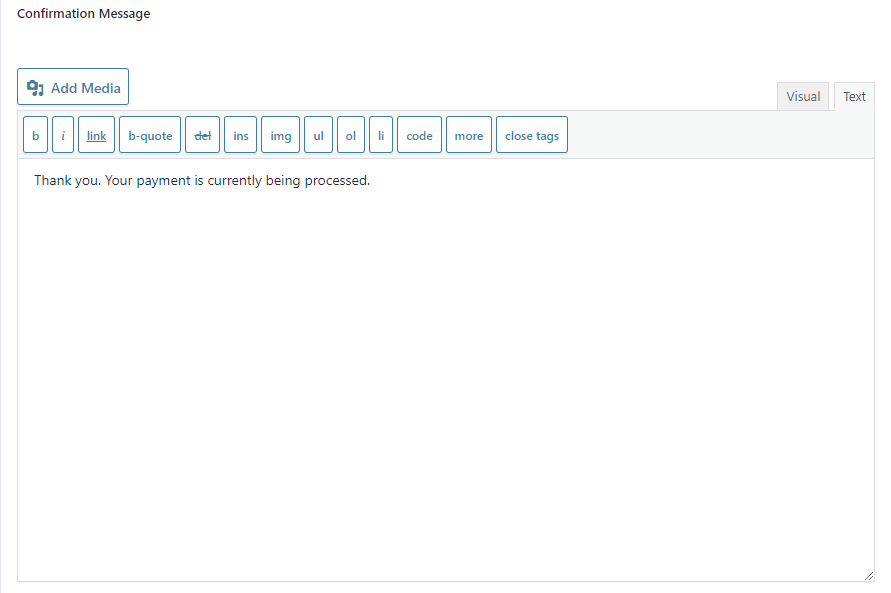
At this stage, the payment may still be processing. Do not assume payment has been successful based solely on this confirmation message. The workflow will advance automatically once the payment is confirmed via webhook.
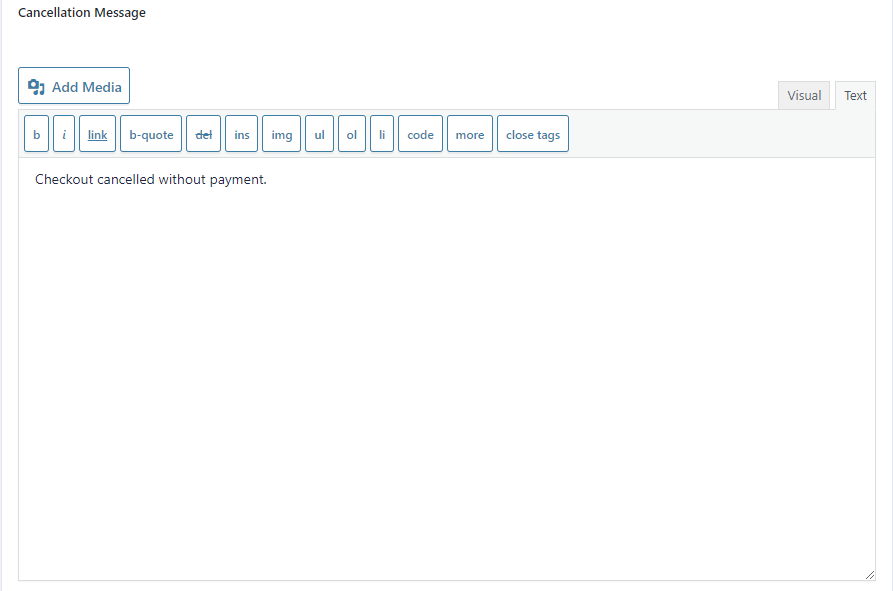
Cancellation Message
This message displays when the customer cancels payment by clicking your logo on the checkout page and returns to your site without completing payment.
Payment Processing Flow
When a customer completes payment:
- Customer clicks the payment button on the workflow detail page.
- Stripe redirects to the hosted checkout page.
- Customer completes payment, and Stripe processes the transaction.
- Stripe sends a webhook to your site confirming payment status.
- Workflow automatically advances to the next step upon successful payment confirmation.
Note: If payment fails during checkout, the workflow does not advance, and the assignee can retry payment. The workflow only advances after receiving a successful payment confirmation via webhook.
Verifying Payment Status in Stripe
To locate a transaction ID in your Stripe Dashboard, navigate to Payments, then click the specific payment to view its details. The transaction ID appears at the top of the payment details page. Refer to the Stripe official documentation for more information.
The transaction ID displayed in the Gravity Forms entry will match the payment ID in your Stripe Dashboard (format: pi_xxxxxxxxxxxx for payments, sub_xxxxxxxxxxxx for subscriptions.

Stripe Extension Limitations
The Gravity Flow Stripe Extension has the following limitations that apply across all step types and field types.
Same-Site Validation Requirement
All Stripe transaction IDs, subscription IDs, and payment operations must originate from Gravity Forms on the same WordPress site. The following will not validate or process:
- Transactions from staging/production environments (different WordPress installations)
- Stripe purchases made through retail devices, mobile apps, or other systems
- Transactions from external Gravity Forms installations
- Subscriptions or payments created in different Stripe accounts
Single Payment Step Per Workflow
Only one Stripe feed and one Stripe payment step are supported per workflow. You cannot add multiple Payment Form (Checkout) steps or Capture Payment steps to the same workflow.
If your workflow requires multiple payments, consider these alternatives:
- Use separate forms and workflows – Create multiple forms, each with its own Stripe feed and workflow. Use Form Connector to pass data between workflows when needed
- Combine payments upfront – Calculate the total payment amount and collect it in a single transaction at the appropriate workflow step
- Use other payment add-ons – For workflows requiring multiple payment processors or payment types, combine Stripe with other Gravity Forms payment add-ons (each with its own feeds)
For more information on handling multiple payment feeds, see the Form Submission Step documentation.
Feed Configuration Requirement
All Stripe steps require a properly configured Stripe feed on the form before the step can function. The Stripe feed is automatically selected from your form configuration and cannot be manually selected in the step settings. See the Stripe feed configuration guide for setup instructions.