
Introduction
This guide walks you through creating your first workflow in Gravity Flow. You will build a simple vacation request process where an employee submits a request, a manager approves or rejects it, and—if approved—HR adds notes such as remaining vacation days.
All workflow actions take place inside WordPress, using email notifications and front-end Workflow pages. This guide focuses on essential features to help you get started quickly.
Before configuring any workflow, plan the process. Even simple workflows can become difficult to manage if designed from memory. Mapping the steps visually or in writing makes configuration significantly easier.

Create the Vacation Request Form
Follow these steps to create your Vacation Request form:
- Download and import the example form.
Refer to this article for more information about importing forms.
gravityforms-export-2025-11-28.json – Download - Open the form in the editor.
When the import is complete, click Edit form.
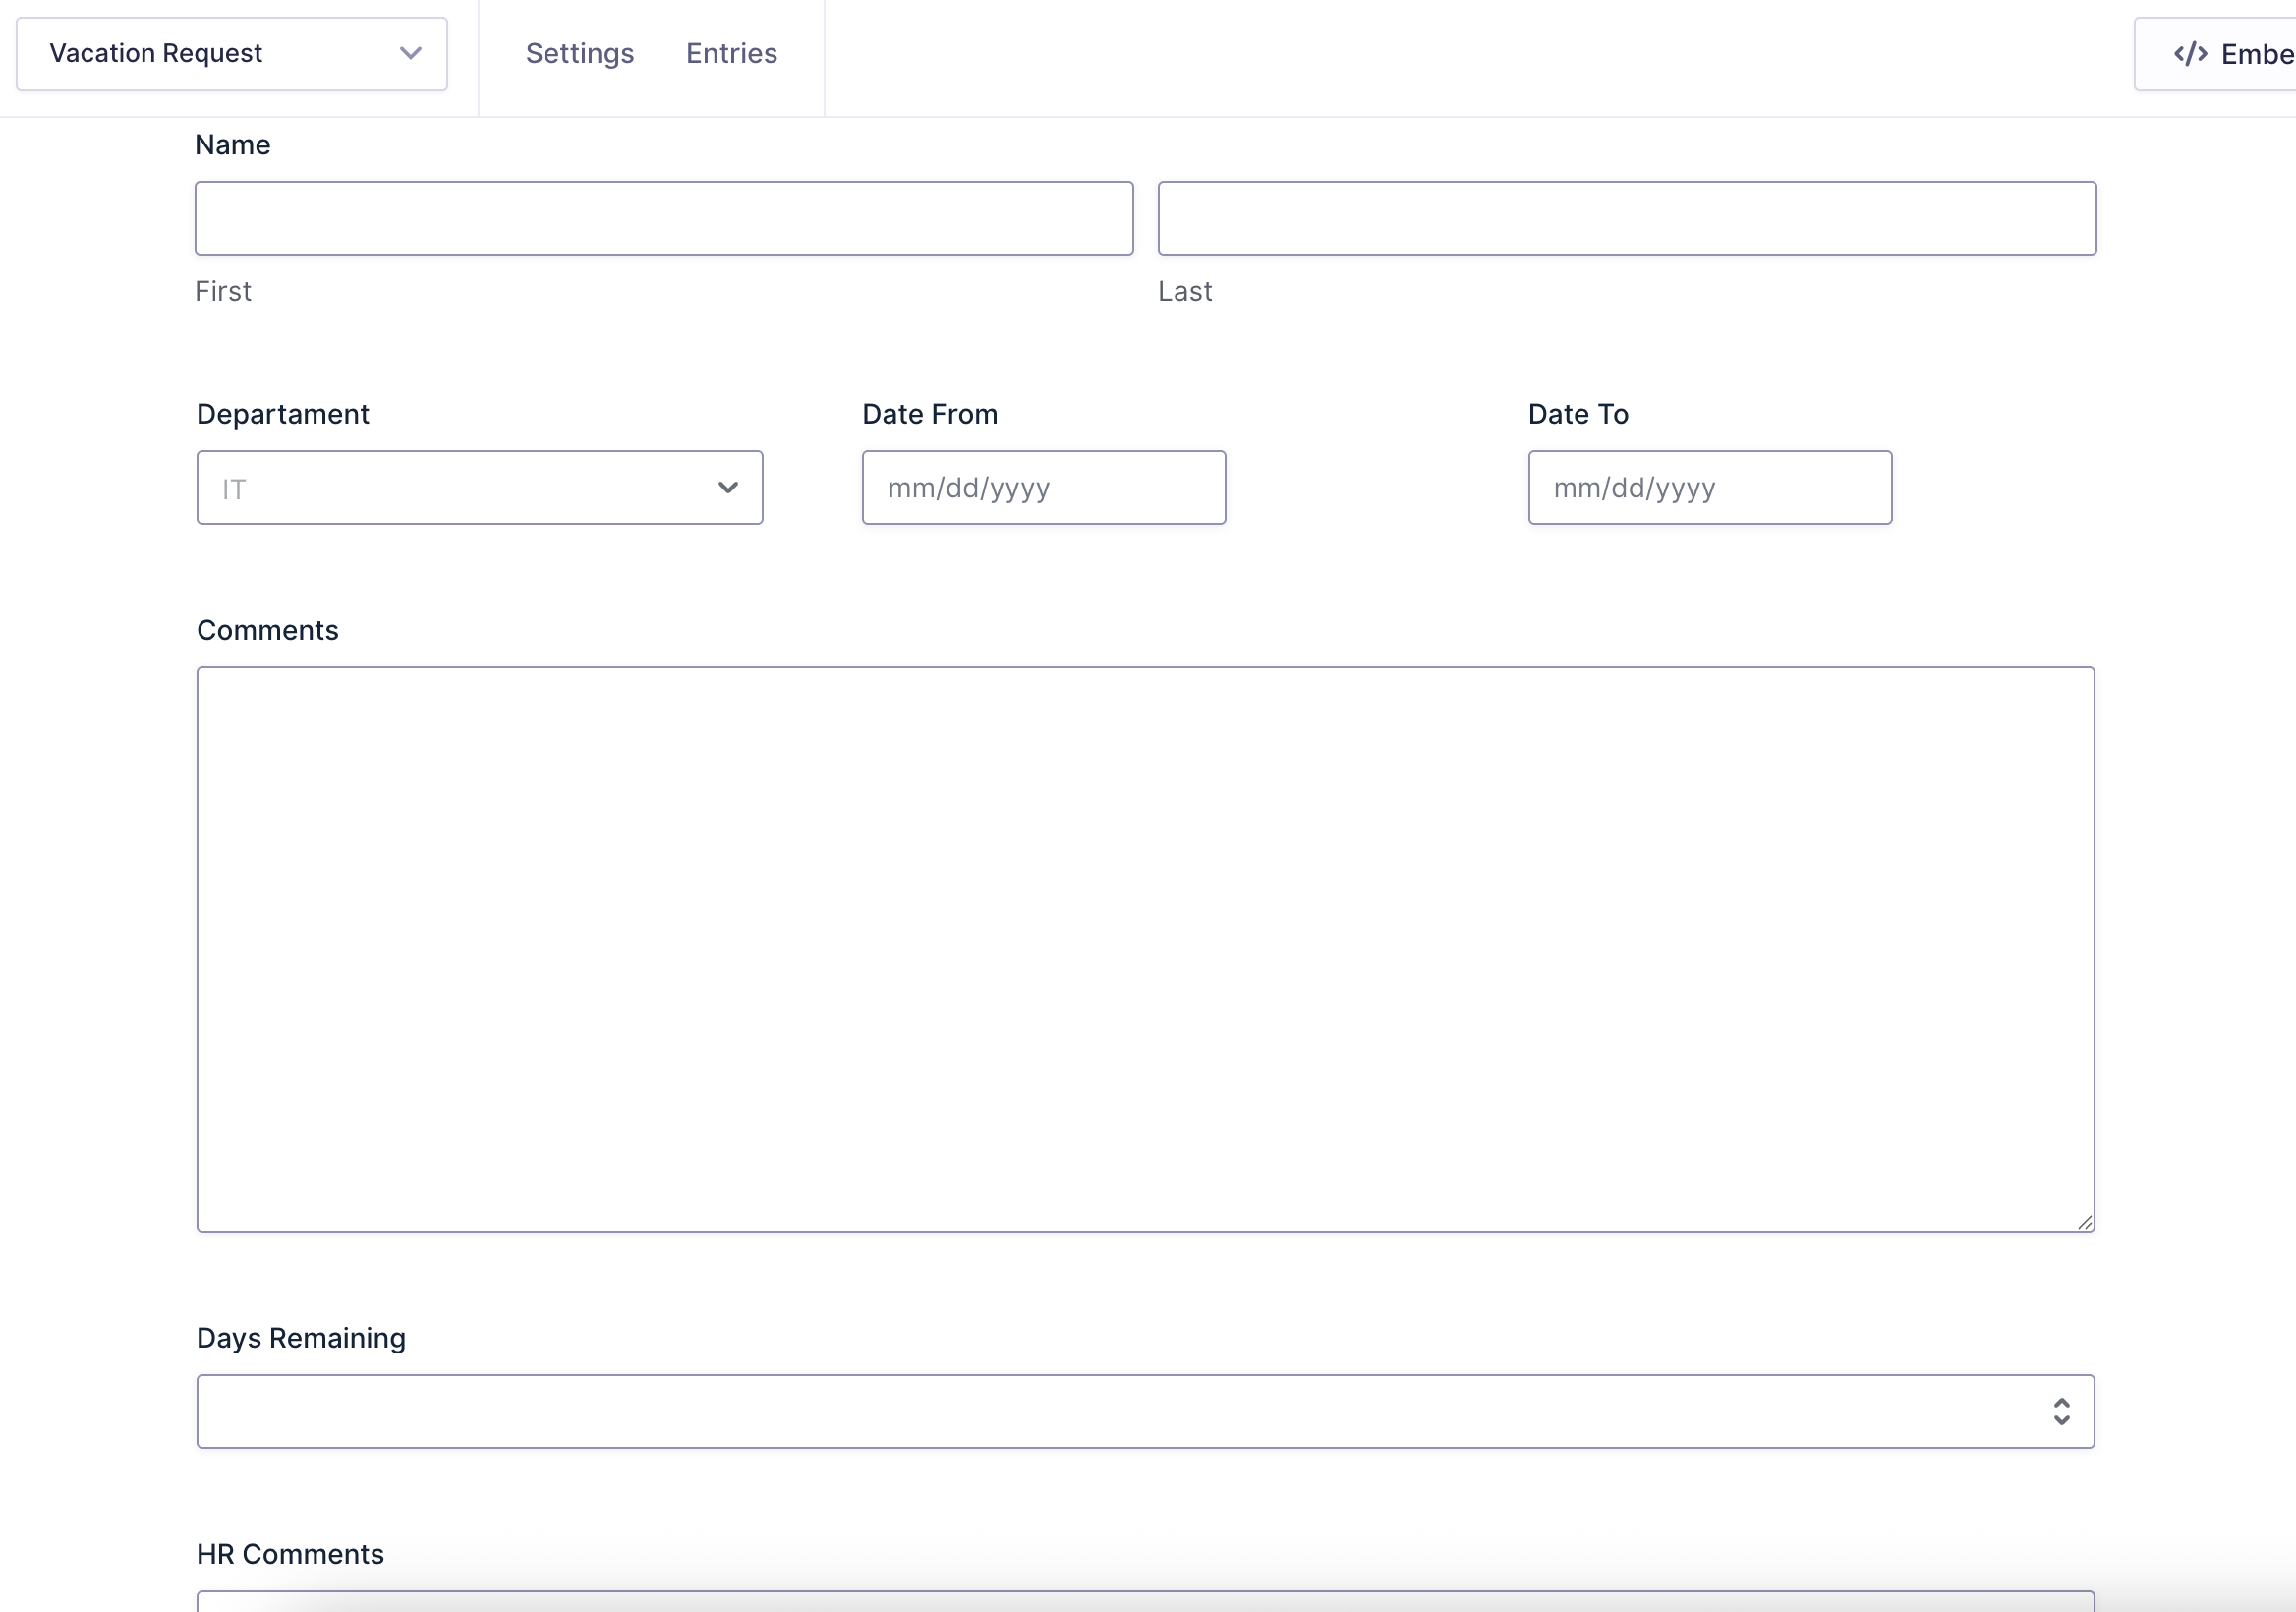
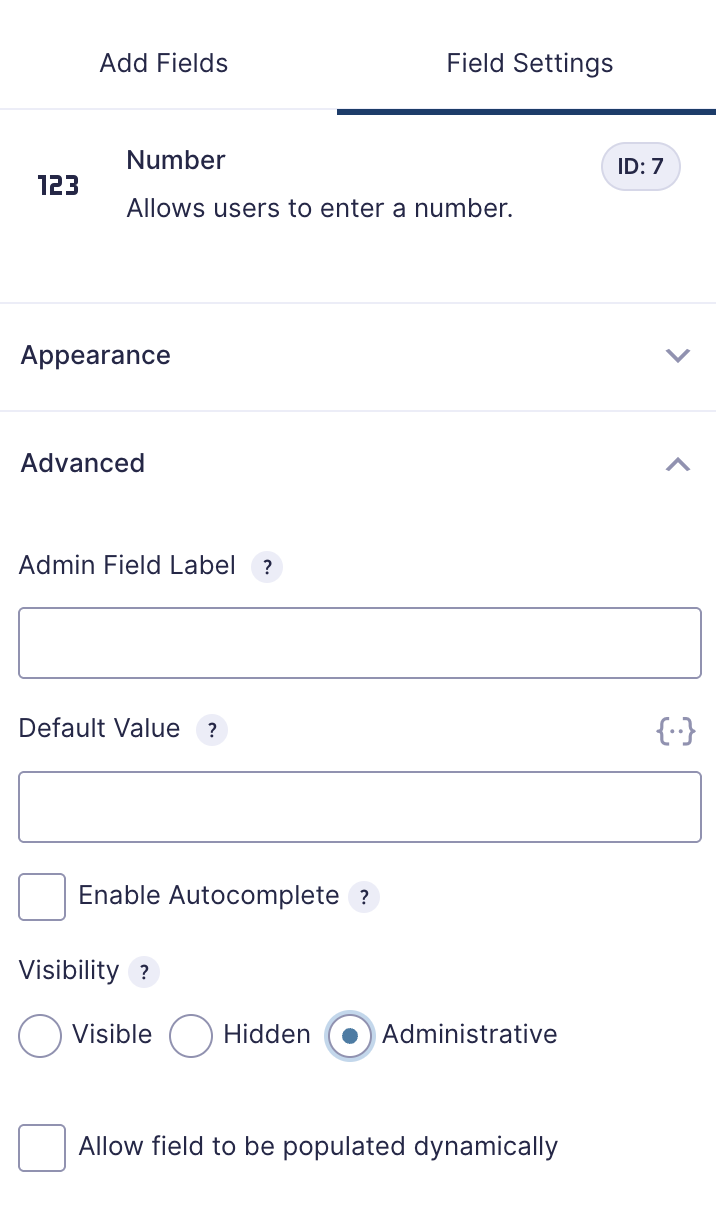
Note: The Days Remaining and HR Comments fields are visible only to the Approver and HR Processing roles, as well as WordPress Administrators. These fields do not appear to the submitter on the front end.
The imported form already includes this configuration for you, these fields have their Visibility setting set to Administrative.
Note: All Gravity Forms Confirmations and Notifications settings seen have also been imported. This does not include the Gravity Flow (workflow) notifications.
Setup the Frontend Workflow Pages
- Create the required WordPress pages.
Add three pages titled Inbox, Status, and Submit. - Add the corresponding Gravity Flow block or shortcode.
On each page, insert the Gravity Flow block or use the matching shortcode documented here.
Note: After publishing these pages, visit them at any time, either before or during workflow use, to view the front-end Inbox, Status, and Submit pages provided by Gravity Flow.
Setup the Workflow Steps
Next, configure three Gravity Flow steps:
- Manager Approval
- Modification by Submitter
- HR Processing
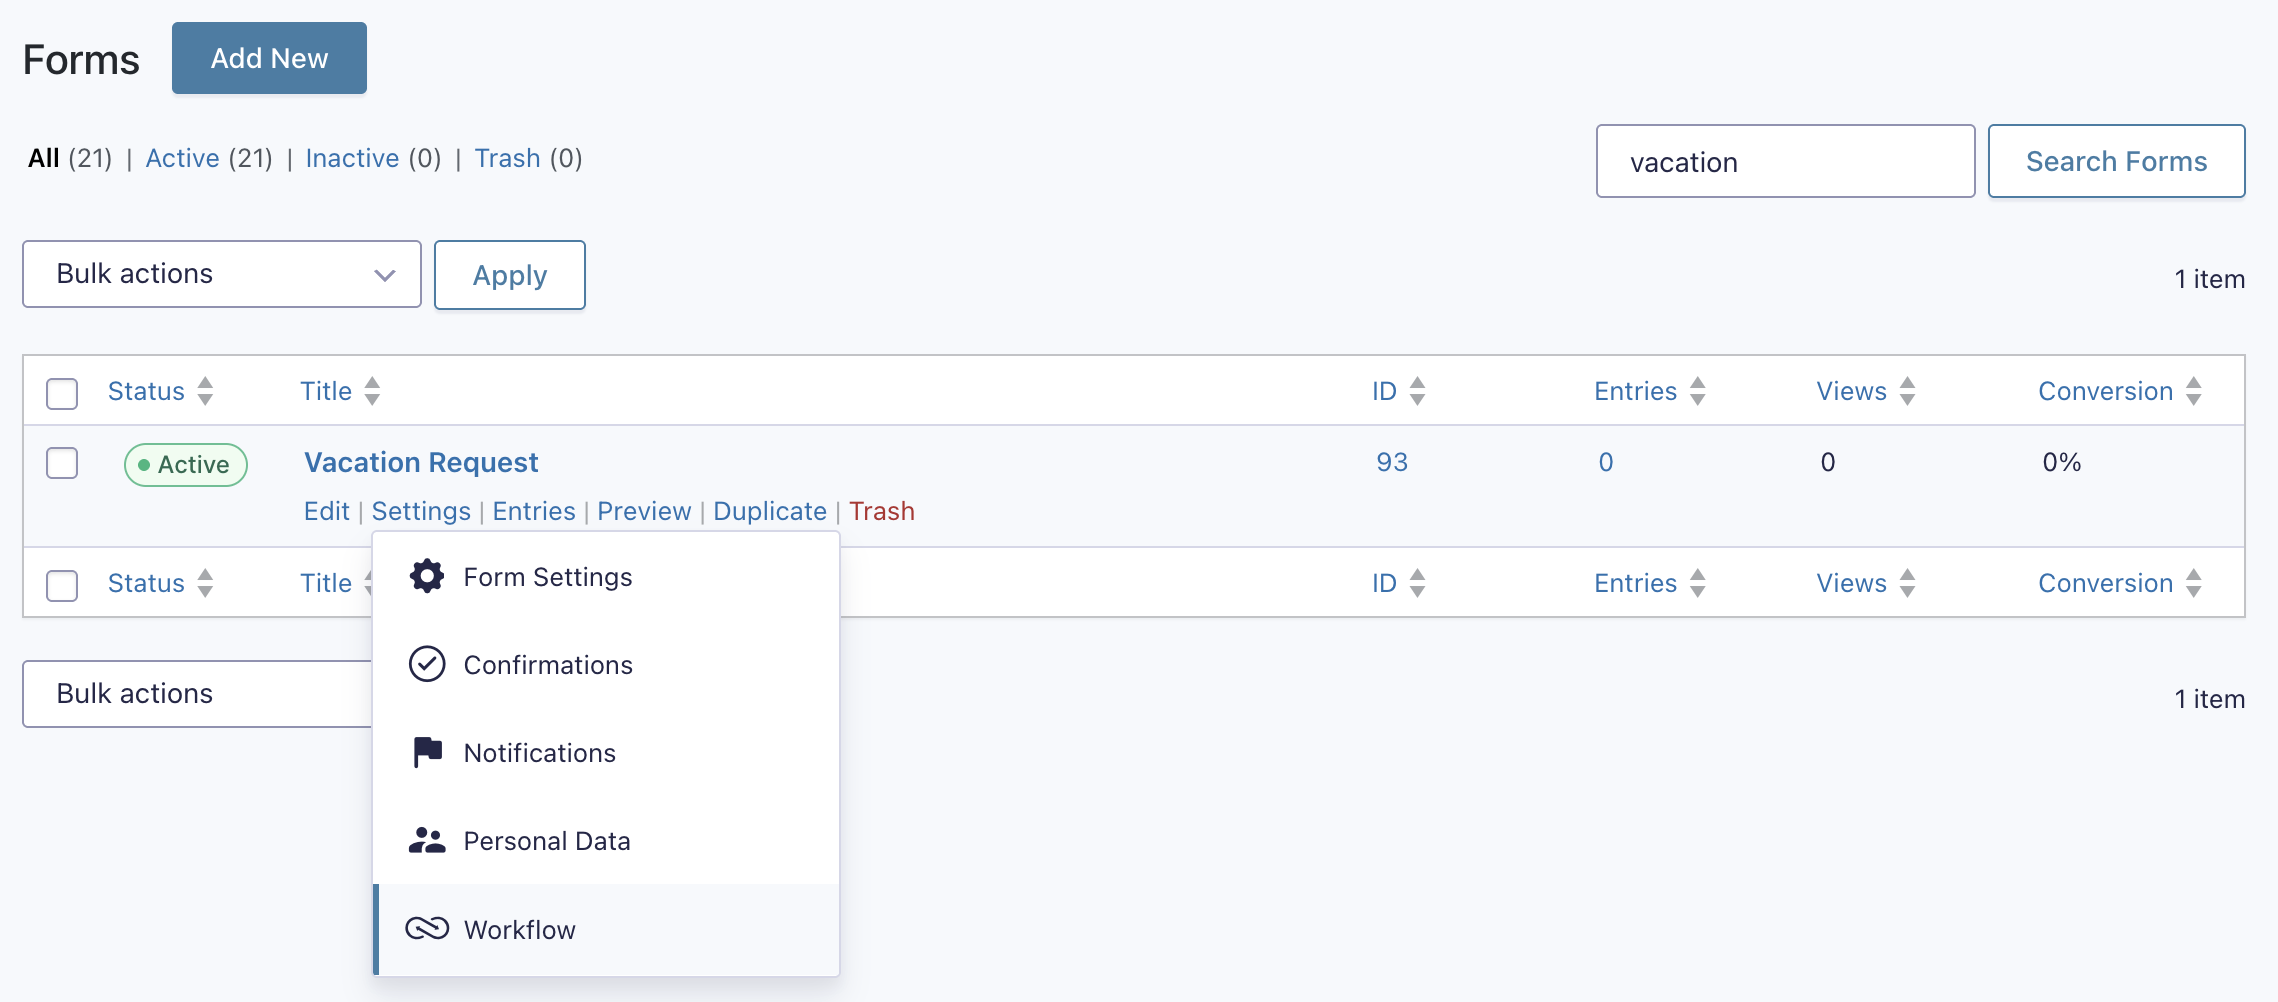
Locate the Vacation Request form, hover over Settings, and select Workflow to begin configuring the steps.
Configure the Manager Approval Step
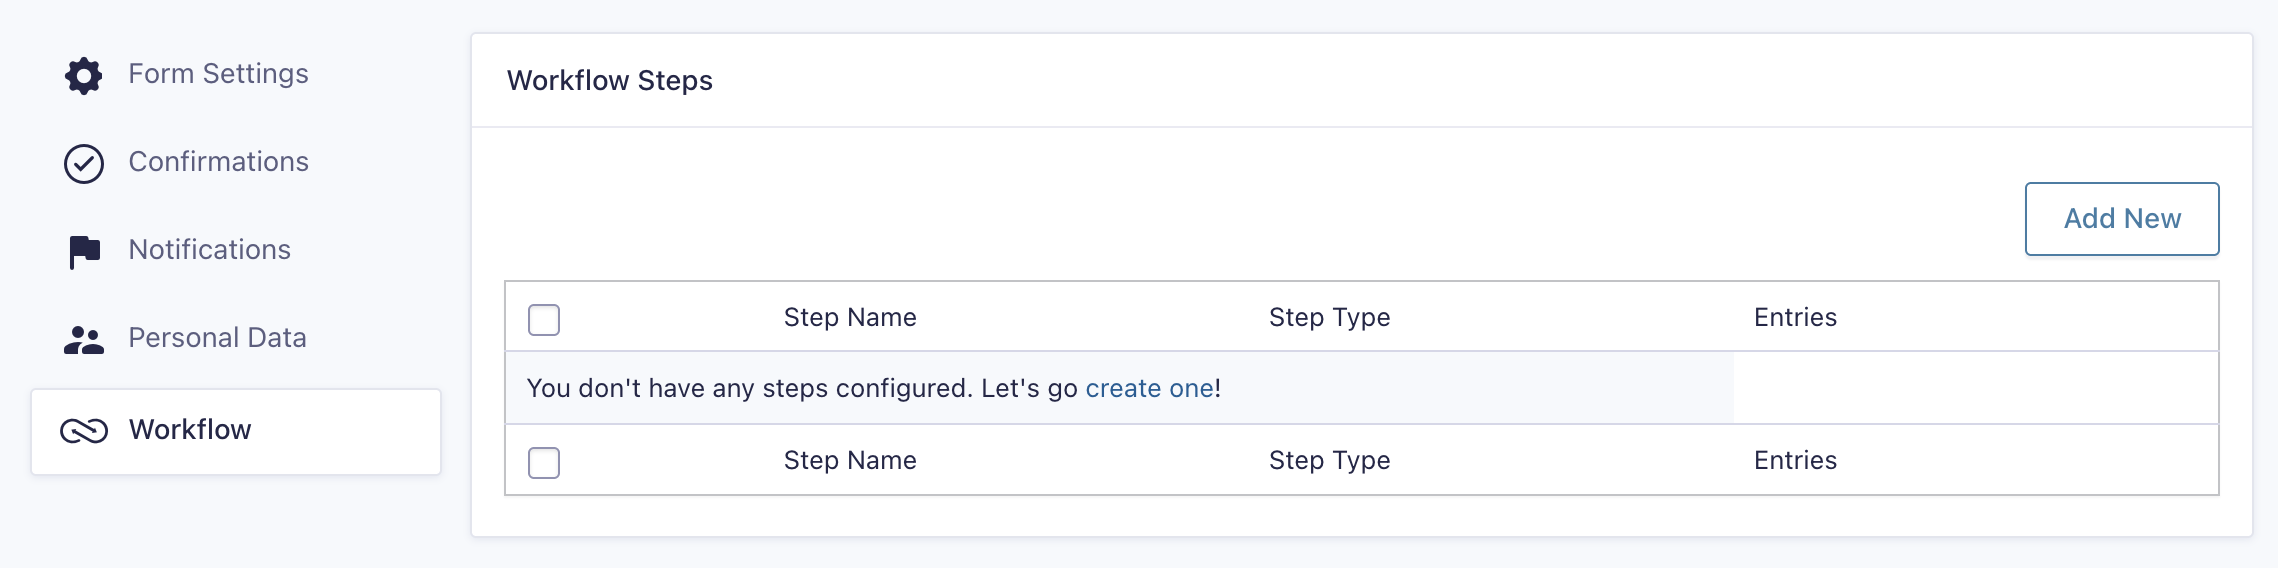
- Create the step.
Click Add New (or the create one link if no steps exist).
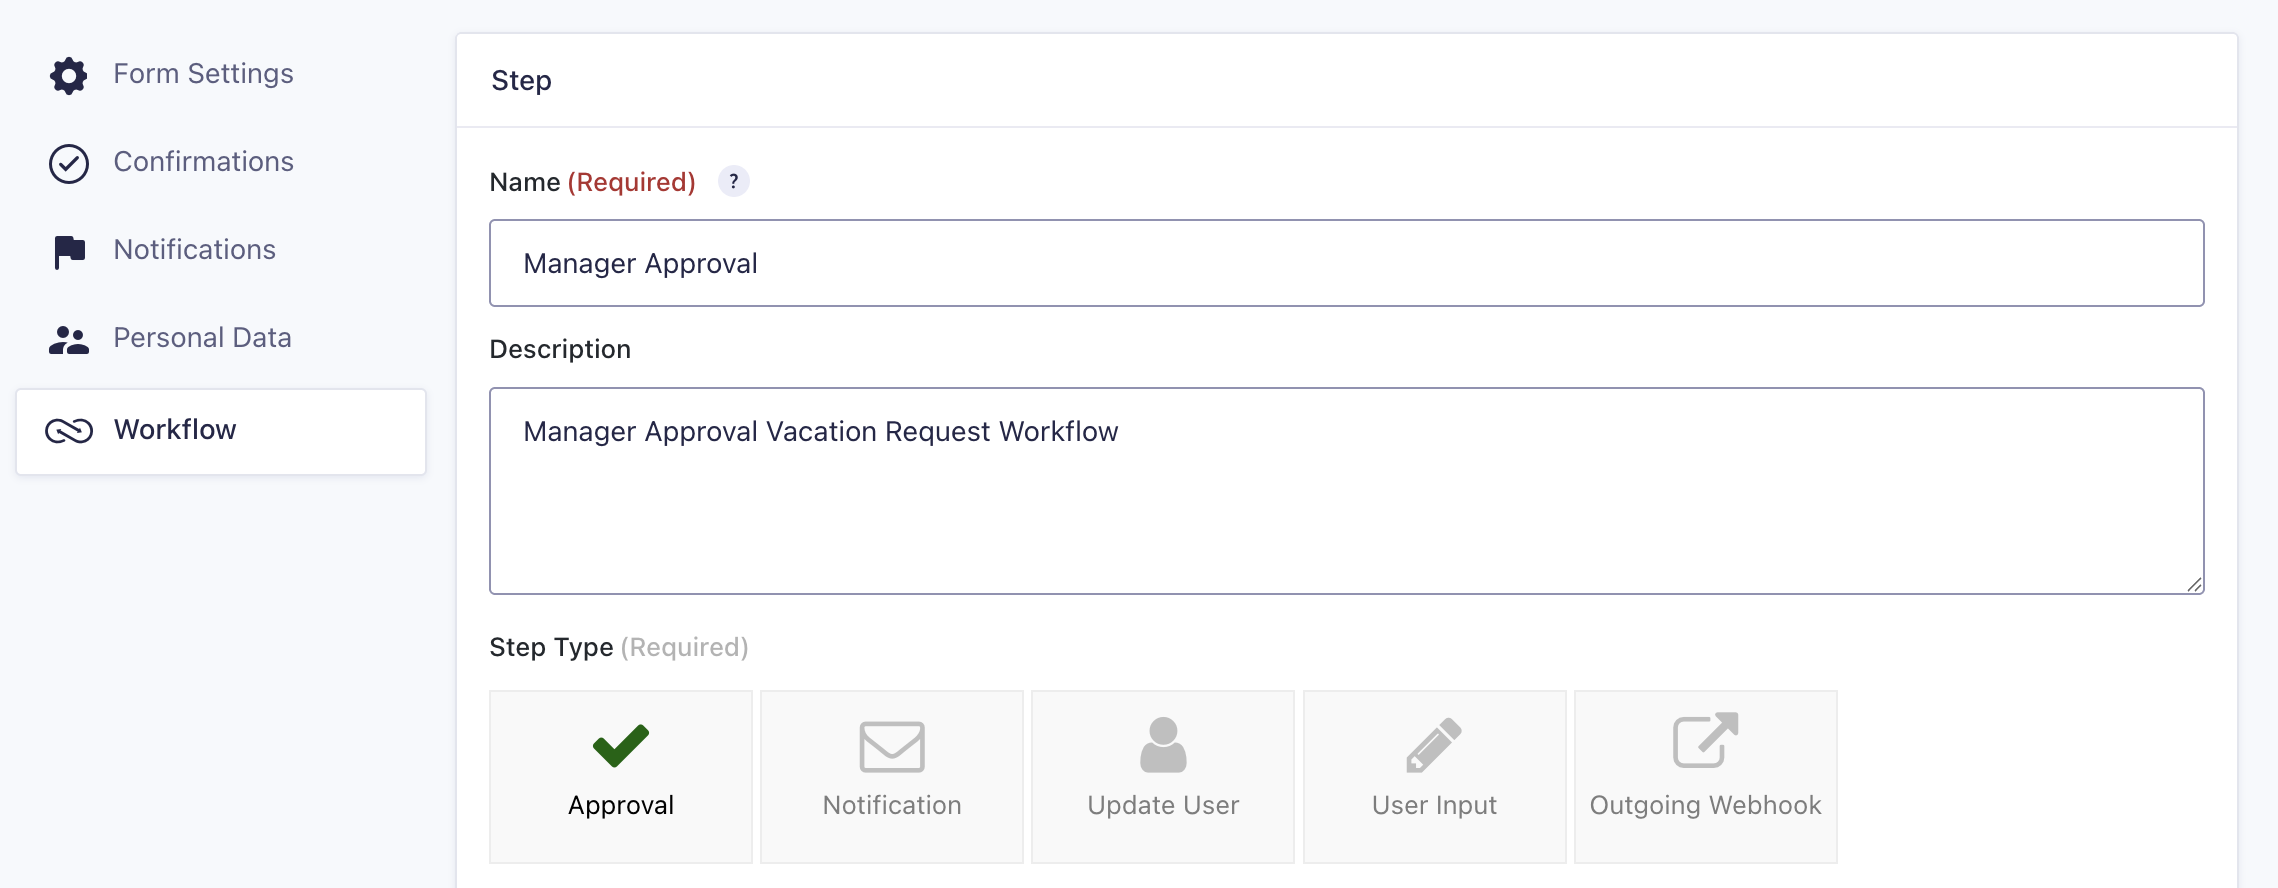
- Name the step.
Add a title and optional description. Select Step Type → Approval. In this example, the step is named Manager Approval.
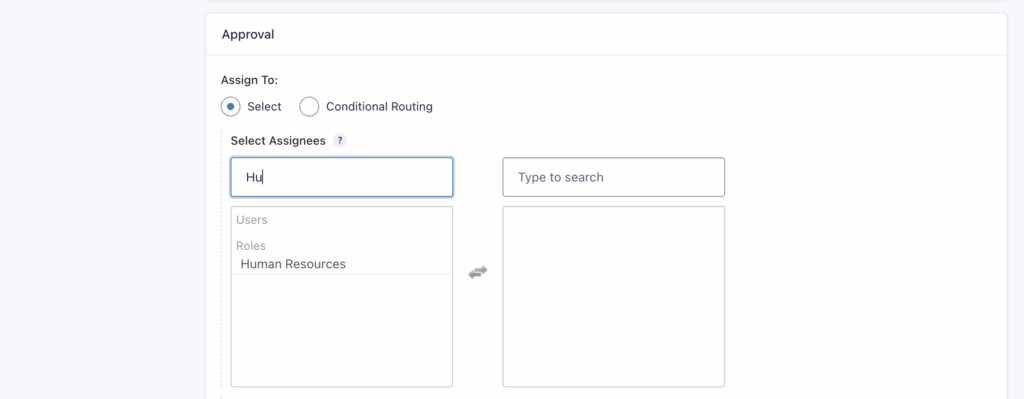
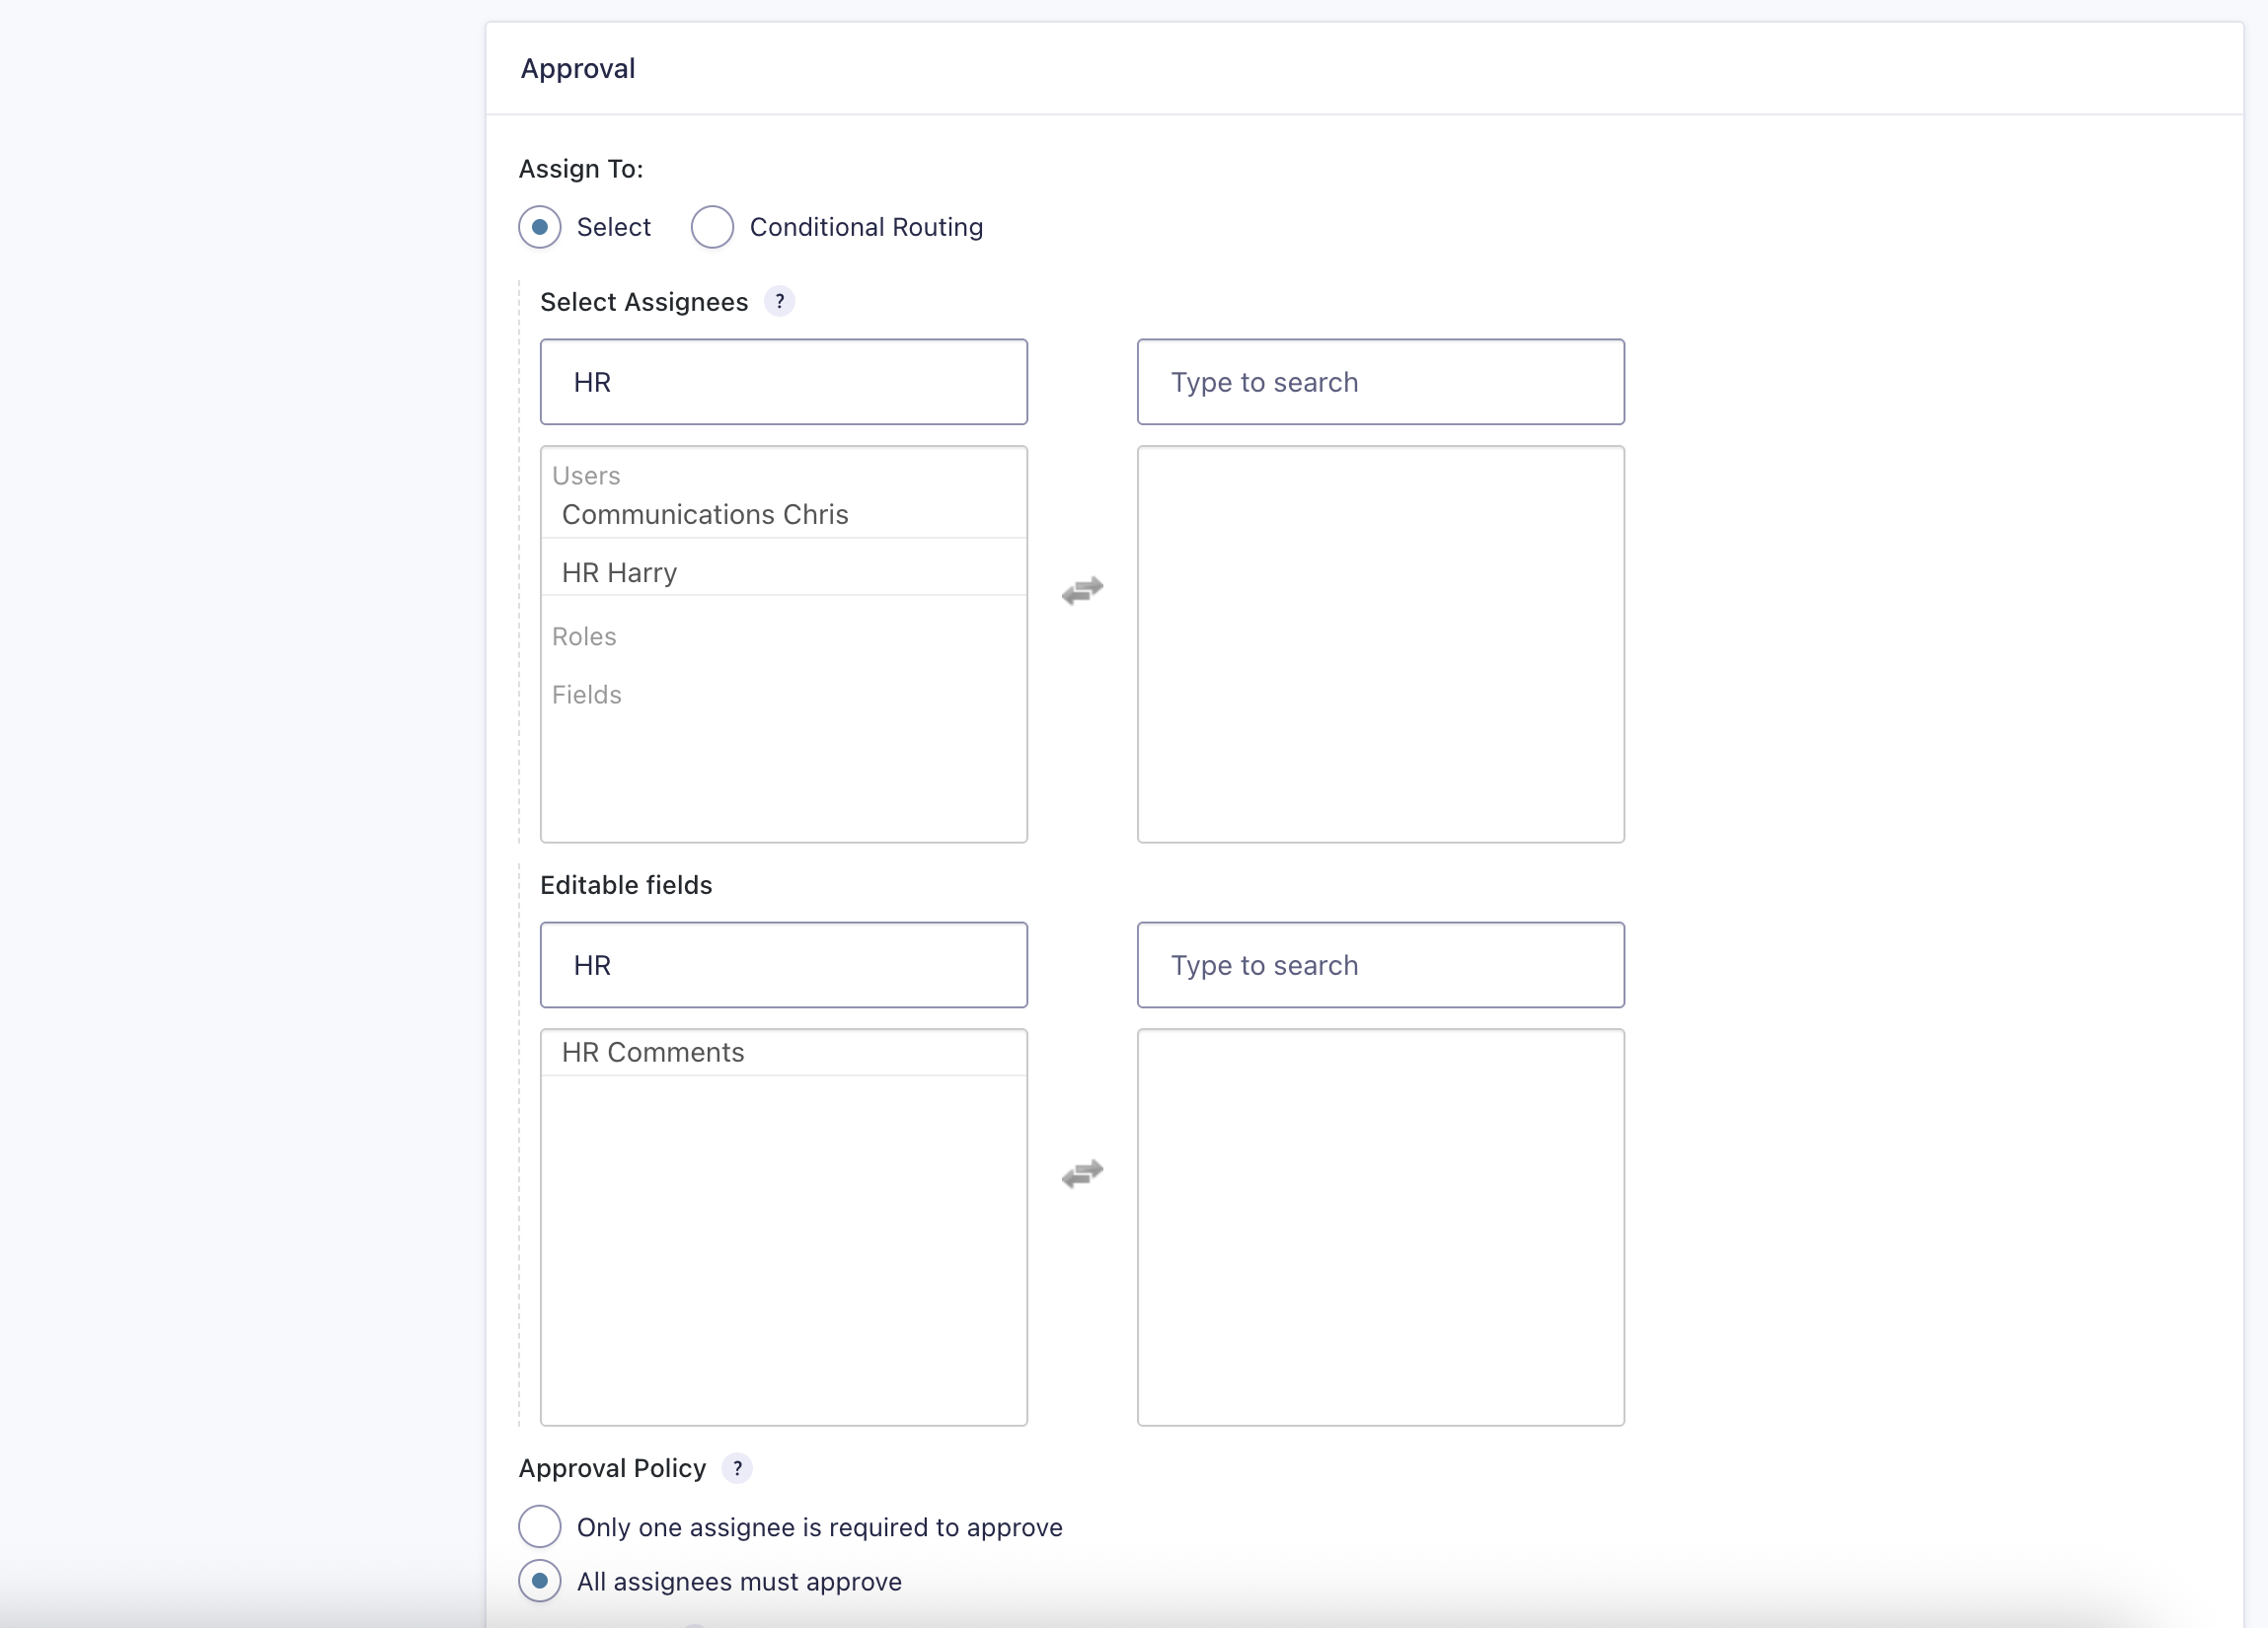
- Assign the approver.
In the Approval section, choose the WordPress user who will approve the request. In this example, the user Human Resources is selected.
Note: When clicking a user, they move from the left box to the right box.
Add Email Notifications
Next, create the email notifications.
| Notification Name | Description |
|---|---|
| Assignee Email | Sent to the Approver. |
| Rejection Email | Sent to the submitter if the request is rejected. |
| Approval Email | Sent to the submitter if the request is approved. |
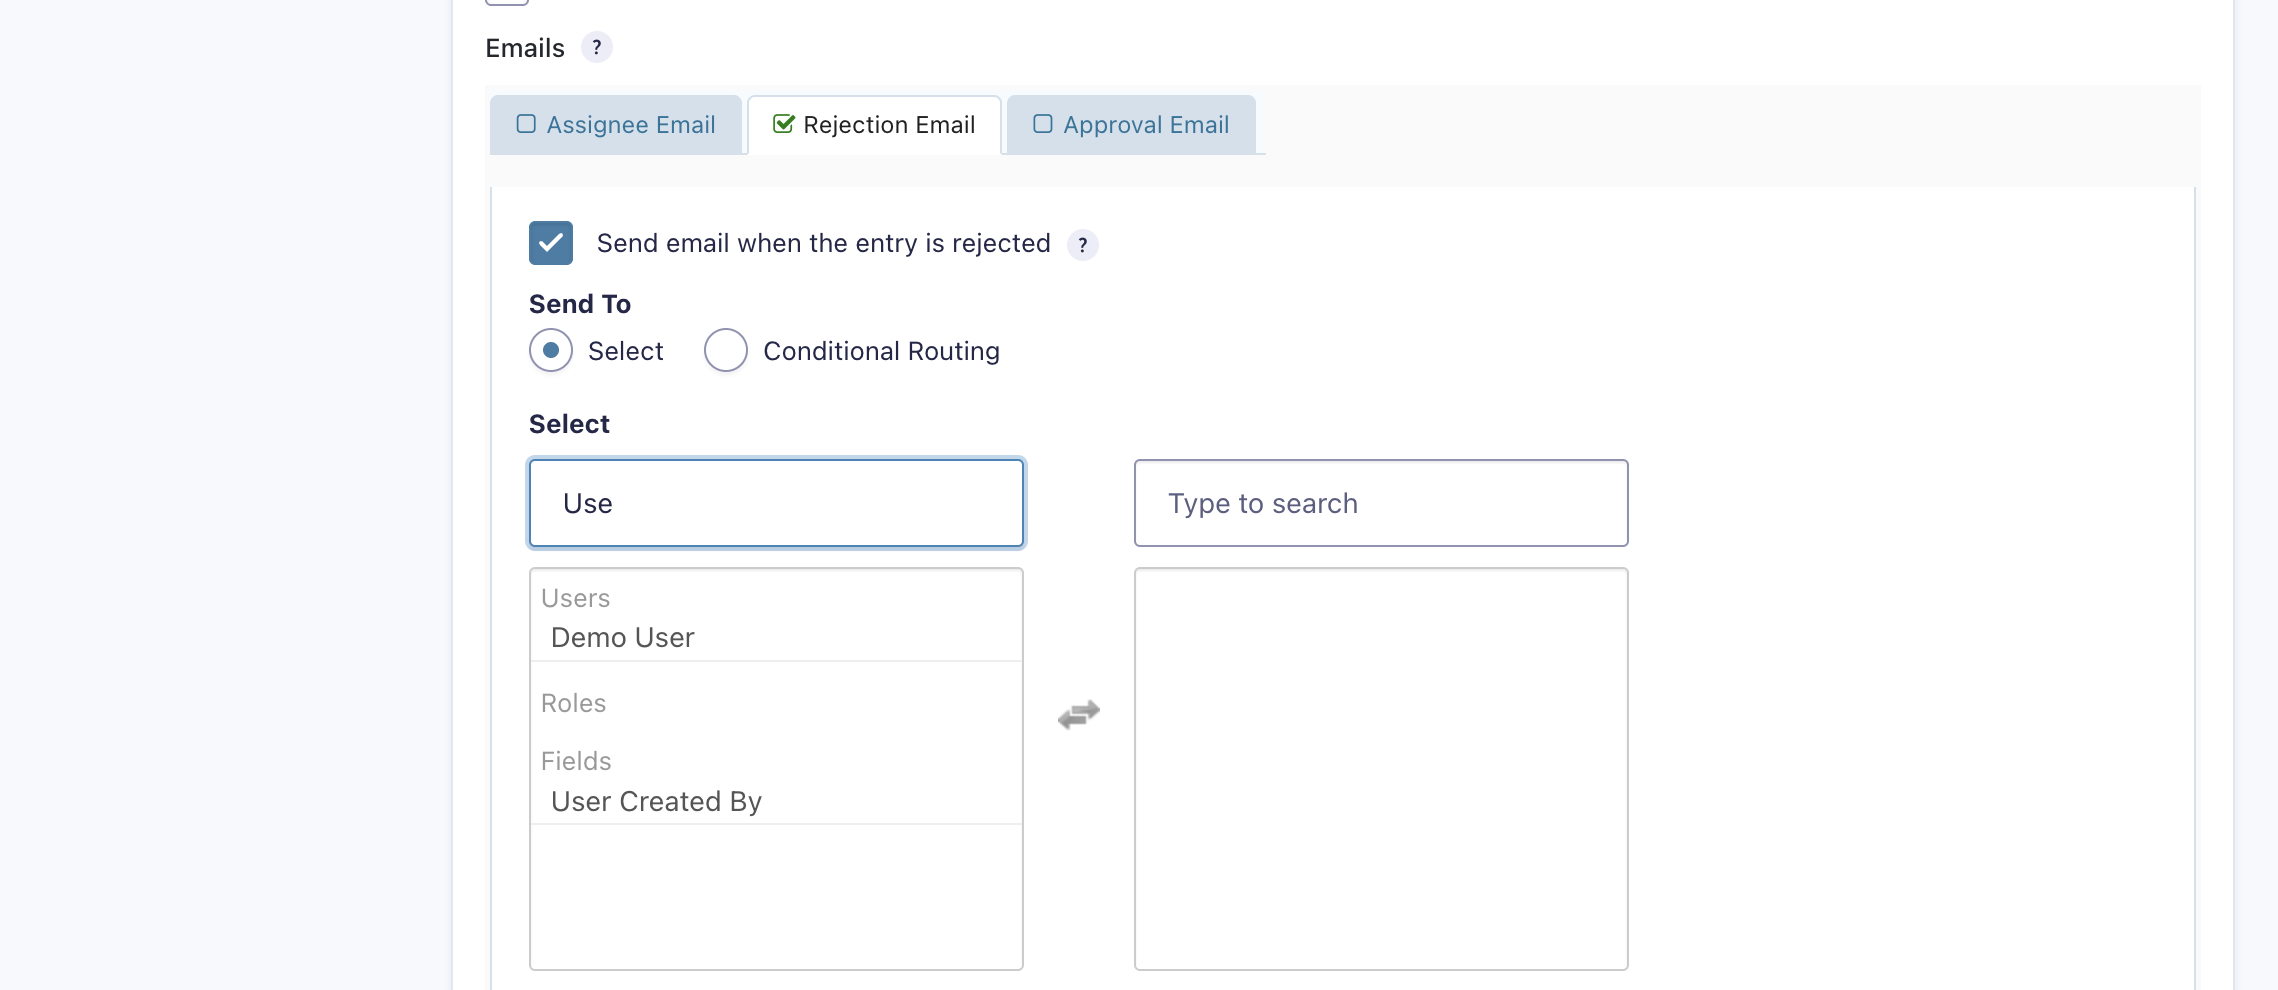
- In the Emails section, open the Assignee Email tab and enable it by selecting the checkbox.

- Complete the fields as needed for the notification.
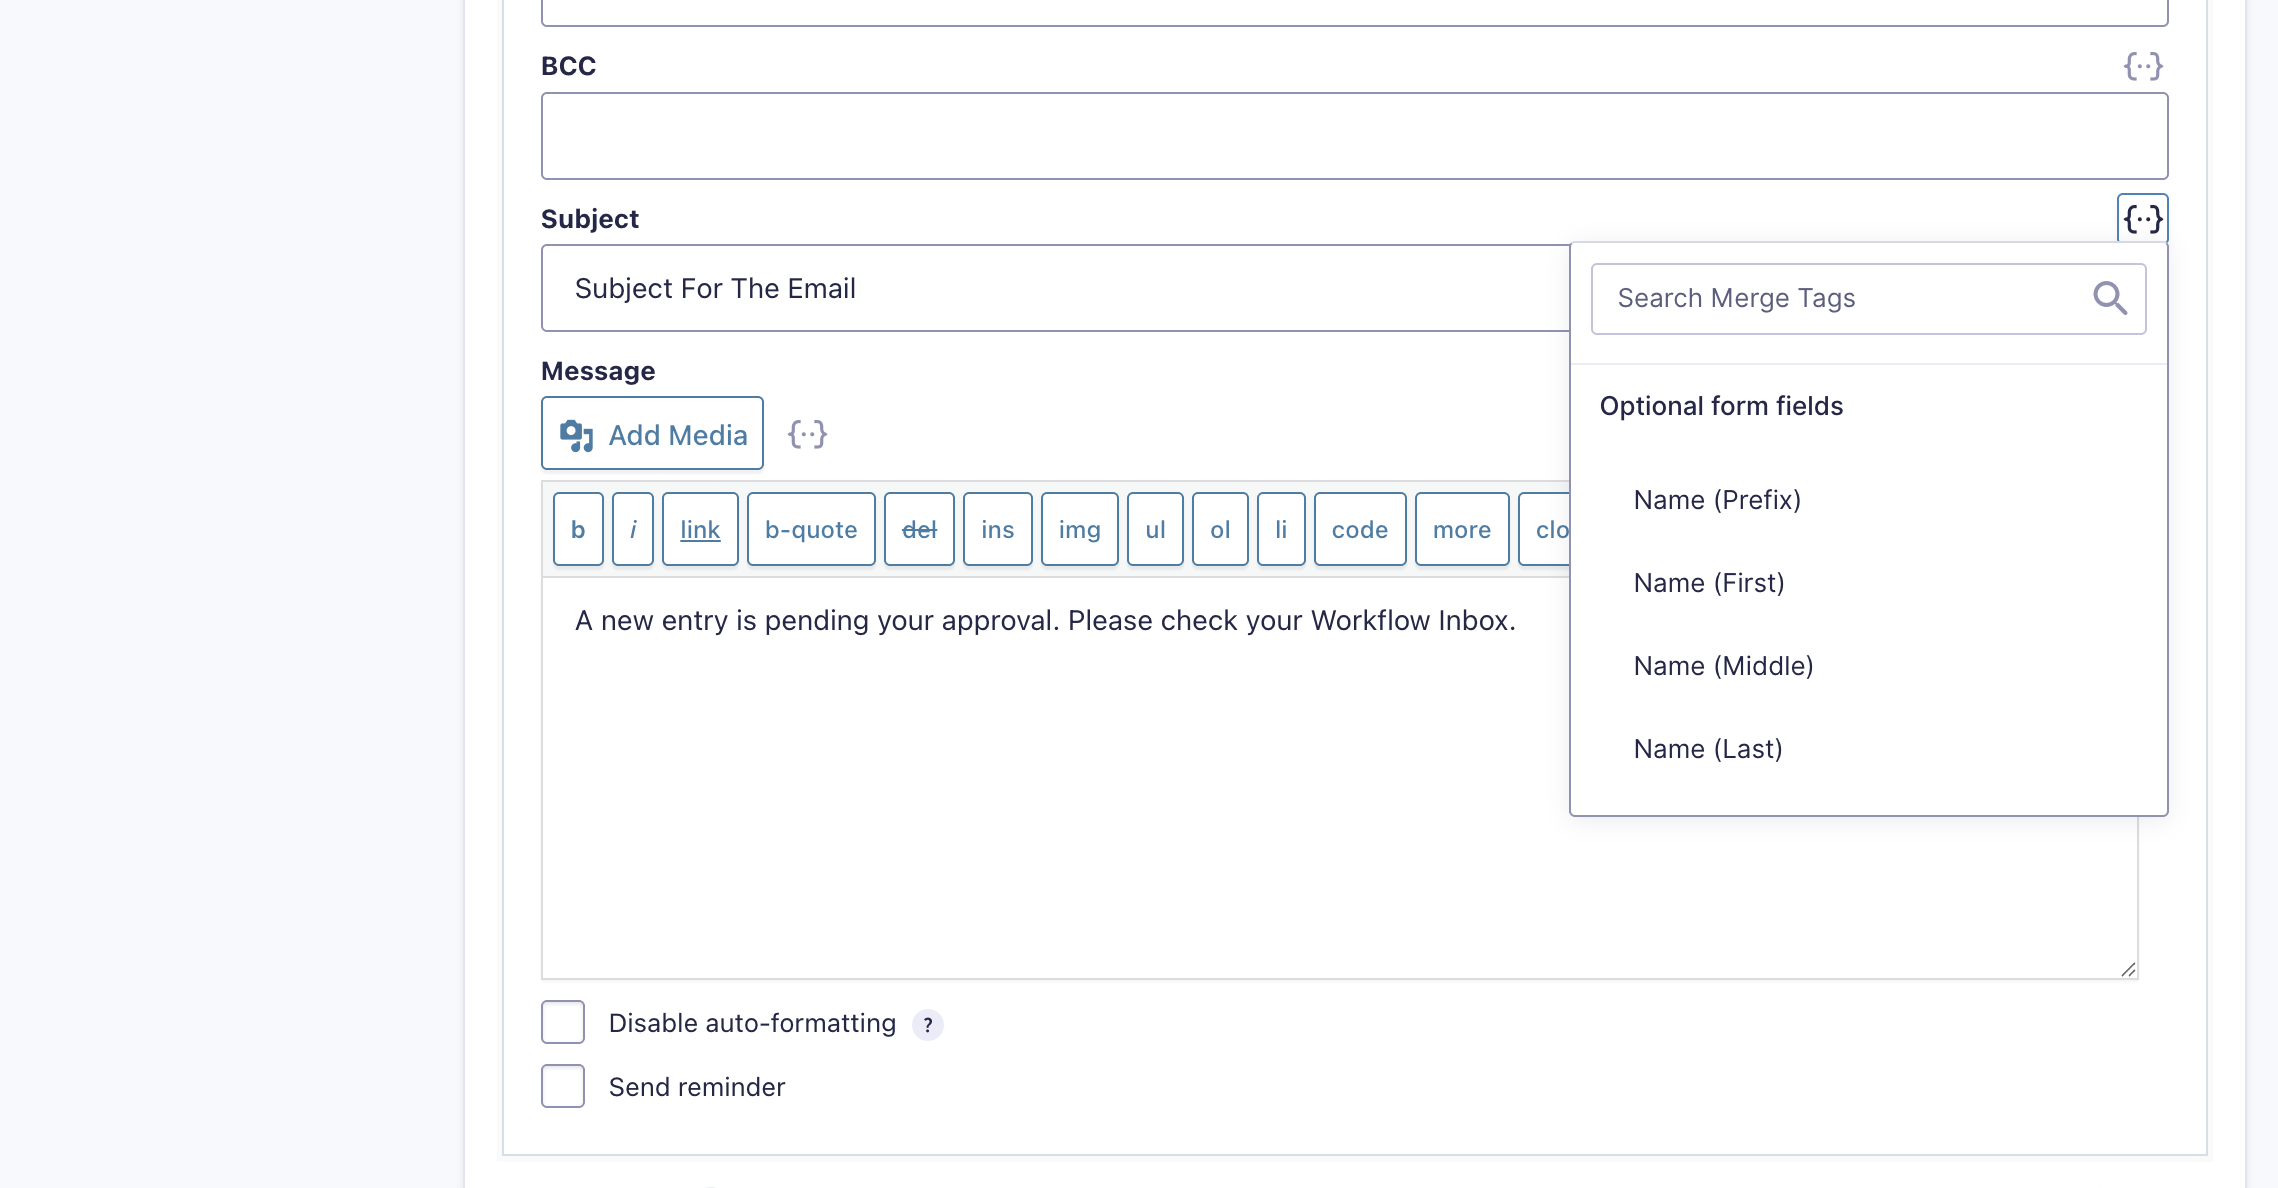
Note: The {…} icons next to each field provide merge tags, which automatically insert submitted field values and other dynamic information. Merge tags work the same way across all email tabs.
Add Merge Tags and Configure Remaining Emails
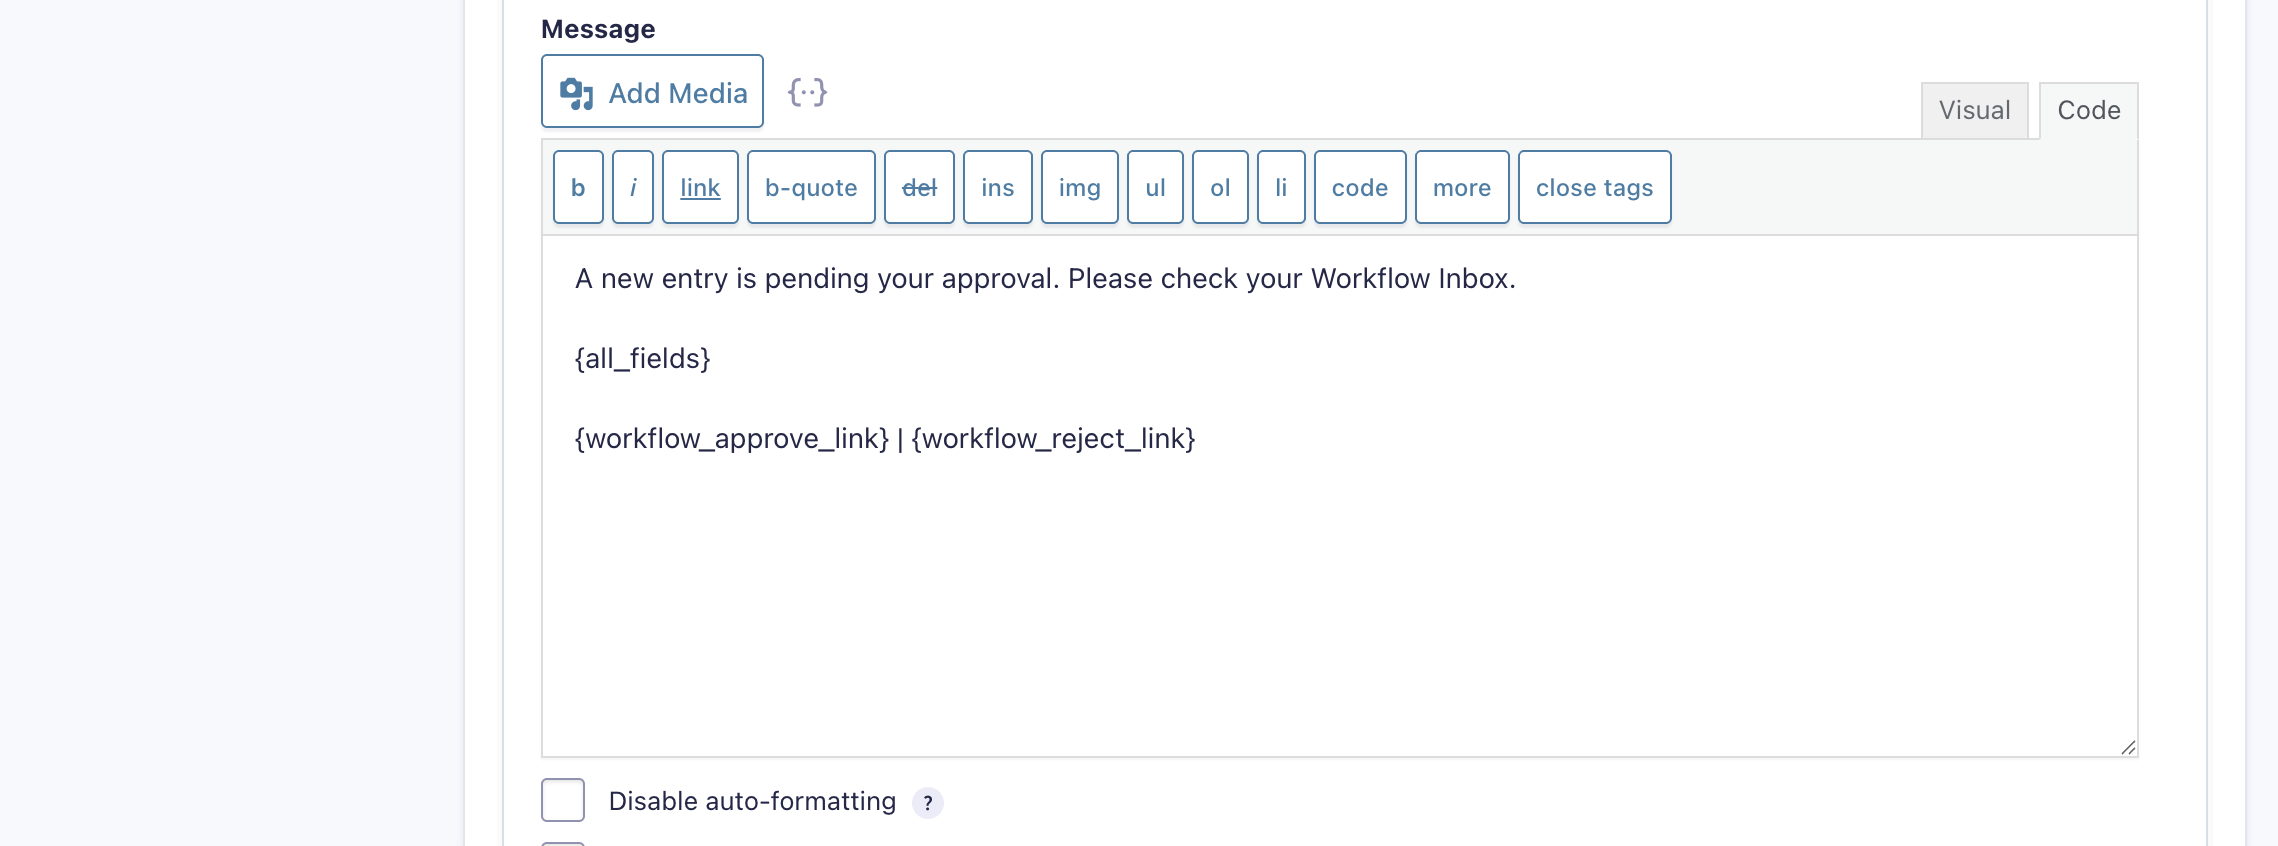
For the Assignee Email, the following merge tags are needed:
- {all_fields} that displays all submitted form fields.
- {workflow_approve_link} that allows the approver to approve or reject the entry directly from the email.
Configure the Rejection and Approval Emails
Next, repeat the same process used for the Assignee Email to configure the Rejection and Approval notifications.
Rejection Email
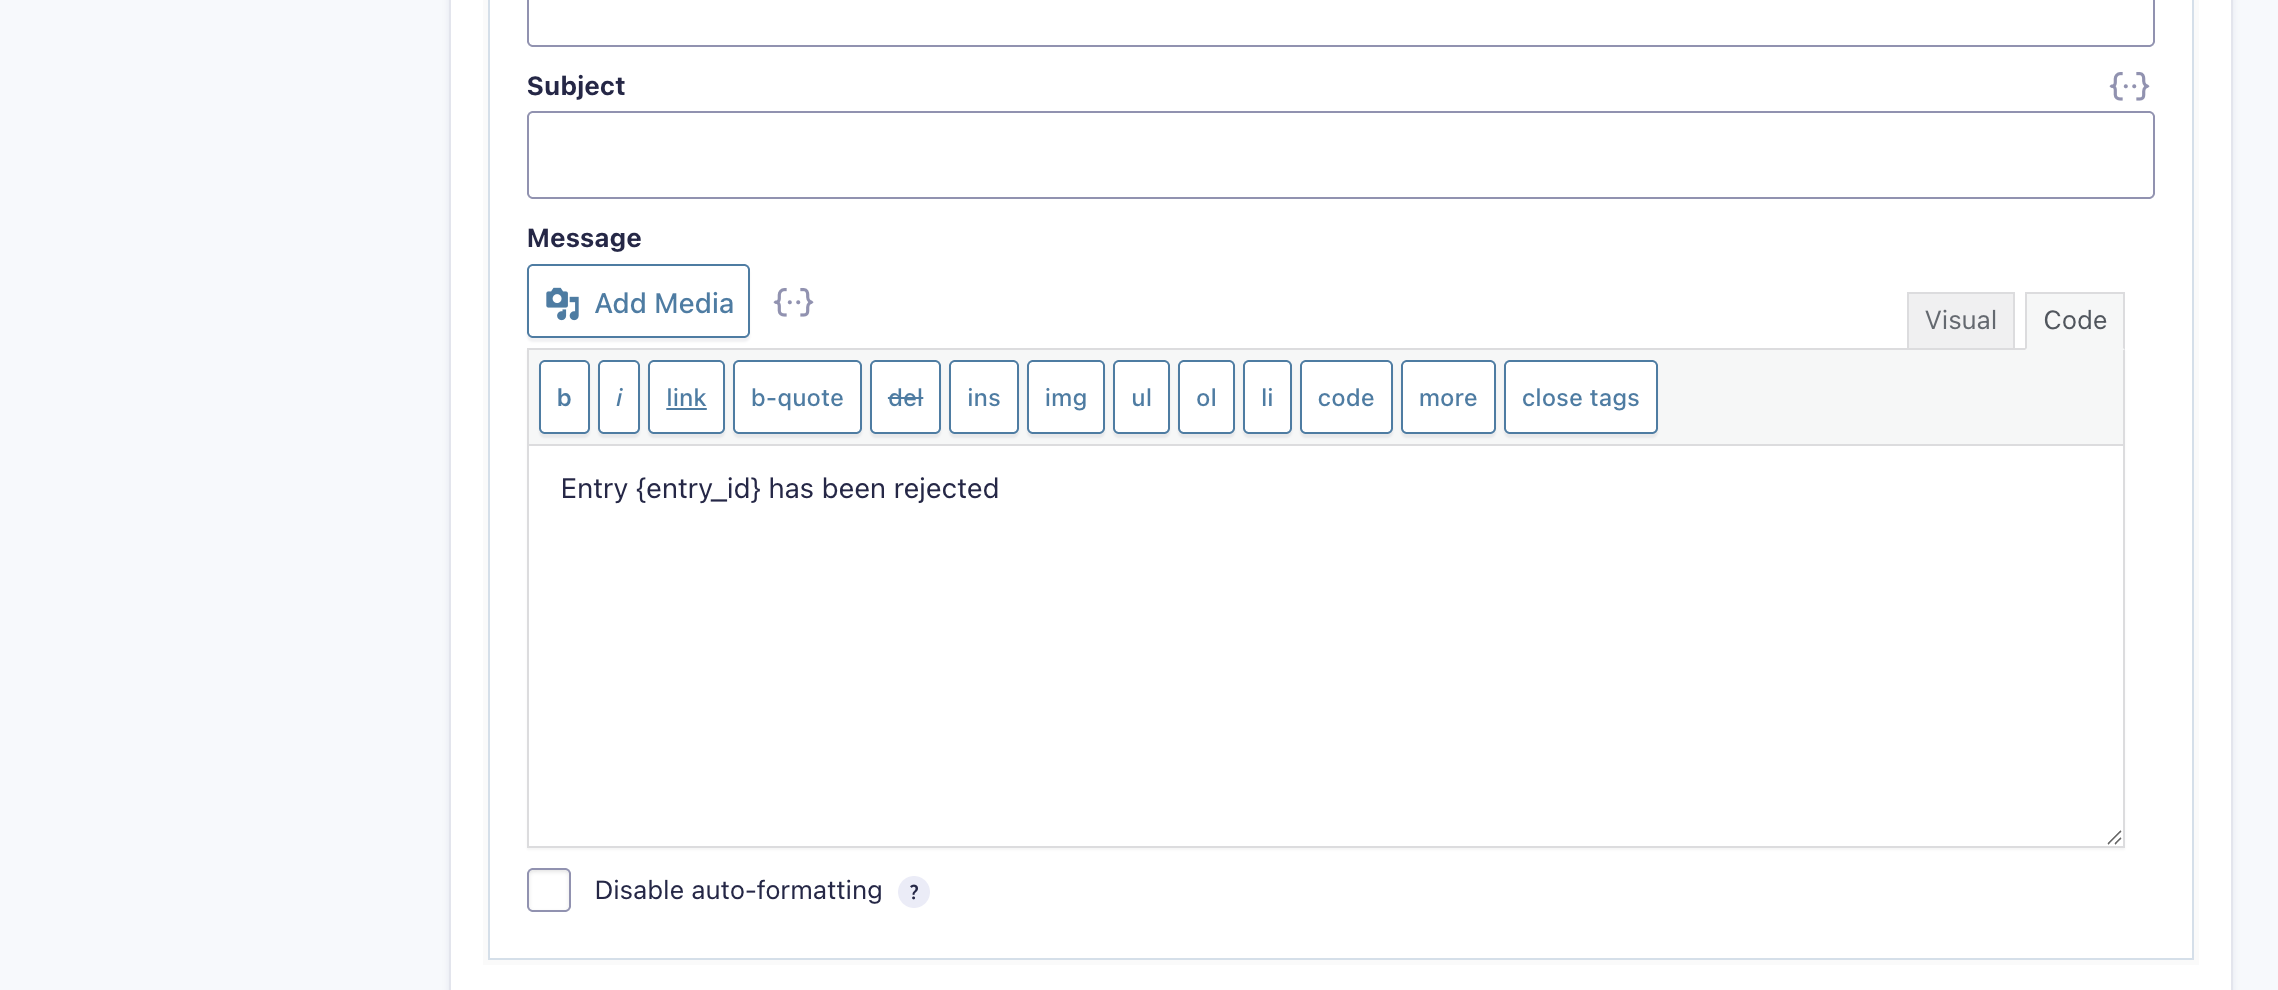
Complete the Rejection Email.
A default message containing a merge tag will be inserted automatically.
Approval Email
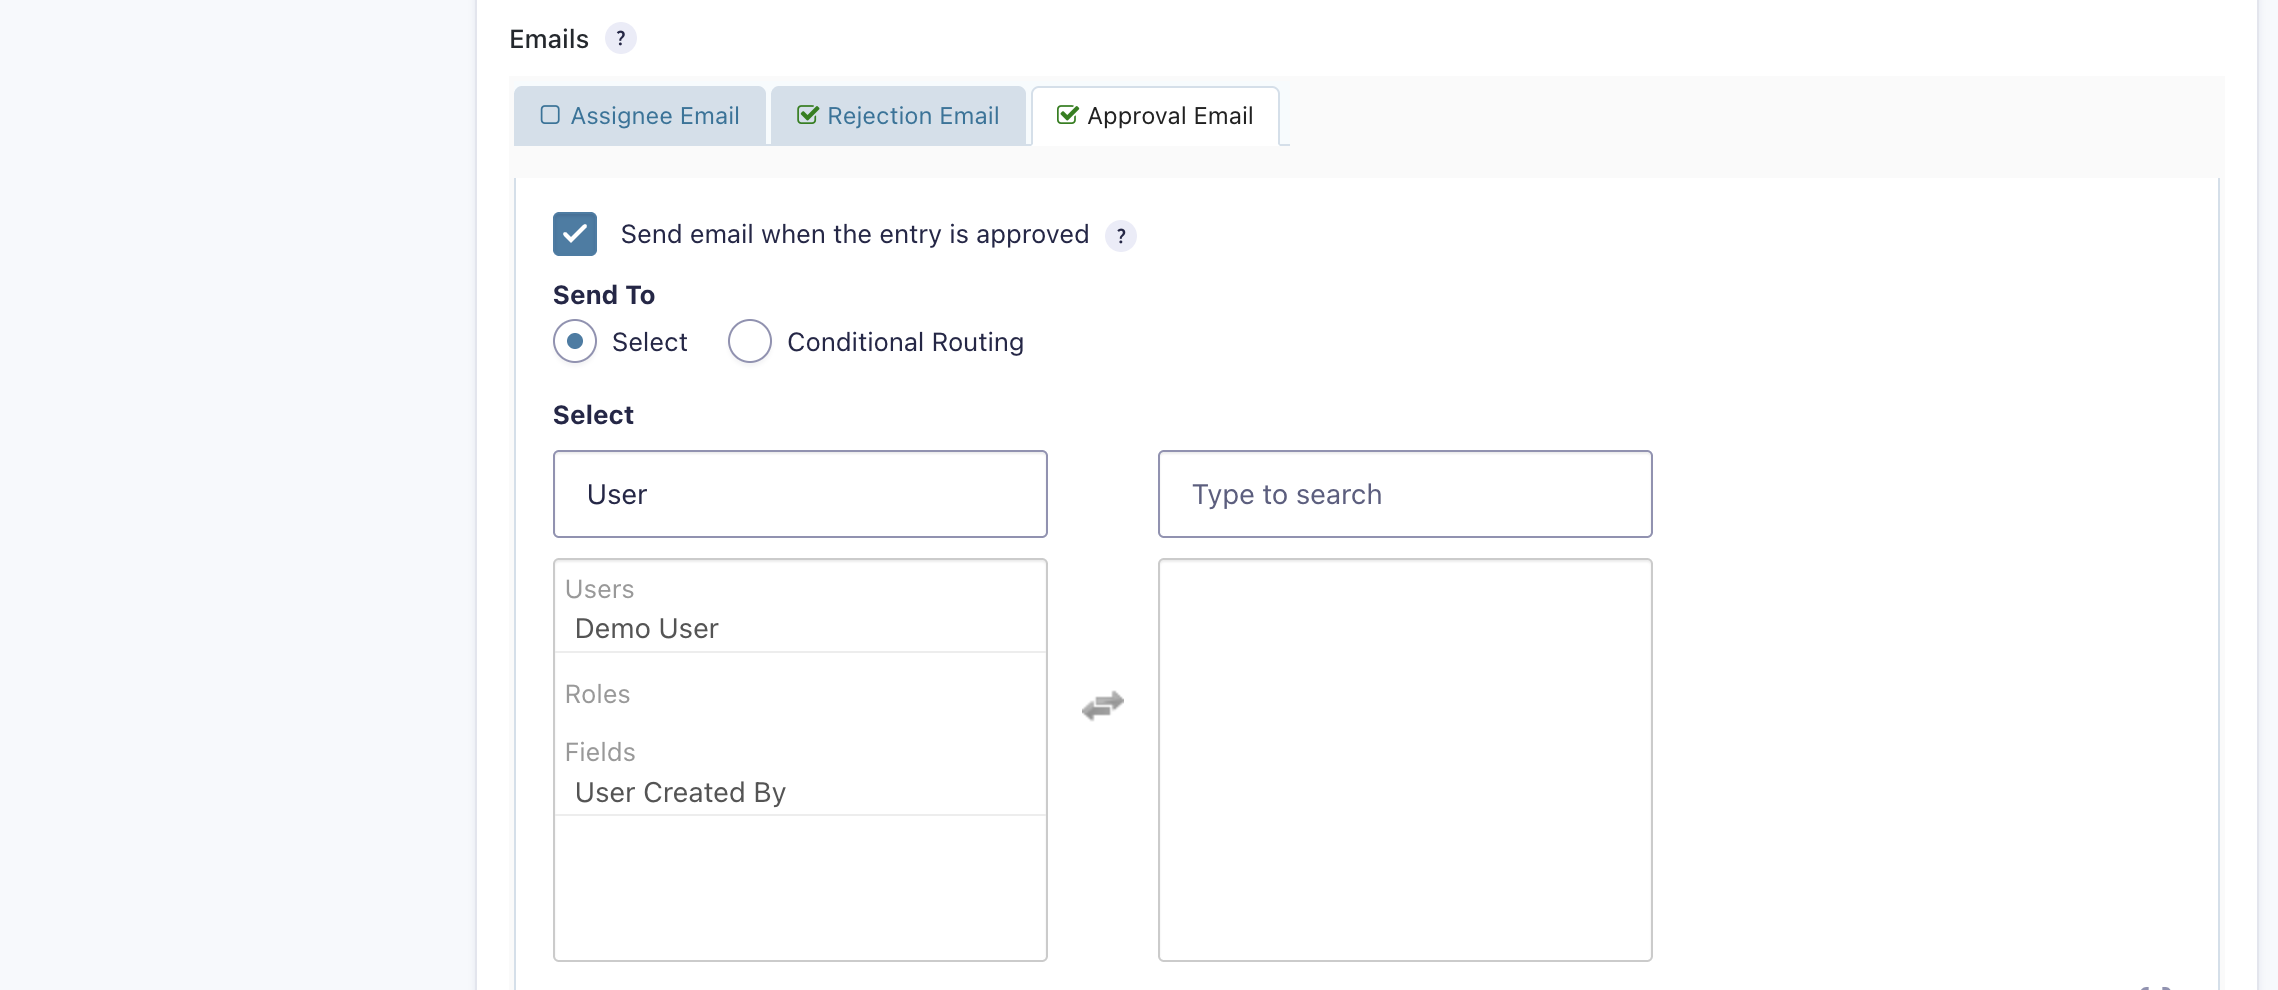
Complete the Approval Email.
As with the Rejection Email, a message containing a merge tag will be inserted automatically.
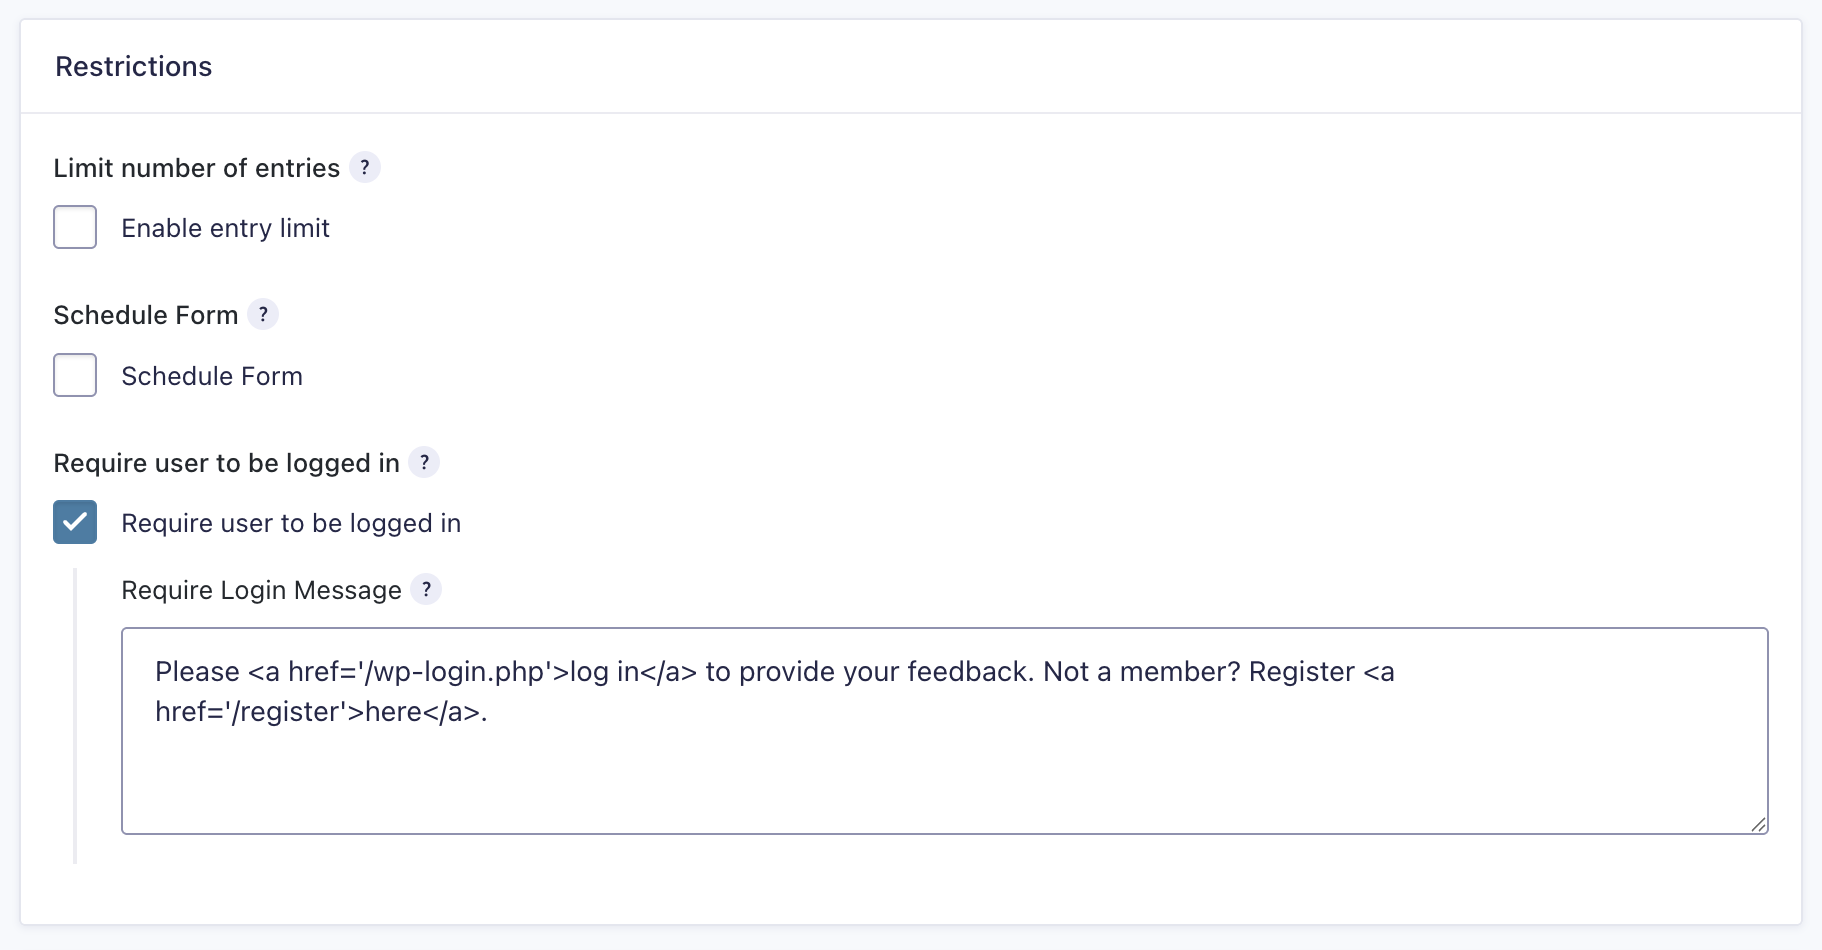
Require User to Be Logged In
If the User (Created by) field is not visible, ensure that Require user to be logged in is enabled in the Form Settings.
Set the Next Step Logic
Make sure the Approval step routes correctly:
- Next step if Rejected: Modification by submitter.
- Next step if Approved: HR Processing.
Click Update Step Settings when finished.

Note: If the Modification by submitter and HR Processing steps were not created already, leave both “Next step” options at their default settings for now. After those steps are created, return to this step and assign them accordingly.
When creating the Rejection Email, Gravity Flow will automatically insert a default message that includes a merge tag in the message body.
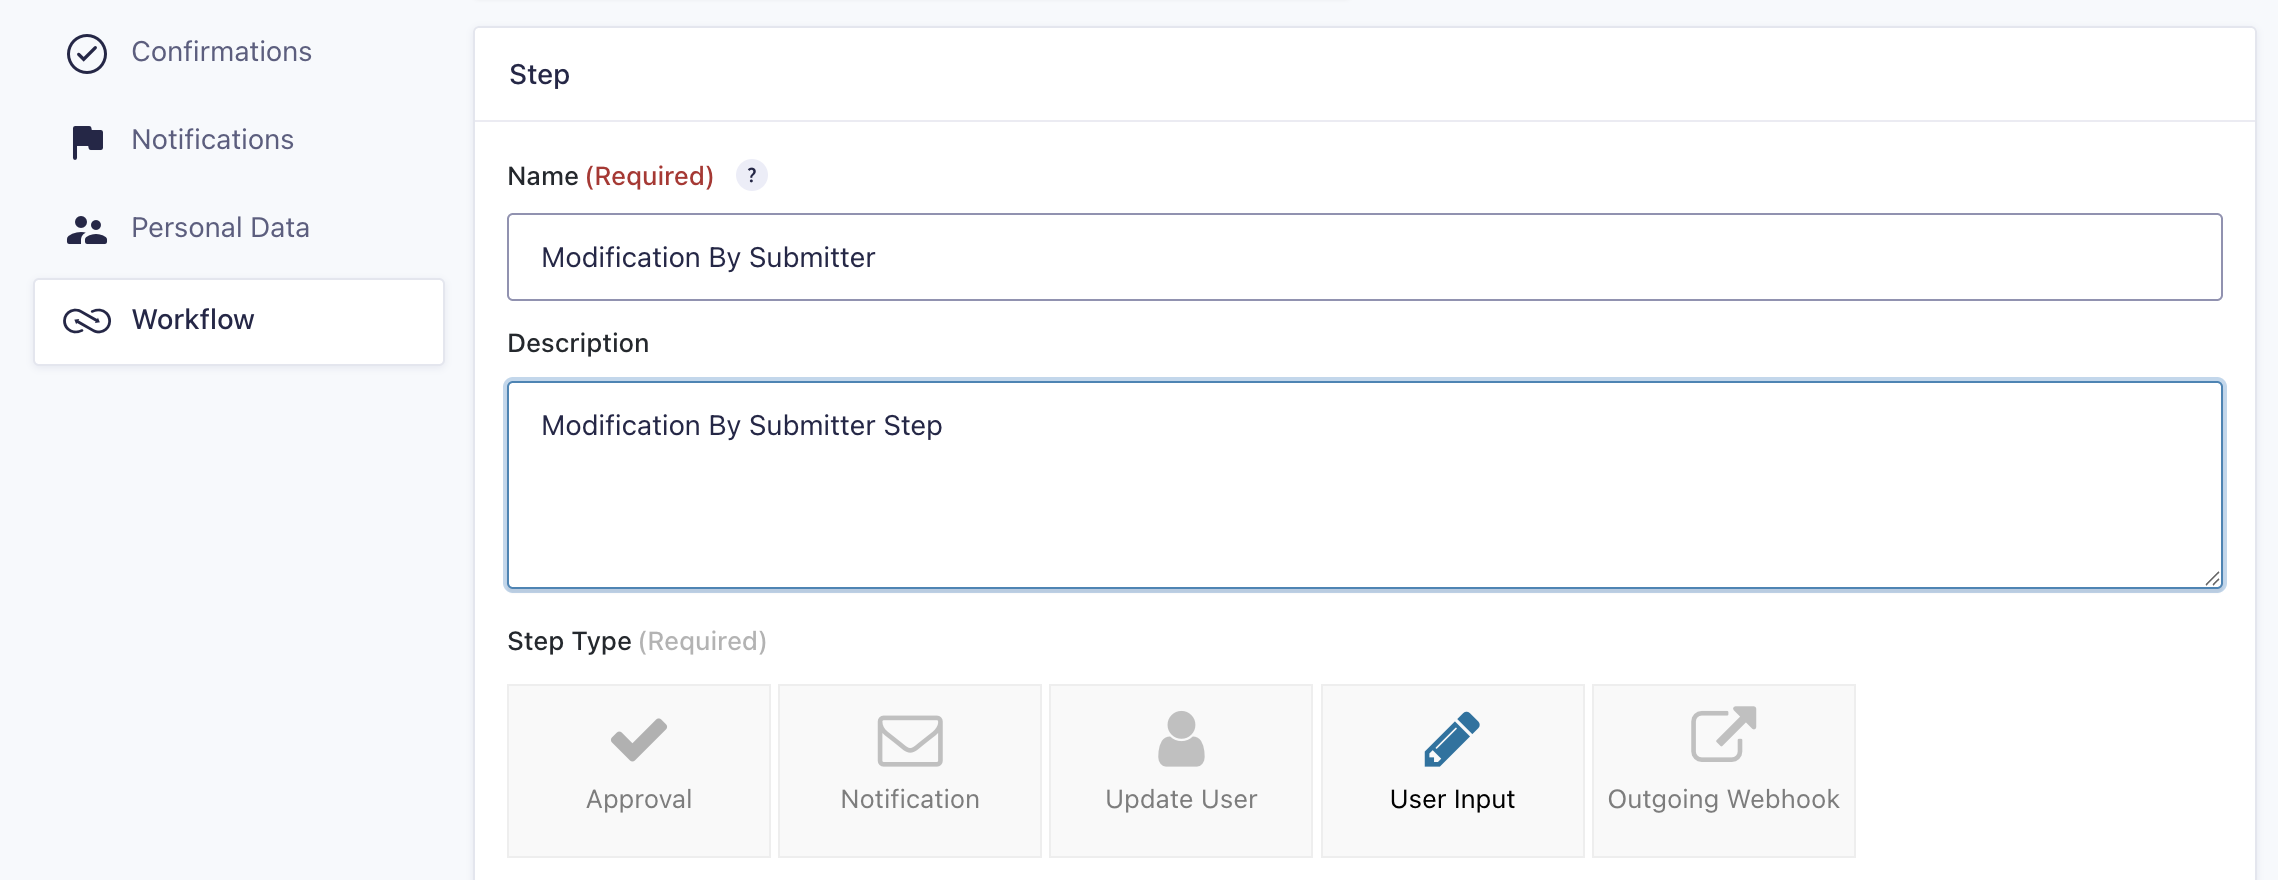
Create the Modification by Submitter Step
Next, create the second workflow step, Modification by Submitter.
- Repeat the same process used in the previous steps.
This time, set Step Type → User Input.
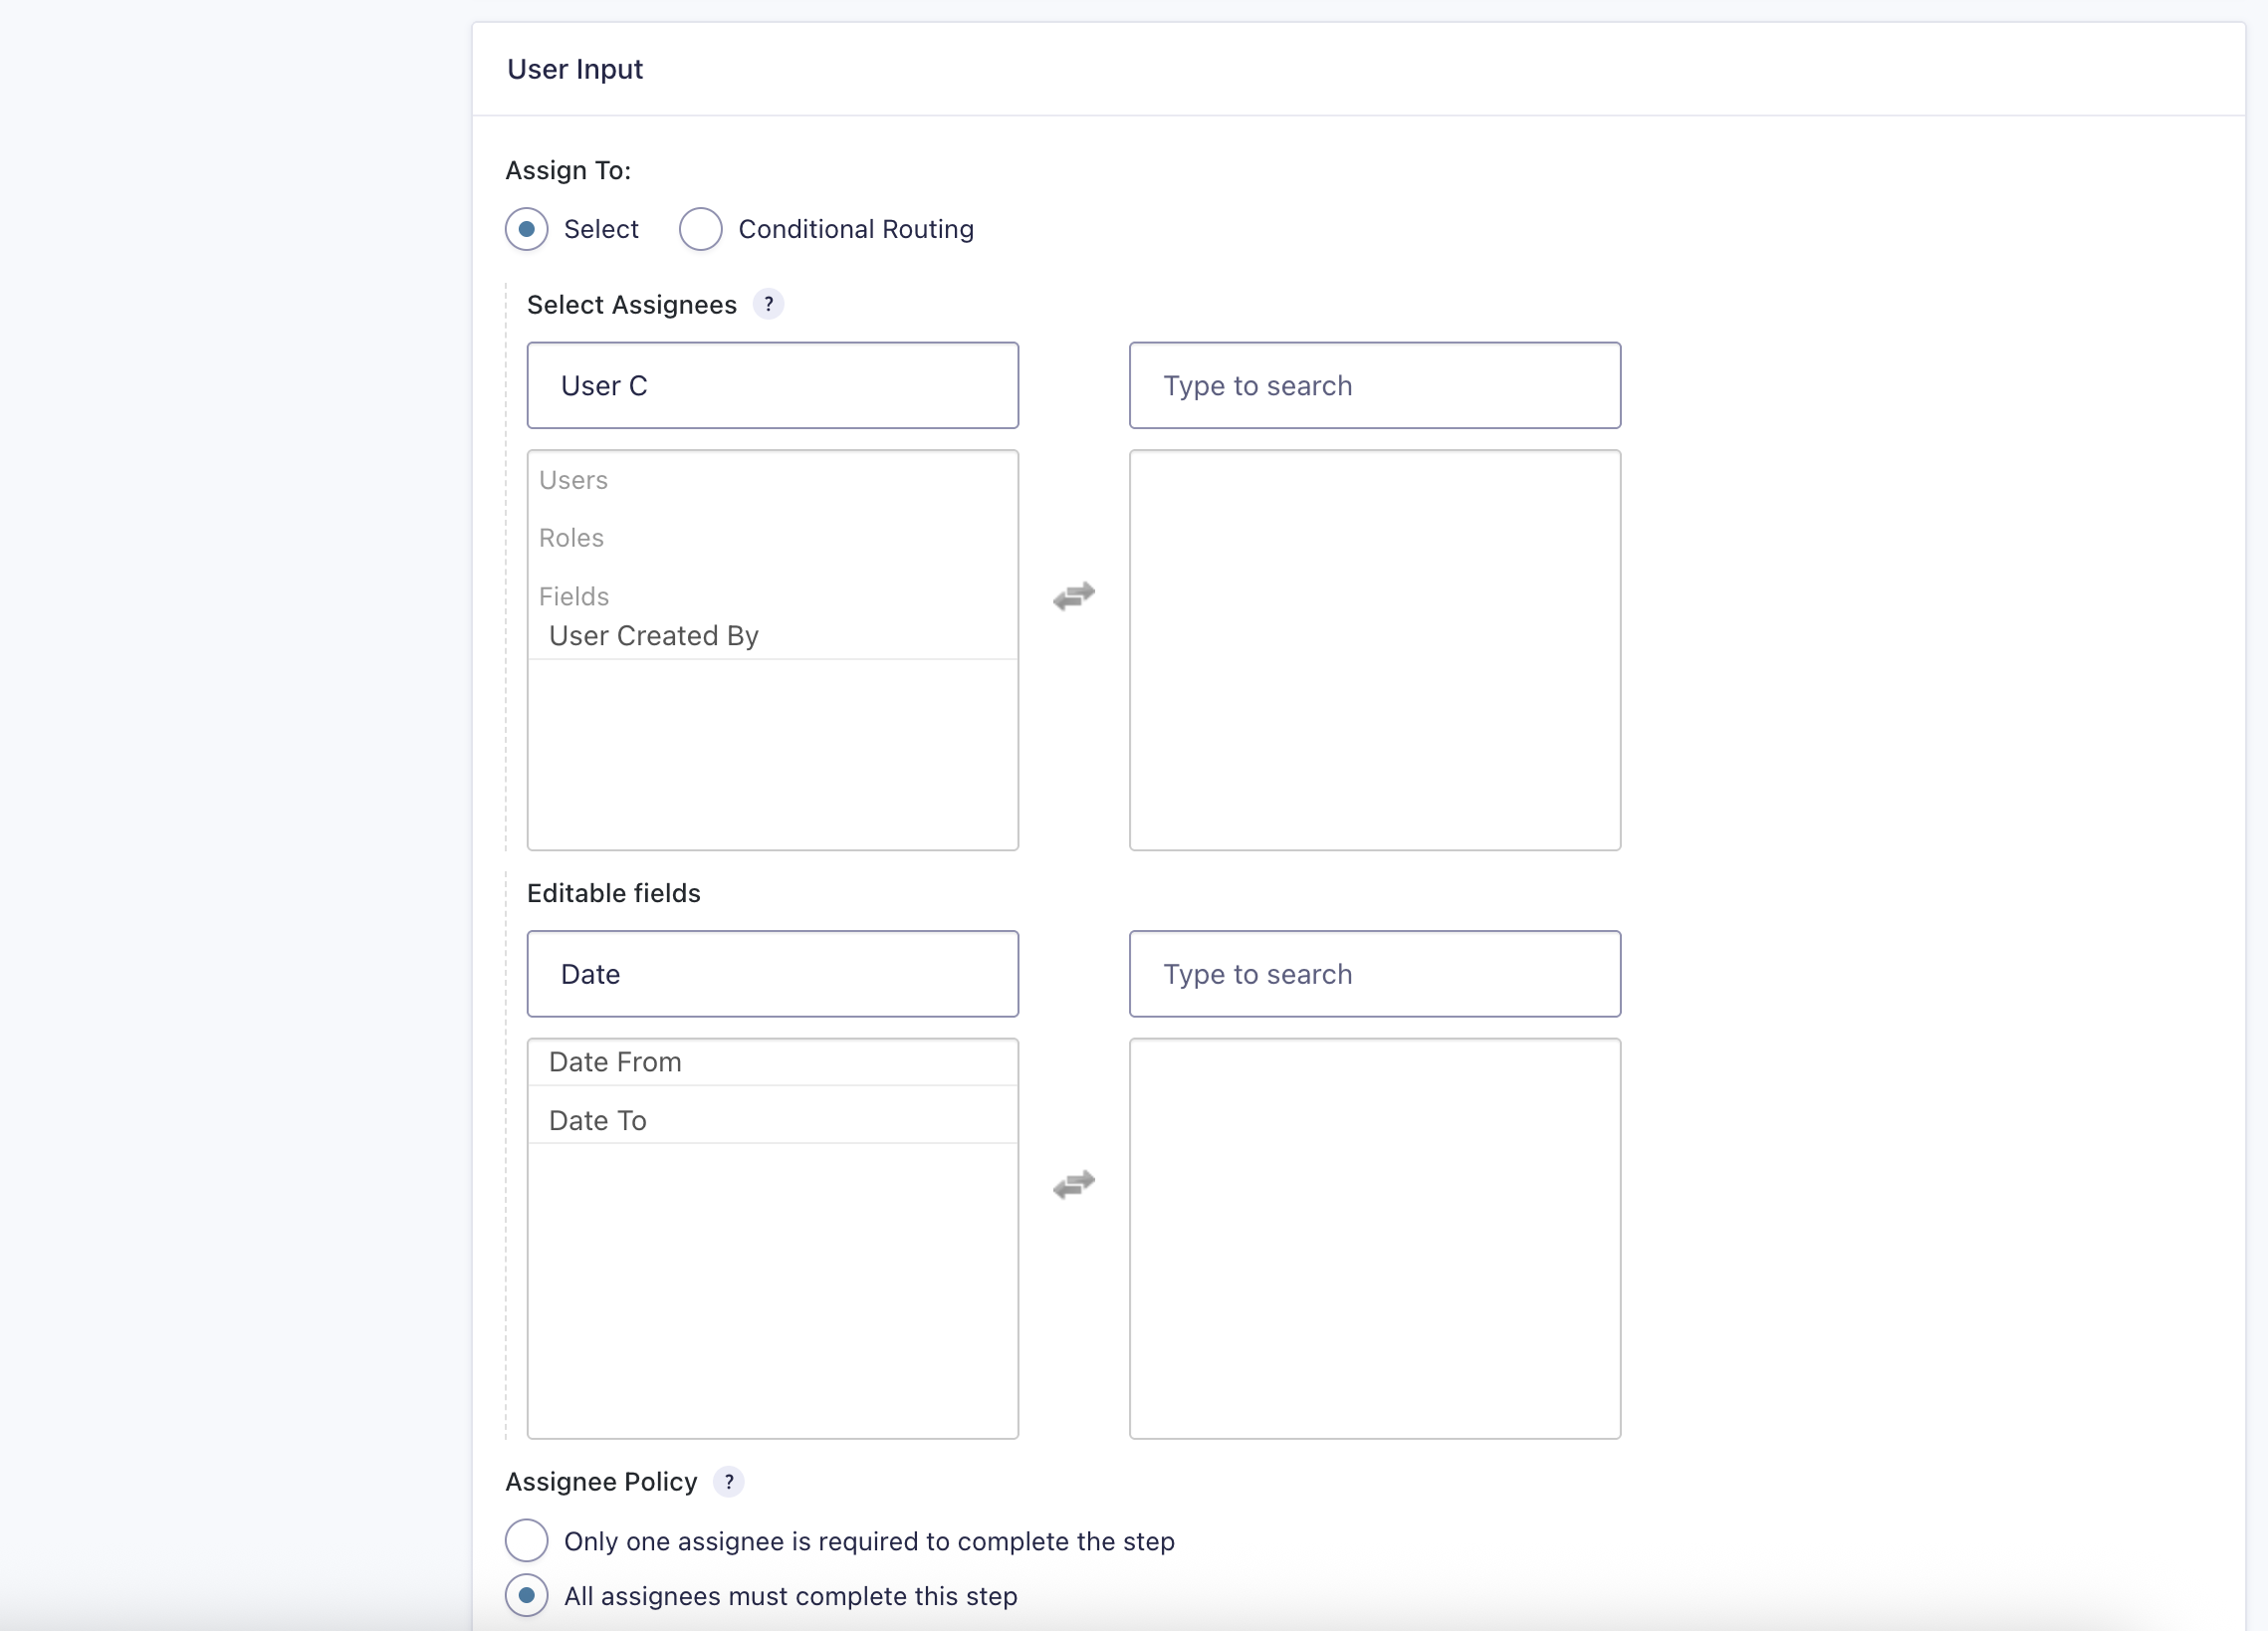
- Configure the User Input settings.
Select Assignees: choose User (Created by).
Editable Fields: select Date From and Date To.
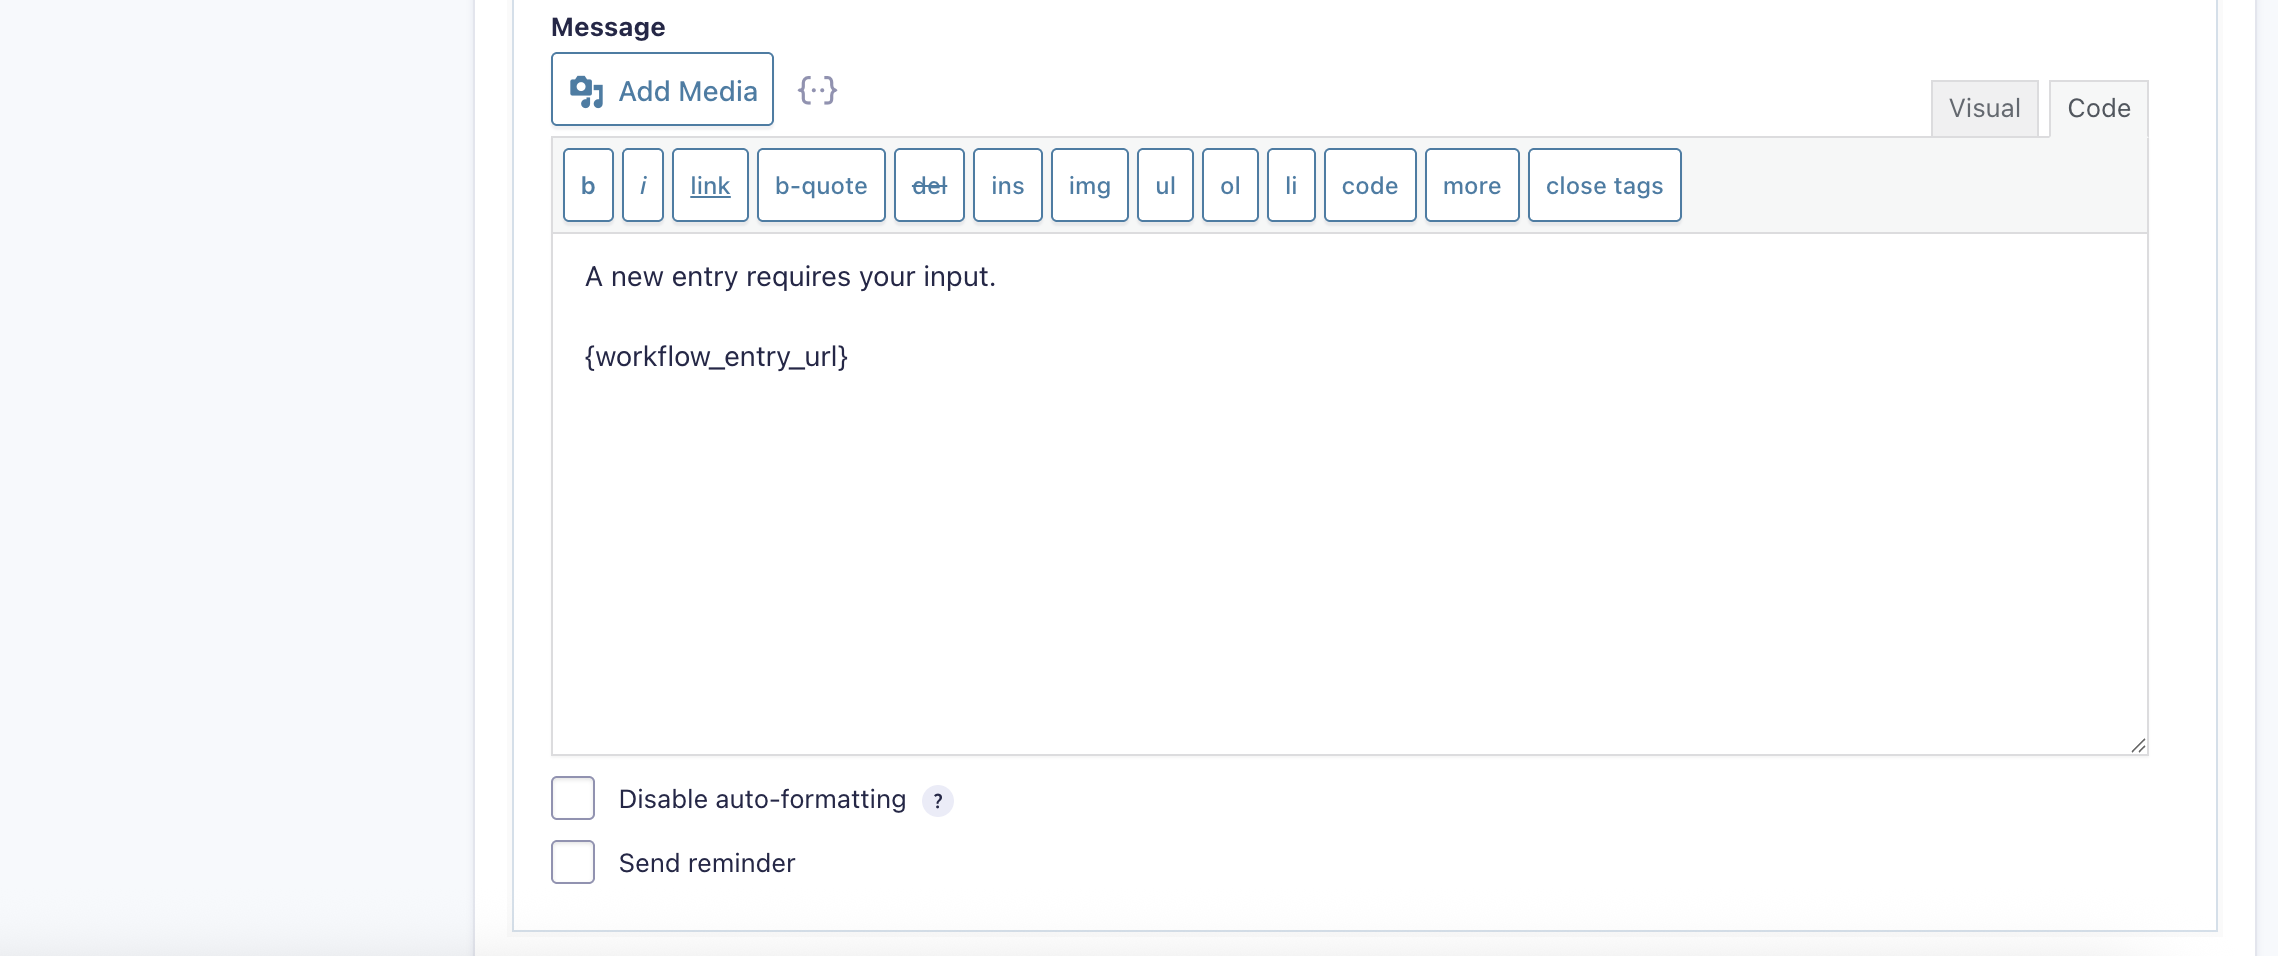
- Configure emails (optional).
Email settings can be adjusted based on specific needs, but changes are not required.
It is possible to add the merge tag {workflow_entry_url} to allow the submitter to return directly to the front-end Inbox to review and update their request.
- Set the Next Step.
Ensure Next Step is set to Manager Approval.
(This refers to the approval step created earlier.)

Click Update Step Settings to save the step.
Create the HR Processing Step
Finally, create the third workflow step: HR Processing.
- Repeat the same process used in the previous steps to add a new User Input step.
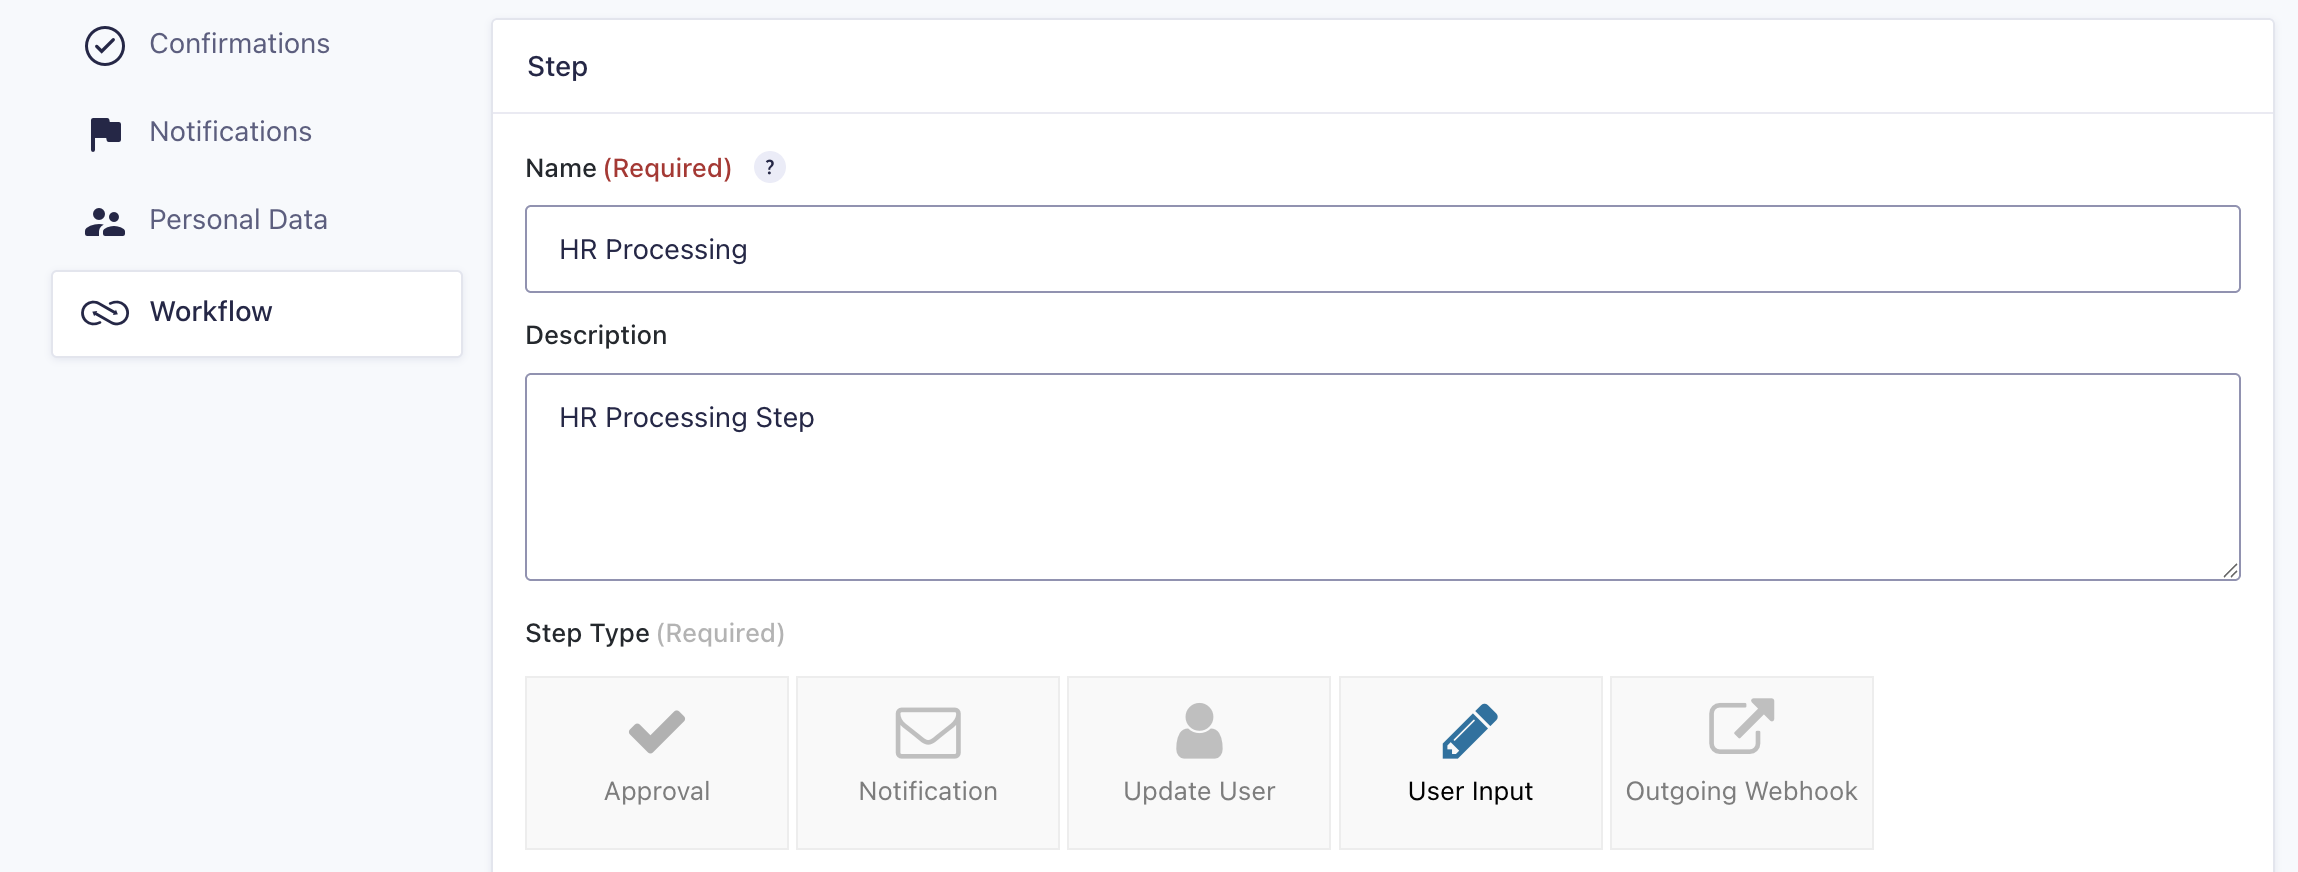
- Configure the User Input settings.
Select Assignees: choose HR Processor.
Editable Fields: select HR Comments.
- Email settings (optional).
Adjust email notifications as needed, though no changes are required. - Set the Next Step.
Set Next Step to Next Step in the list.
Click Update Step Settings to save the configuration.
Publish and Test the Workflow
At this stage, publish the Gravity Form to any post or page and start using the workflow. For best results, use the Gravity Forms Preview feature to test the whole process before publishing.
Review each step in this guide and try again. If problems persist, note the step where the issue occurs and contact Support for assistance.
Each user role in this guide, Submitter, Approver, and HR Processor, will only see what their WordPress permissions allow. When testing, ensure to sign in as each user to verify their experience accurately.