Introduction
The Incoming Webhook Step is a feature of the Incoming Webhook Extension which allows a workflow to pause on a step until it receives a request from an external system.
If you instead want an external system to create a brand new entry (rather than resume an entry already in progress), see the Incoming Webhook – Create an Entry page.
Adding an Incoming Webhook Step
- Select Incoming Webhook as the step type.
- Enter a name for your application.
- Enter a unique API Key or accept the default value.
The API key is used to authenticate each request. This value should generally not be changed after saving — if there are any entries on this step, changing it will cause those entries to get stuck in the workflow and prevent them from proceeding. - Enter a unique API Secret, which will also be used to authenticate the request. It’s good practice to change this secret periodically.
- Decide whether you want the step to map values from the incoming request into fields on the entry, and configure Field Mapping if so.

Once an entry reaches an Incoming Webhook step, it waits there until an authenticated request is received.
The Webhook URL
The Incoming Webhook extension listens for POST requests to URLs in the following format:
[domain]/[api base]/entries/[Entry ID]/workflow-hooks
Both version 1 and version 2 of the Gravity Forms Web/REST API are supported.
Version 1 of the Gravity Forms Web API (not recommended):
http://site.test/gravityformsapi/entries/802/workflow-hooks
Version 2 of the Gravity Forms Web API, using WP API routing (recommended):
http://site.test/wp-json/gf/v2/entries/802/workflow-hooks
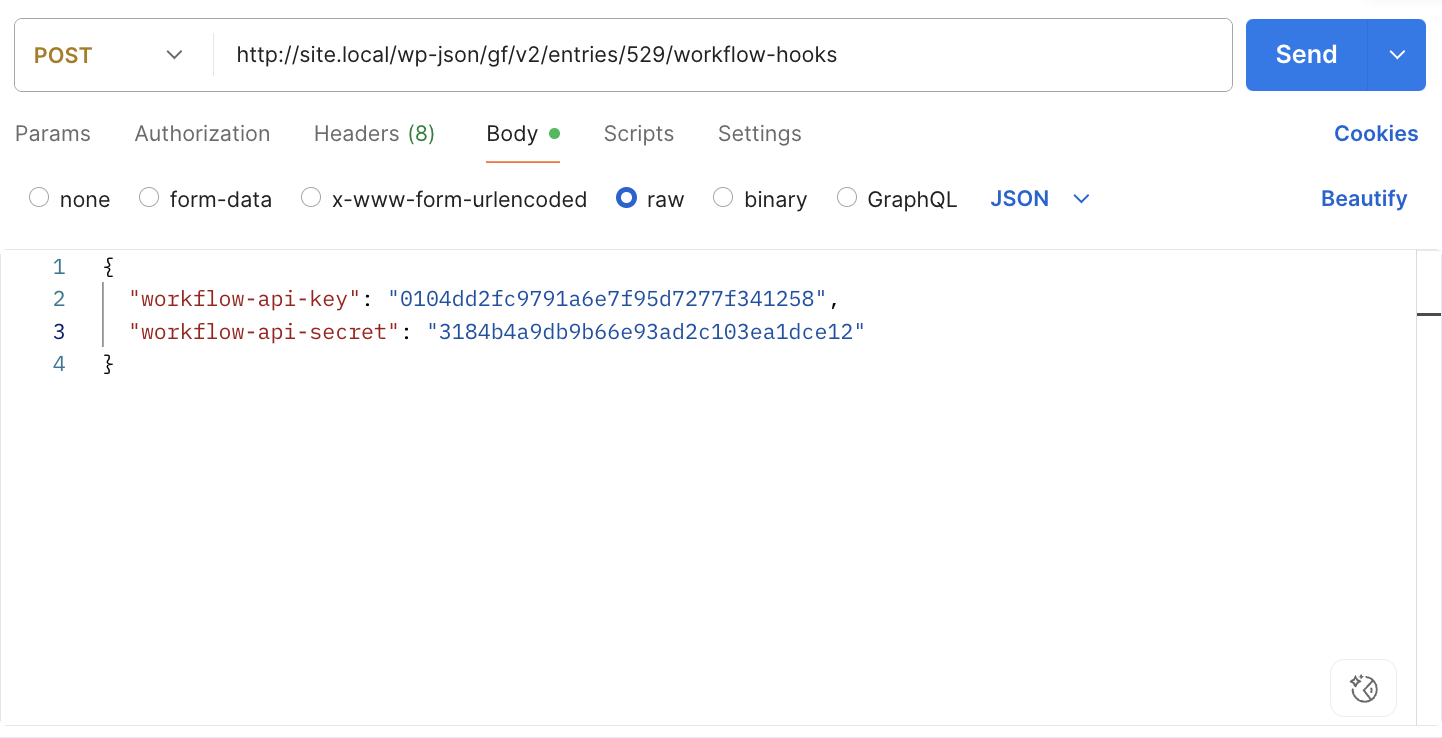
The following parameters must be sent with the POST request, either in the URL or in the body:
- workflow-api-key
- workflow-api-secret
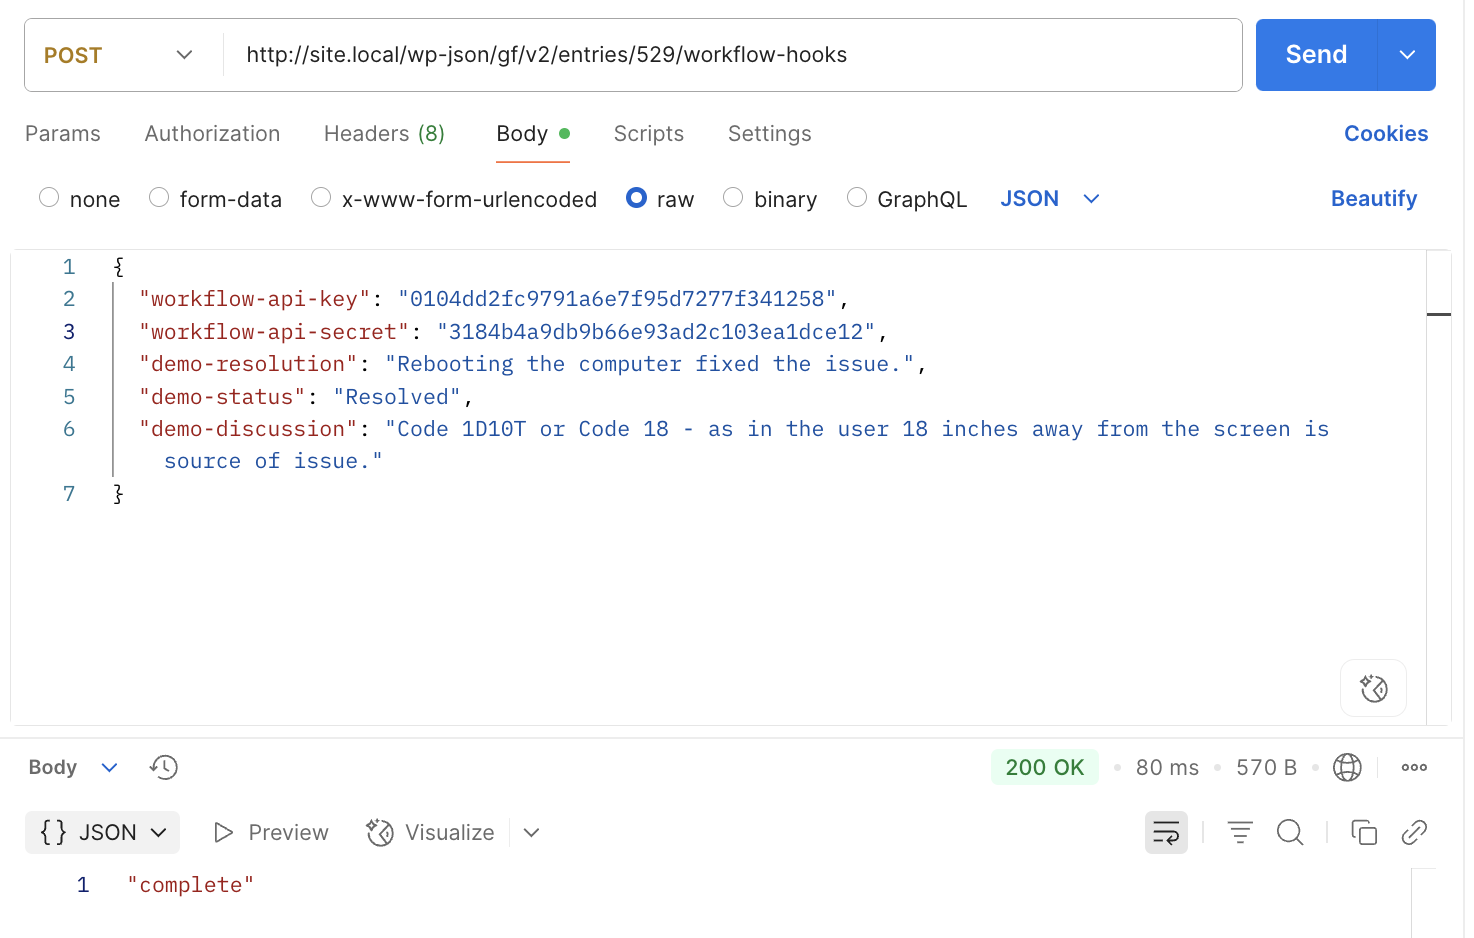
Example request:
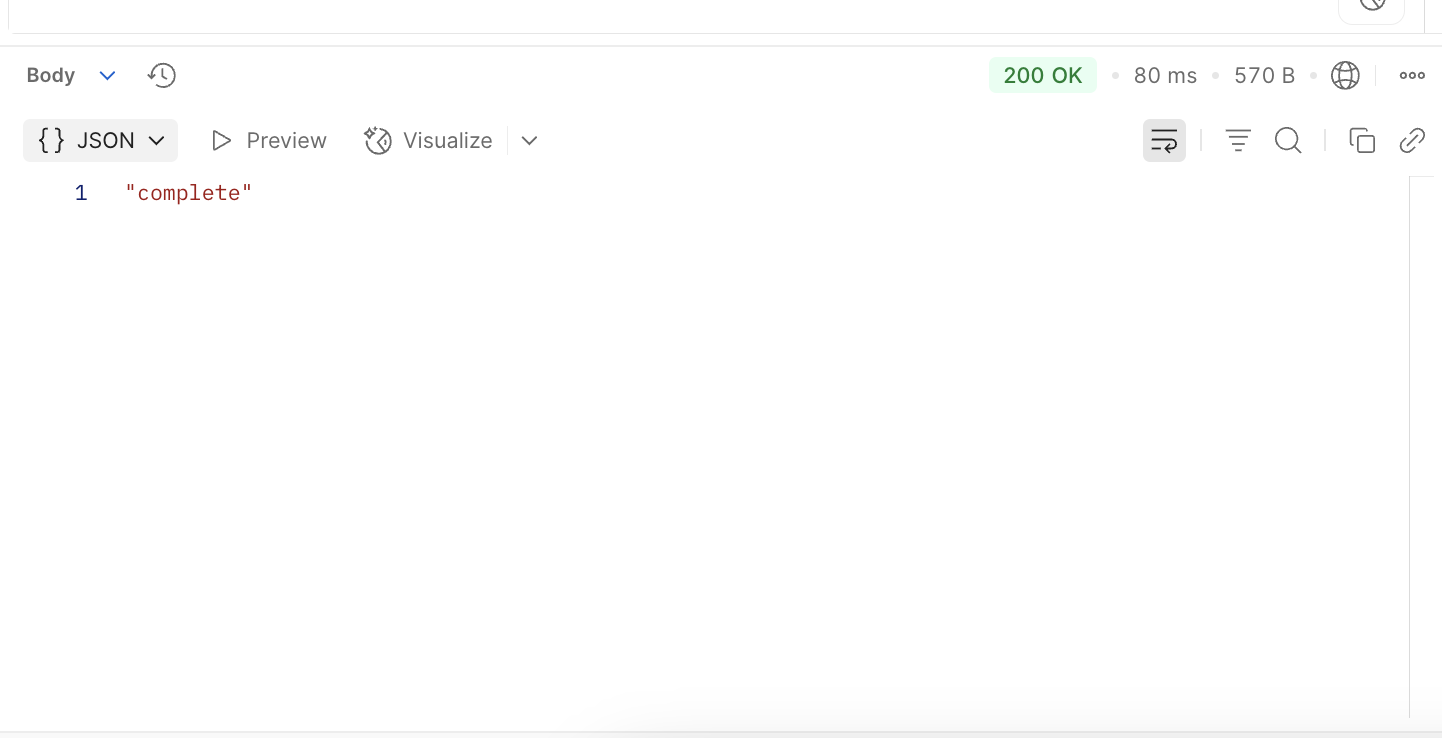
Response:
You can also send the key and secret as query parameters in the URL, instead of in the body:
http://site.test/wp-json/gf/v2/entries/802/workflow-hooks/?workflow-api-key=xxxxxxx&workflow-api-secret=xxxxxxxx
Request Field Mapping
The step settings include a Field Mapping option, which opens up many more integration possibilities. If you’re familiar with the Outgoing Webhook step setup, this setting will feel familiar.
The default (None) processes the workflow onto the next step as soon as a valid request is received.
This is useful when the entry’s workflow only needs to know that a 3rd-party system (or another form using an Outgoing Webhook step) has completed a task before proceeding — no data needs to be returned.
Select Fields lets you map a request key to an entry field.
When a valid request is received with data in the body as either form-data or JSON, the mapped values are stored in the entry. This allows a 3rd-party system to pass updated data back into the entry via the incoming webhook step.

See the Field Mapping page for further details, including how each request format maps to different field types.
Webhook Demo Help Desk
You can download the demo, which contains the following files to help you get started:
gravityforms-export-webhook-demo.json
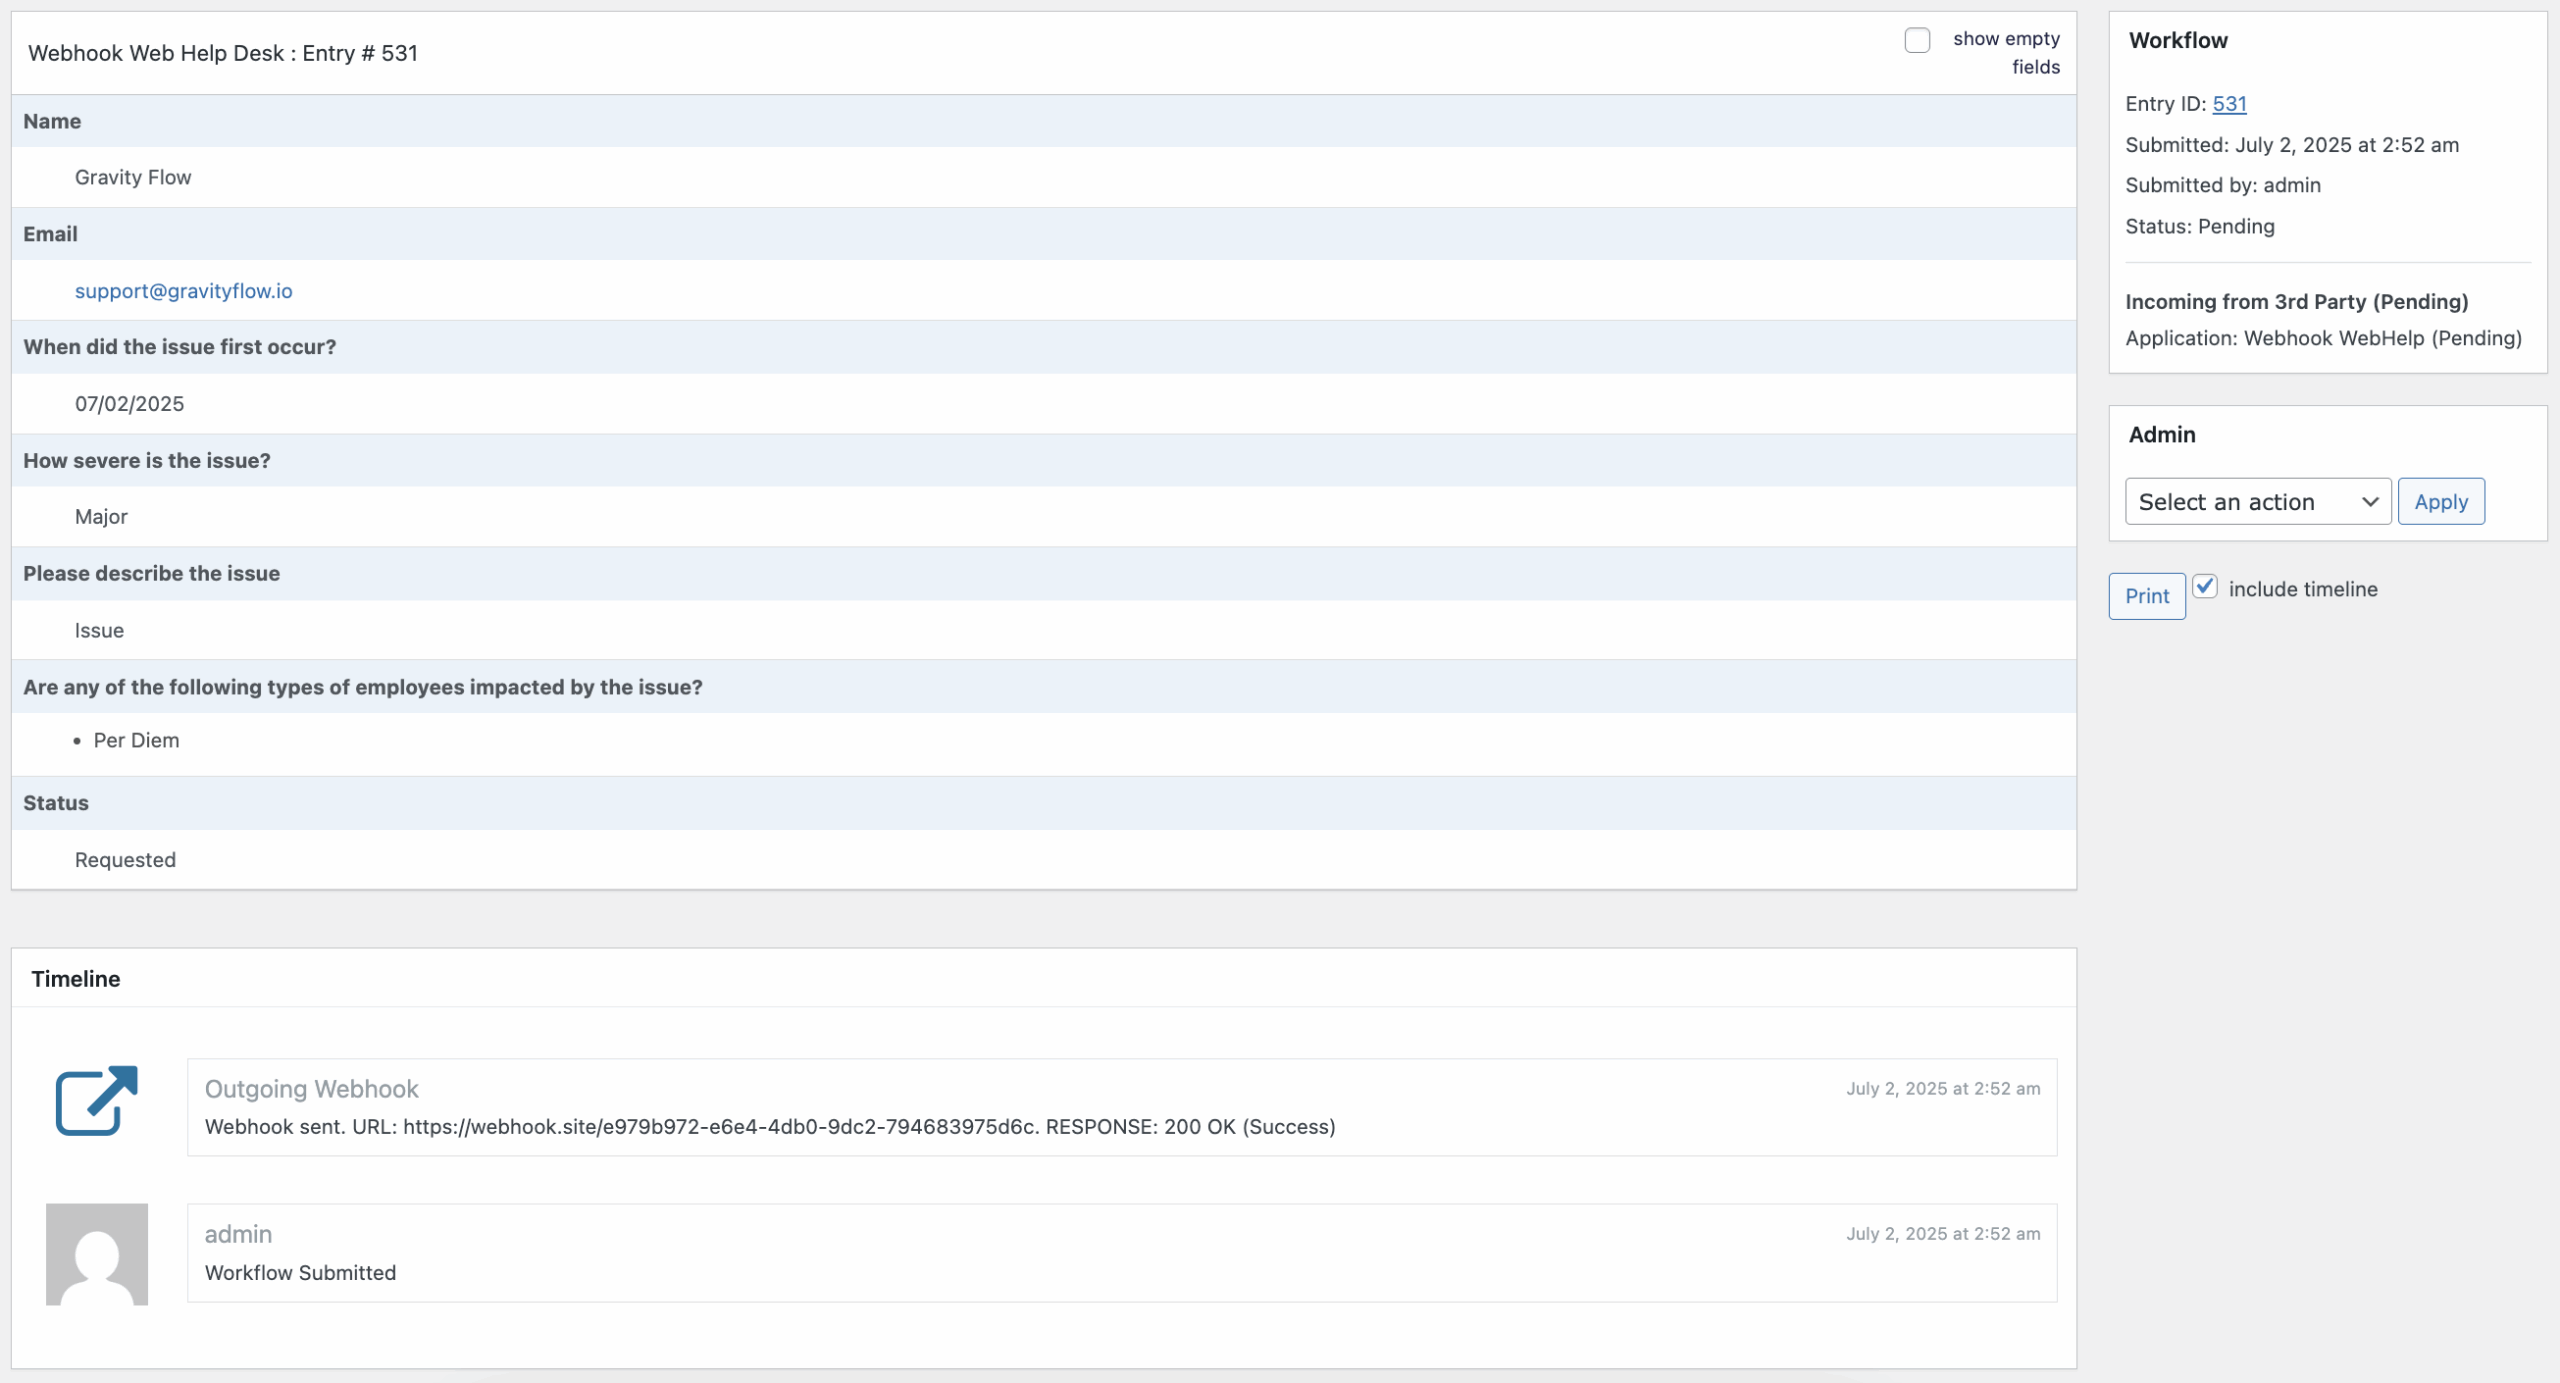
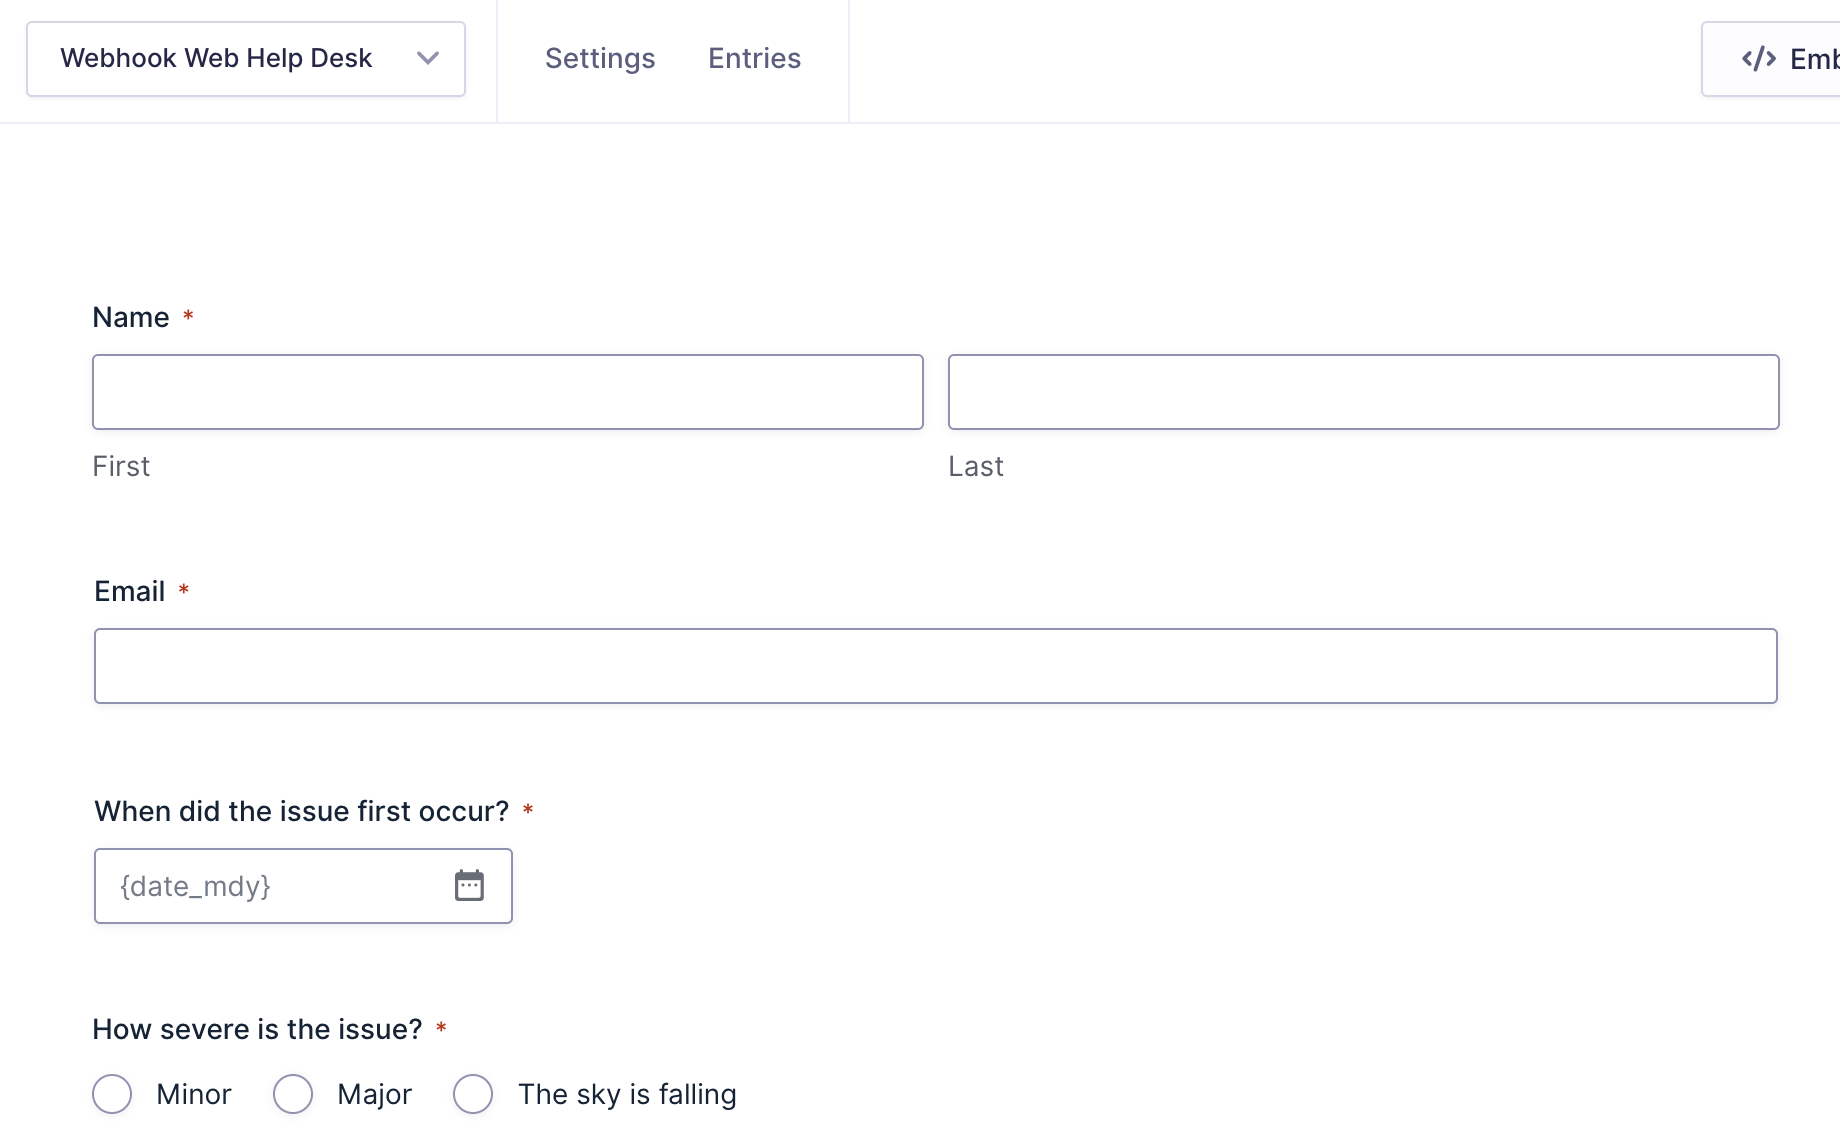
An exported form that simulates a help desk website form. Entry details are sent via an Outgoing Webhook step to a back-end/3rd party system for processing (simulated using webhook.site), and an Incoming Webhook step waits for the response, which you can simulate yourself.
Webhook Web Help Desk.postman_collection.json
A Postman collection. After importing it and making a few small changes to match your test environment, you can send the incoming request and complete the workflow.
webhook.php / webhook.html
An example call (generated via Postman) that completes the incoming webhook step via PHP or JavaScript.
How to set up the demo in your local environment
- Download webhook-demo-helpdesk.zip and extract it.
- In your test environment, go to Forms > Import and import gravityforms-export-webhook-demo.json. The new form will be named “Webhook Web Help Desk.” If needed, see Gravity Forms’ instructions on importing forms.
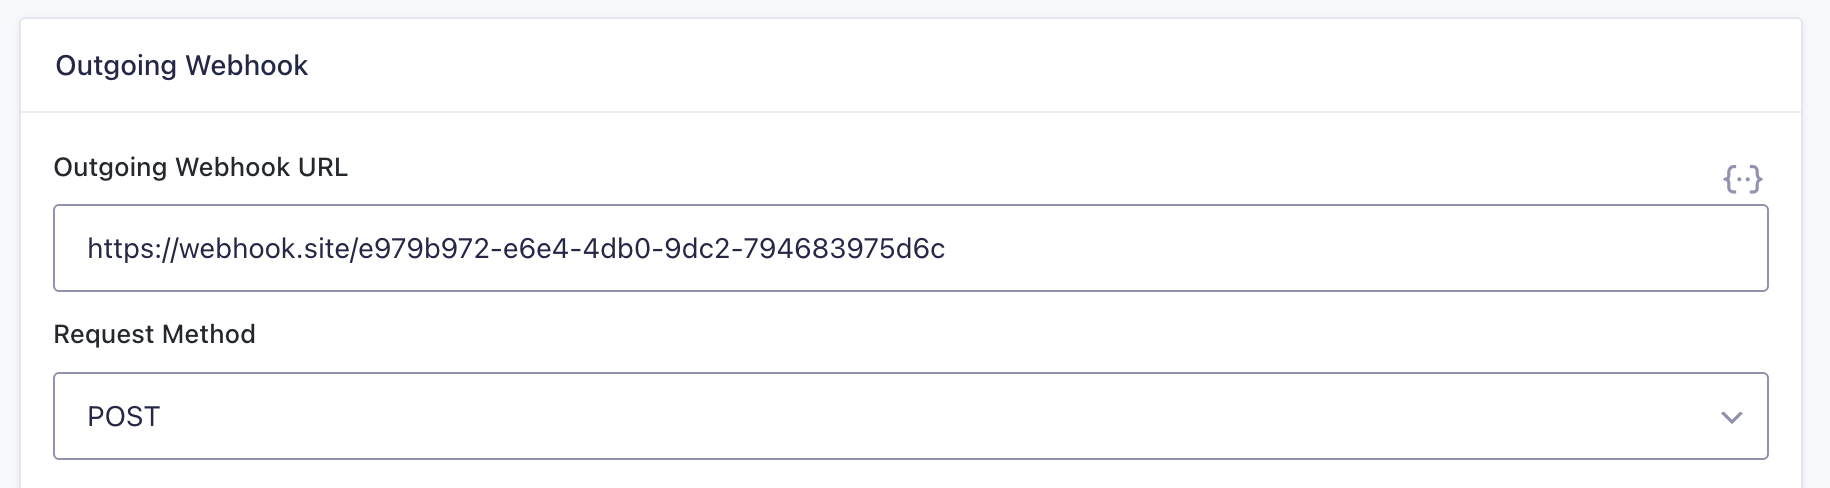
- (Optional) Review the Outgoing Webhook step on the new form. The demo points it at a webhook.site URL, which should respond without any changes on your part — but using your own webhook.site (or similar) URL lets you see the request and response of the outgoing step directly, which is helpful if the demo fails at that step in your environment.
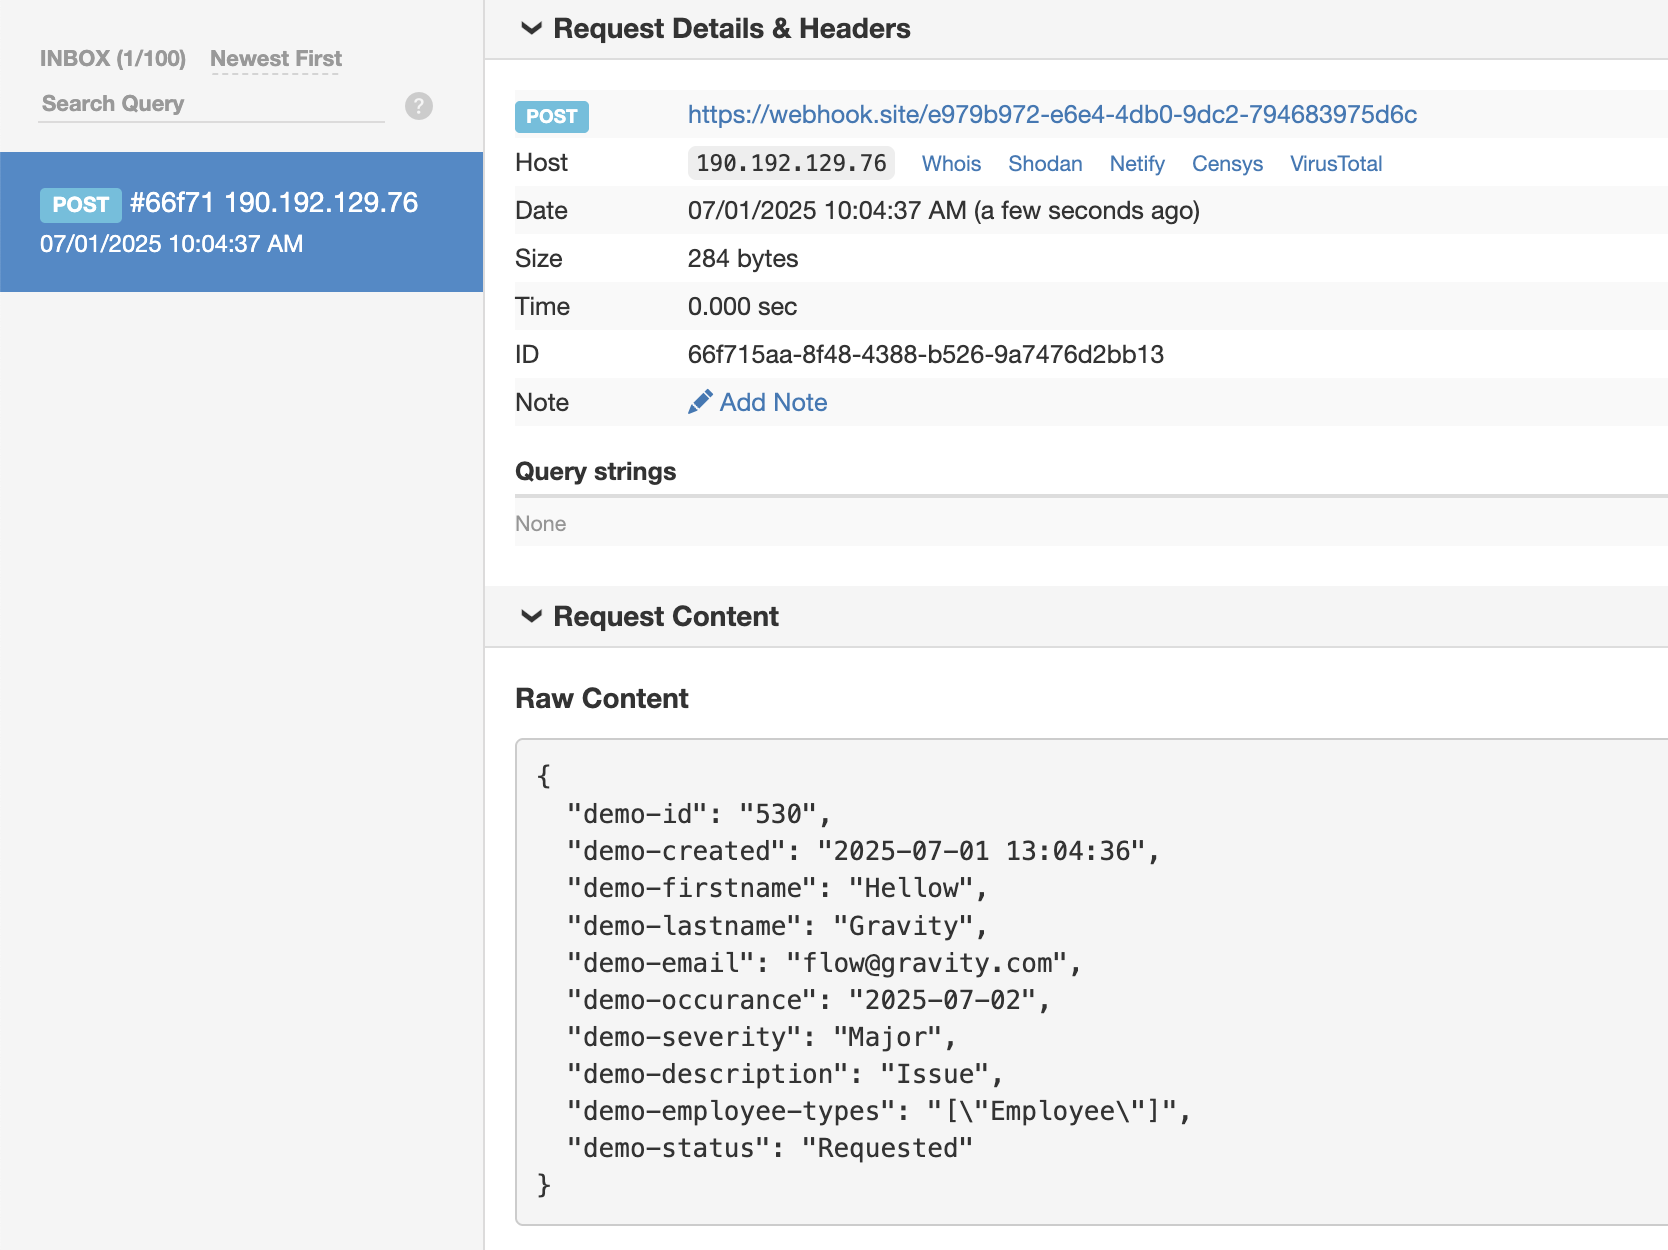
- Preview the form and create a test entry. Note the entry ID shown on the confirmation screen.
- Send the incoming request using whichever API tool you prefer. The included Postman collection (and webhook.php / webhook.html) are set up to call
http://local.test/wp-json/gf/v2/entries/6/workflow-hooks. Update the domain (local.test) and the entry ID (6) to match your environment before sending.
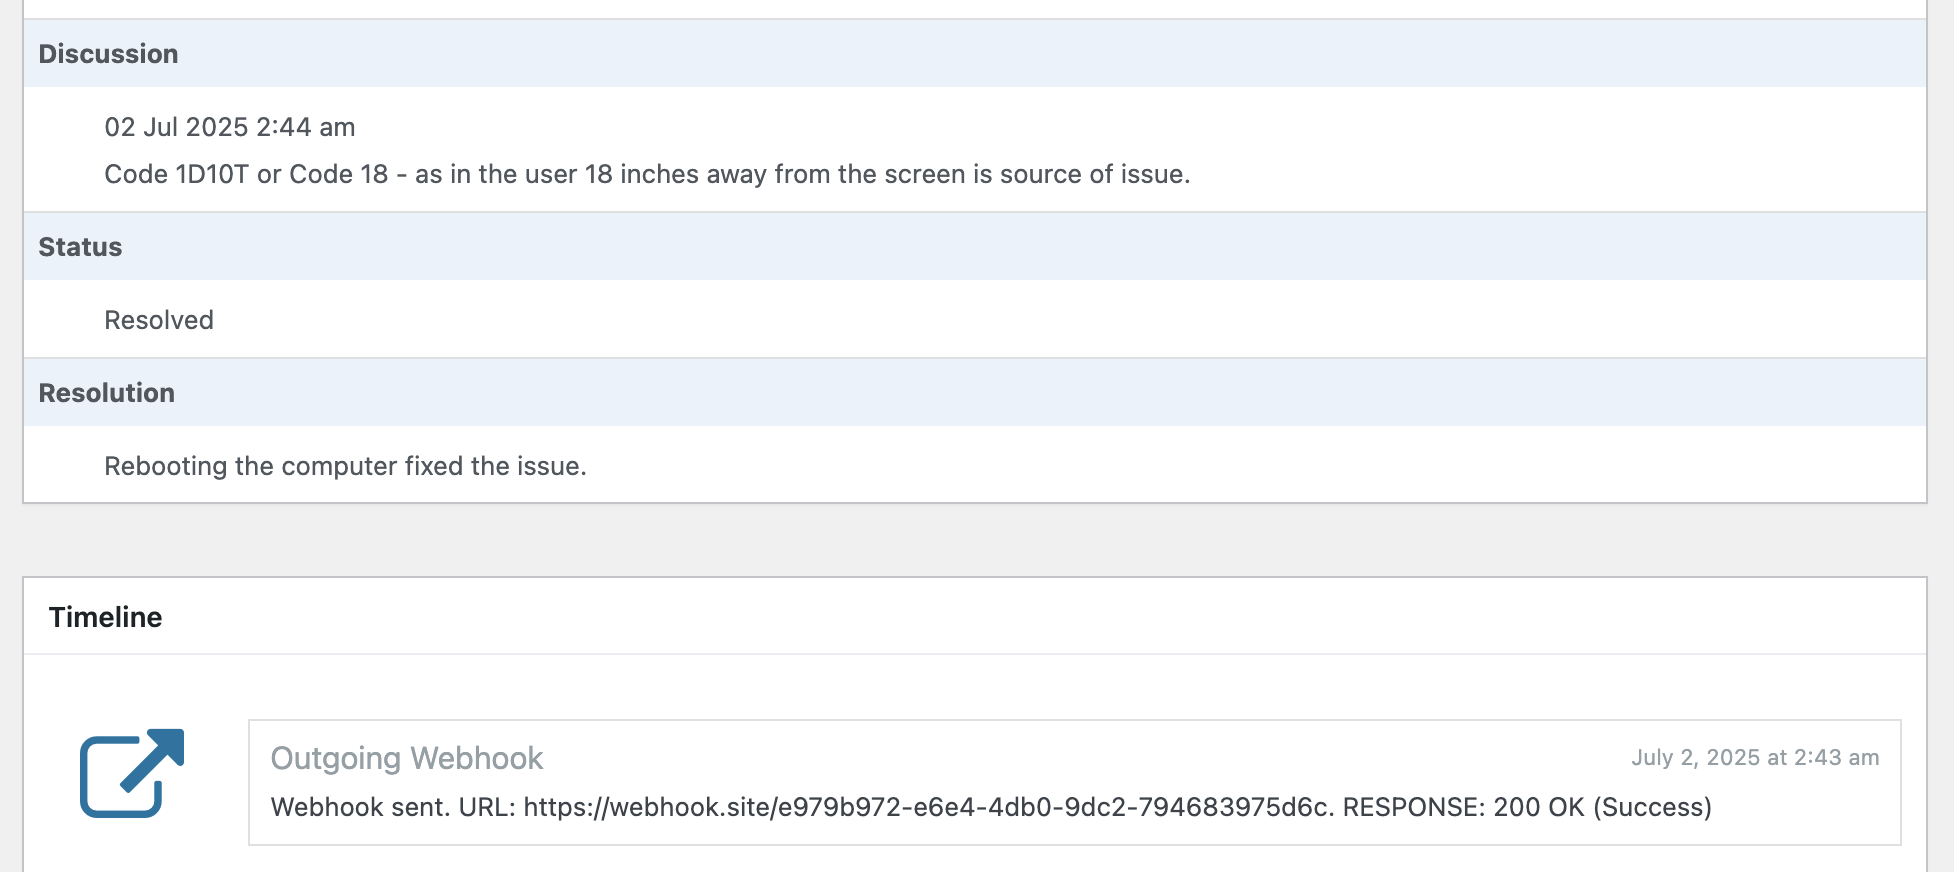
- Open the Workflow Status page to confirm the entry’s workflow has completed, and that the resolution, status, and discussion fields have been updated.