
Overview
The User Registration Add-On for Gravity Forms allows you to register users directly on your WordPress website. It integrates seamlessly with any form by adding User Registration fields and configuring the settings.
Integration
The add-on enables creating a feed that registers users immediately after form submission. See the User Registration Add-On Documentation for setup instructions.
Gravity Flow Integration
Gravity Flow automatically ensures that if your workflow contains a step associated with a feed, the default post-submission feed will not execute independently. This allows greater control over when integrations, such as when User Registration feeds are triggered.
Creating a User Registration Workflow Step
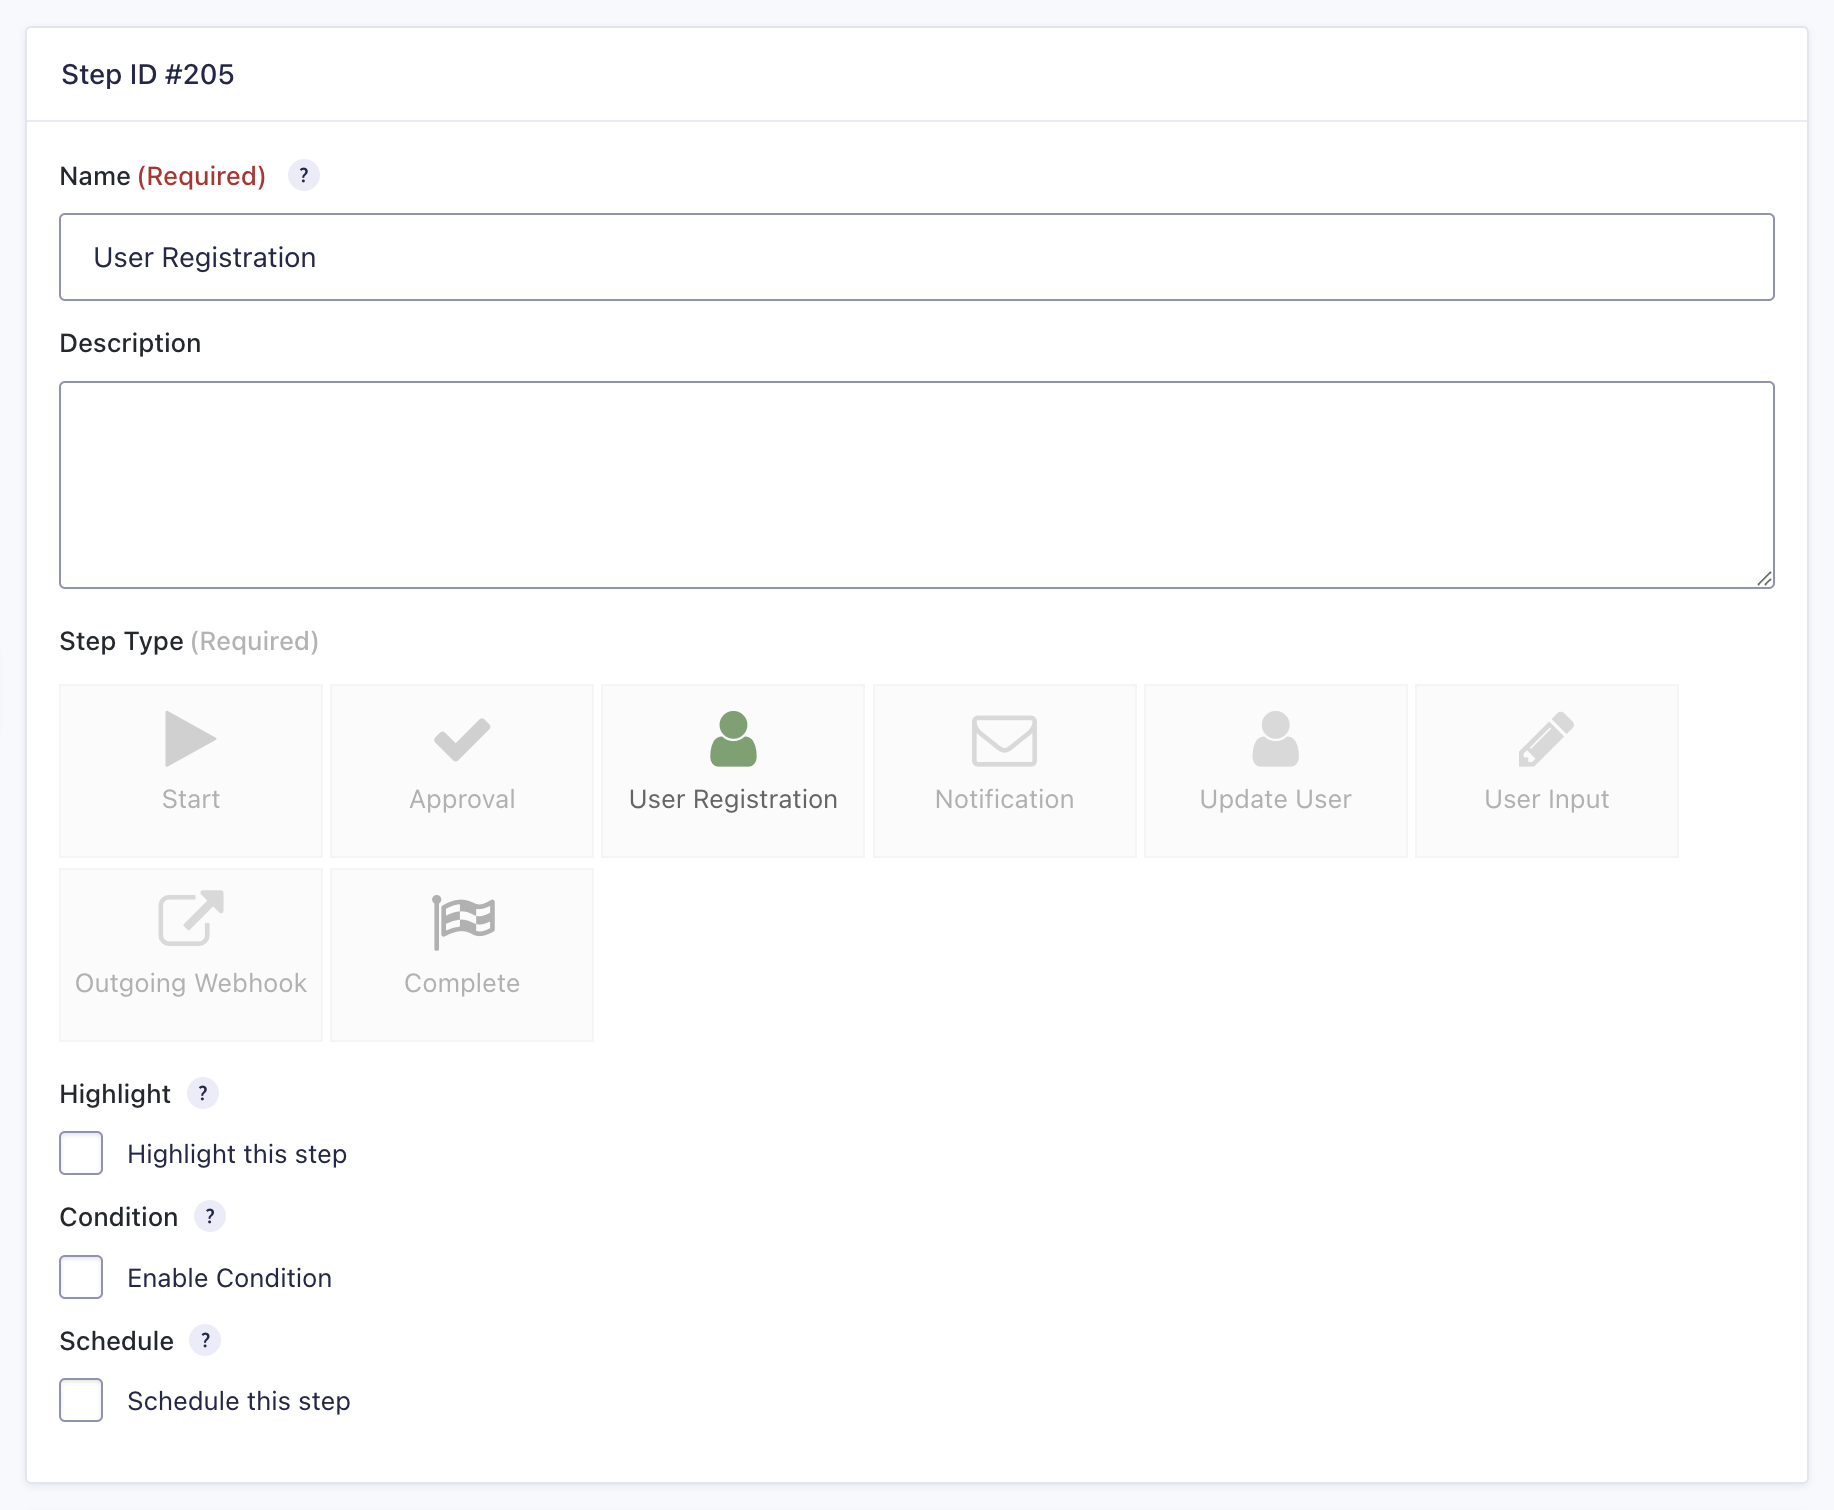
To add a User Registration step to the workflow:
- From the Form Editor screen, navigate to Settings → Workflow.
- Select Add New Step and set a Name for the step.
- Choose the User Registration step as the Step Type.
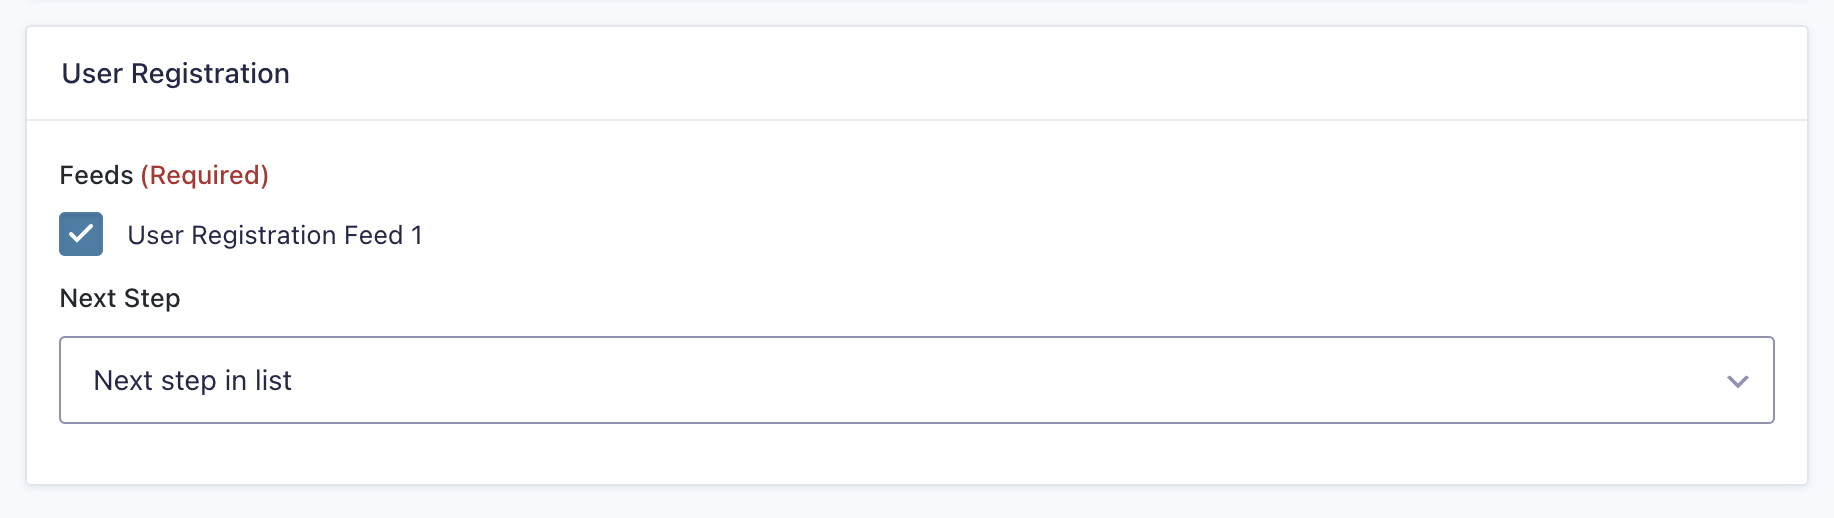
- Select a User Registration Feed that was created using the User Registration Add-On.
- Click the Update Step Settings button to save the step.
User Registration Step Settings Reference
| Setting | Description |
|---|---|
| Name | Defines the workflow step name used to identify it within the workflow. Required |
| Description | Provides a short description of what the step does. |
| Step Type | Highlight this step to visually emphasize it in the workflow. Required |
| Highlight | Highlight this step to visually emphasize it in the workflow. |
| Condition | Enables a condition to determine whether the step will run. |
| Schedule | Configures when this step will execute within the workflow. |
| User Registration Feed | Highlight this step to visually emphasize it in the workflow. Required |
| Next Step | Defines the next step in the workflow sequence. |
Creating a User Update Workflow Step
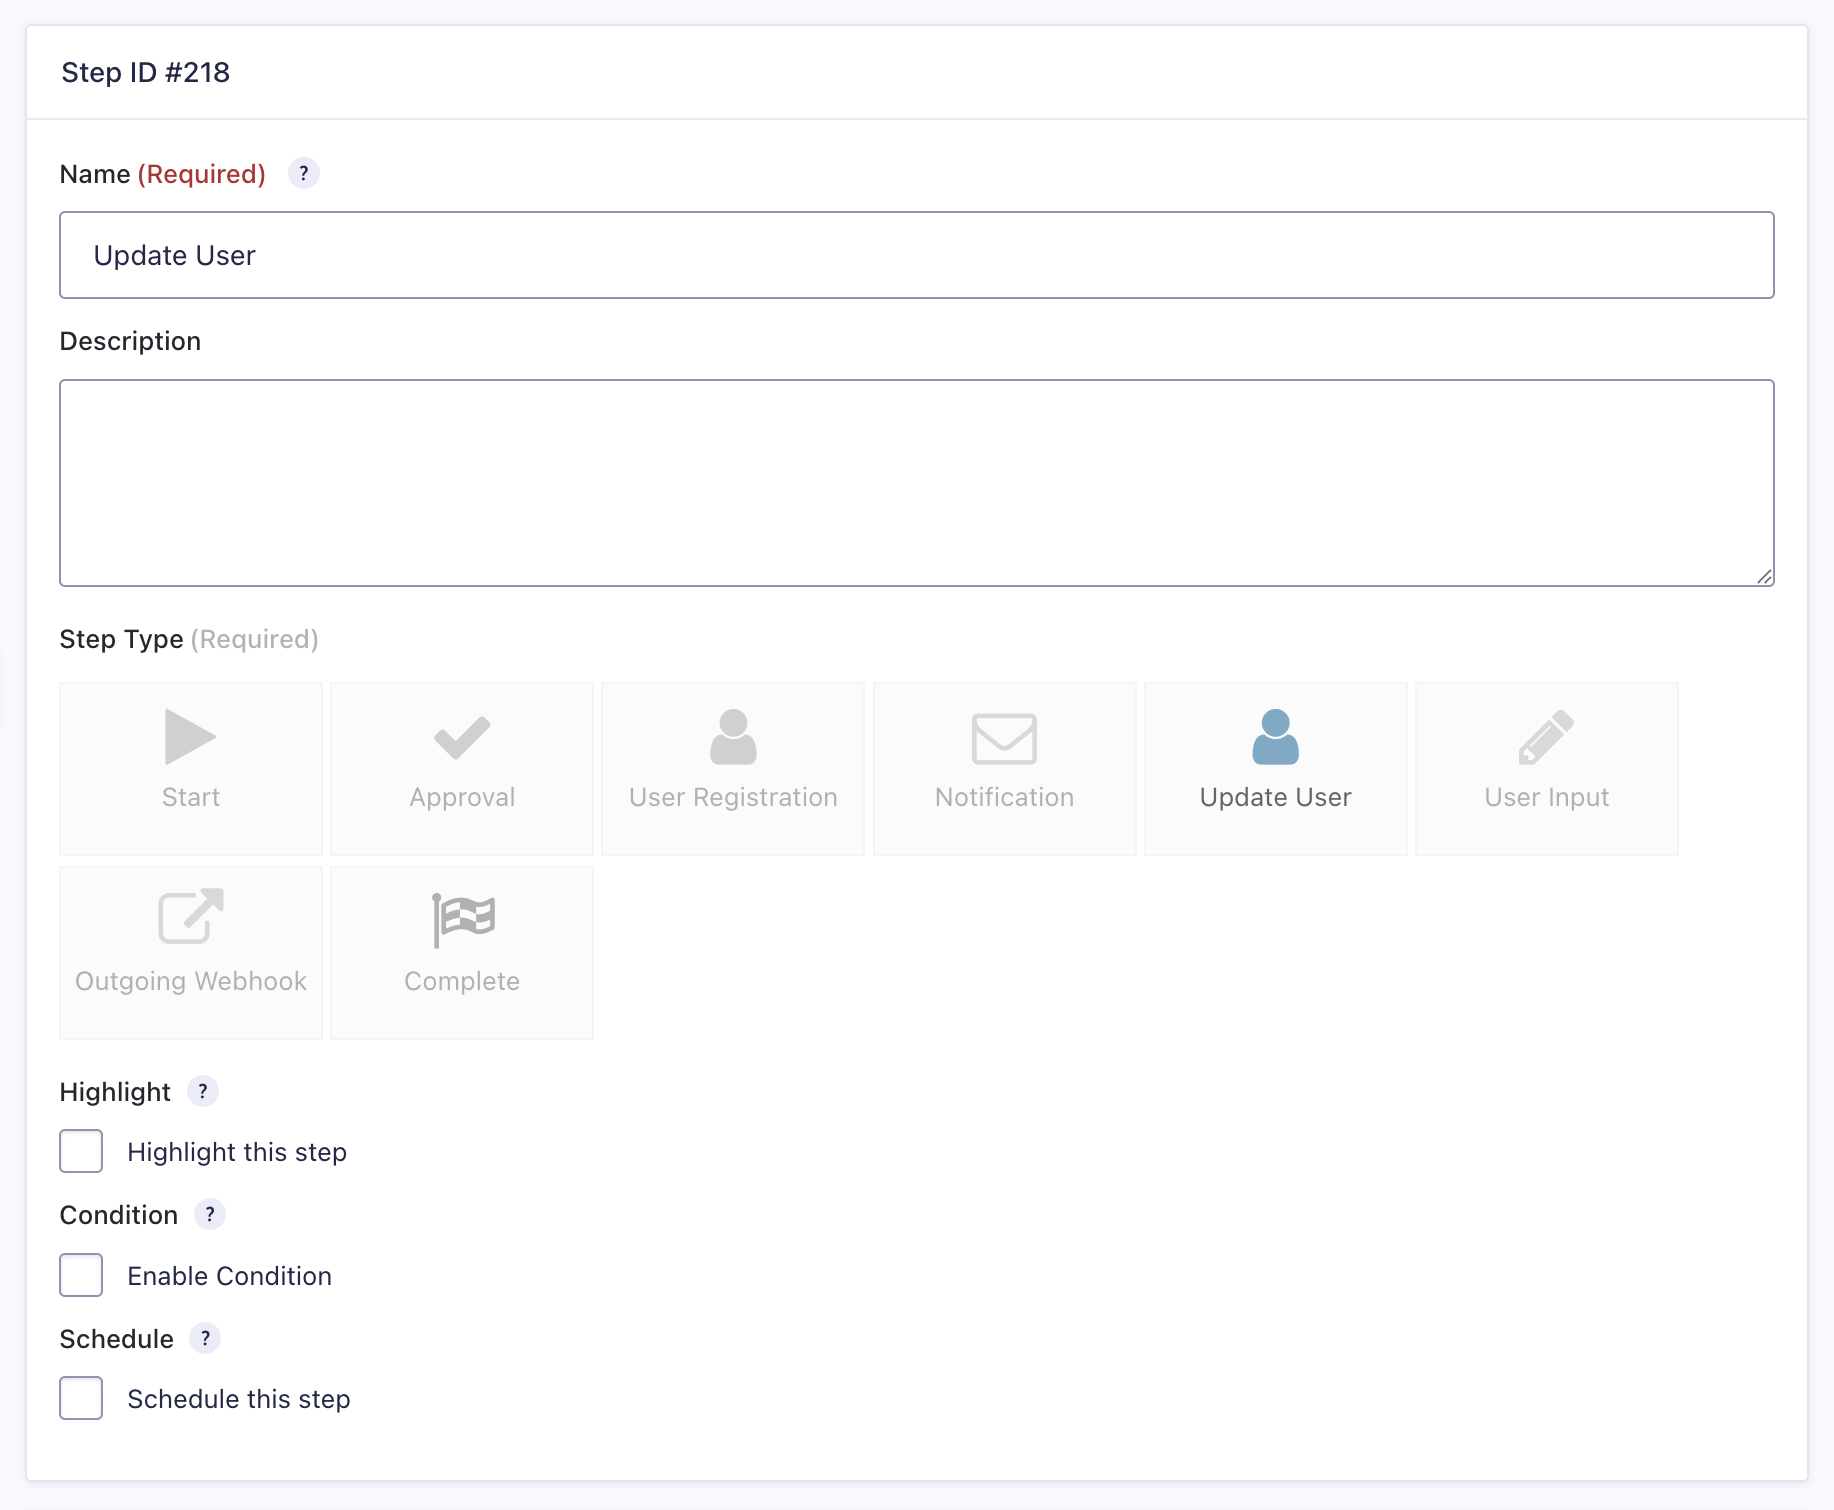
To add an Update User step to the workflow:
- From the Form Editor screen, navigate to Settings → Workflow.
- Select Add New Step and set a Name for the step.
- Choose the Update User step as the Step Type.
- Click the Update Step Settings button to save the step.
Update User Settings Reference
| Setting | Description |
|---|---|
| Name | Defines the workflow step name used to identify it within the workflow. Required |
| Description | Provides a short description of what the step does. |
| Step Type | Specifies the type of step to execute. Required |
| Highlight | Highlight this step to visually emphasize it in the workflow. |
| Condition | Enables a condition to determine whether the step will run. |
| Schedule | Configures when this step will execute within the workflow. |
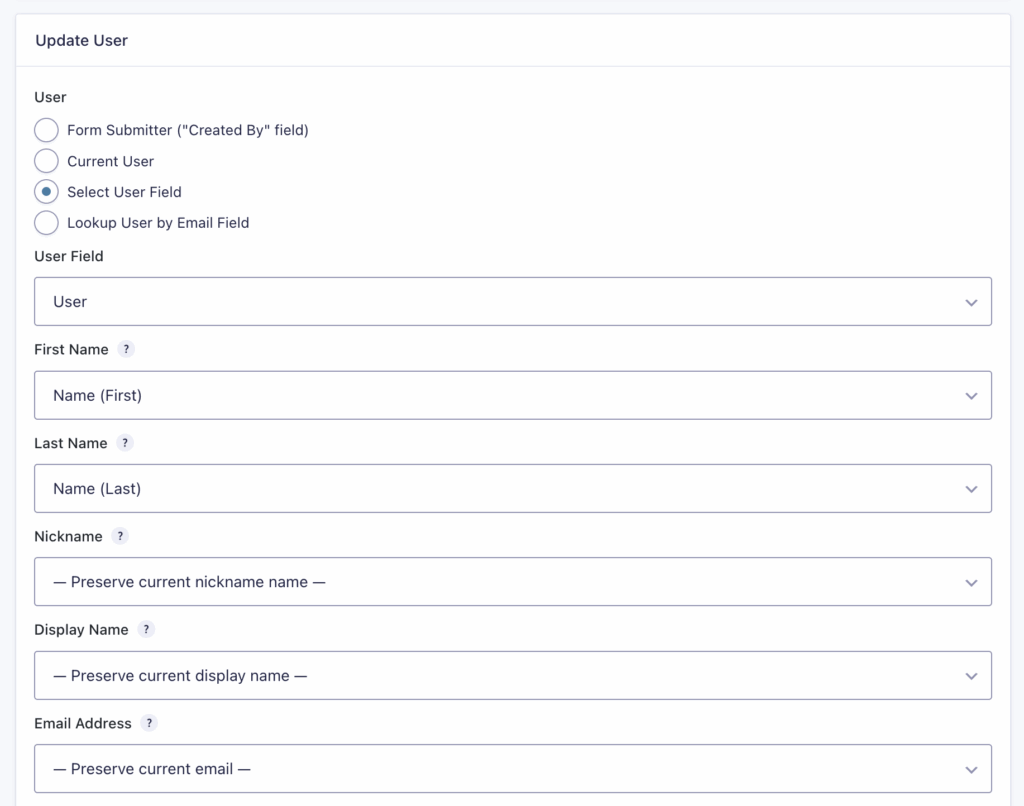
| User | Defines which user account will be updated. Options include Form Submitter (“Created By” field), Current User, Select User Field, and Lookup User by Email Field. |
| First Name | Maps a form field to update the user’s first name. |
| Last Name | Maps a form field to update the user’s last name. |
| Nickname | Maps a form field to update the user’s nickname or preserves the current value. |
| Display Name | Maps a form field to update the user’s display name or preserves the current value. |
| Email Address | Maps a form field to update the user’s email or preserves the current value. |
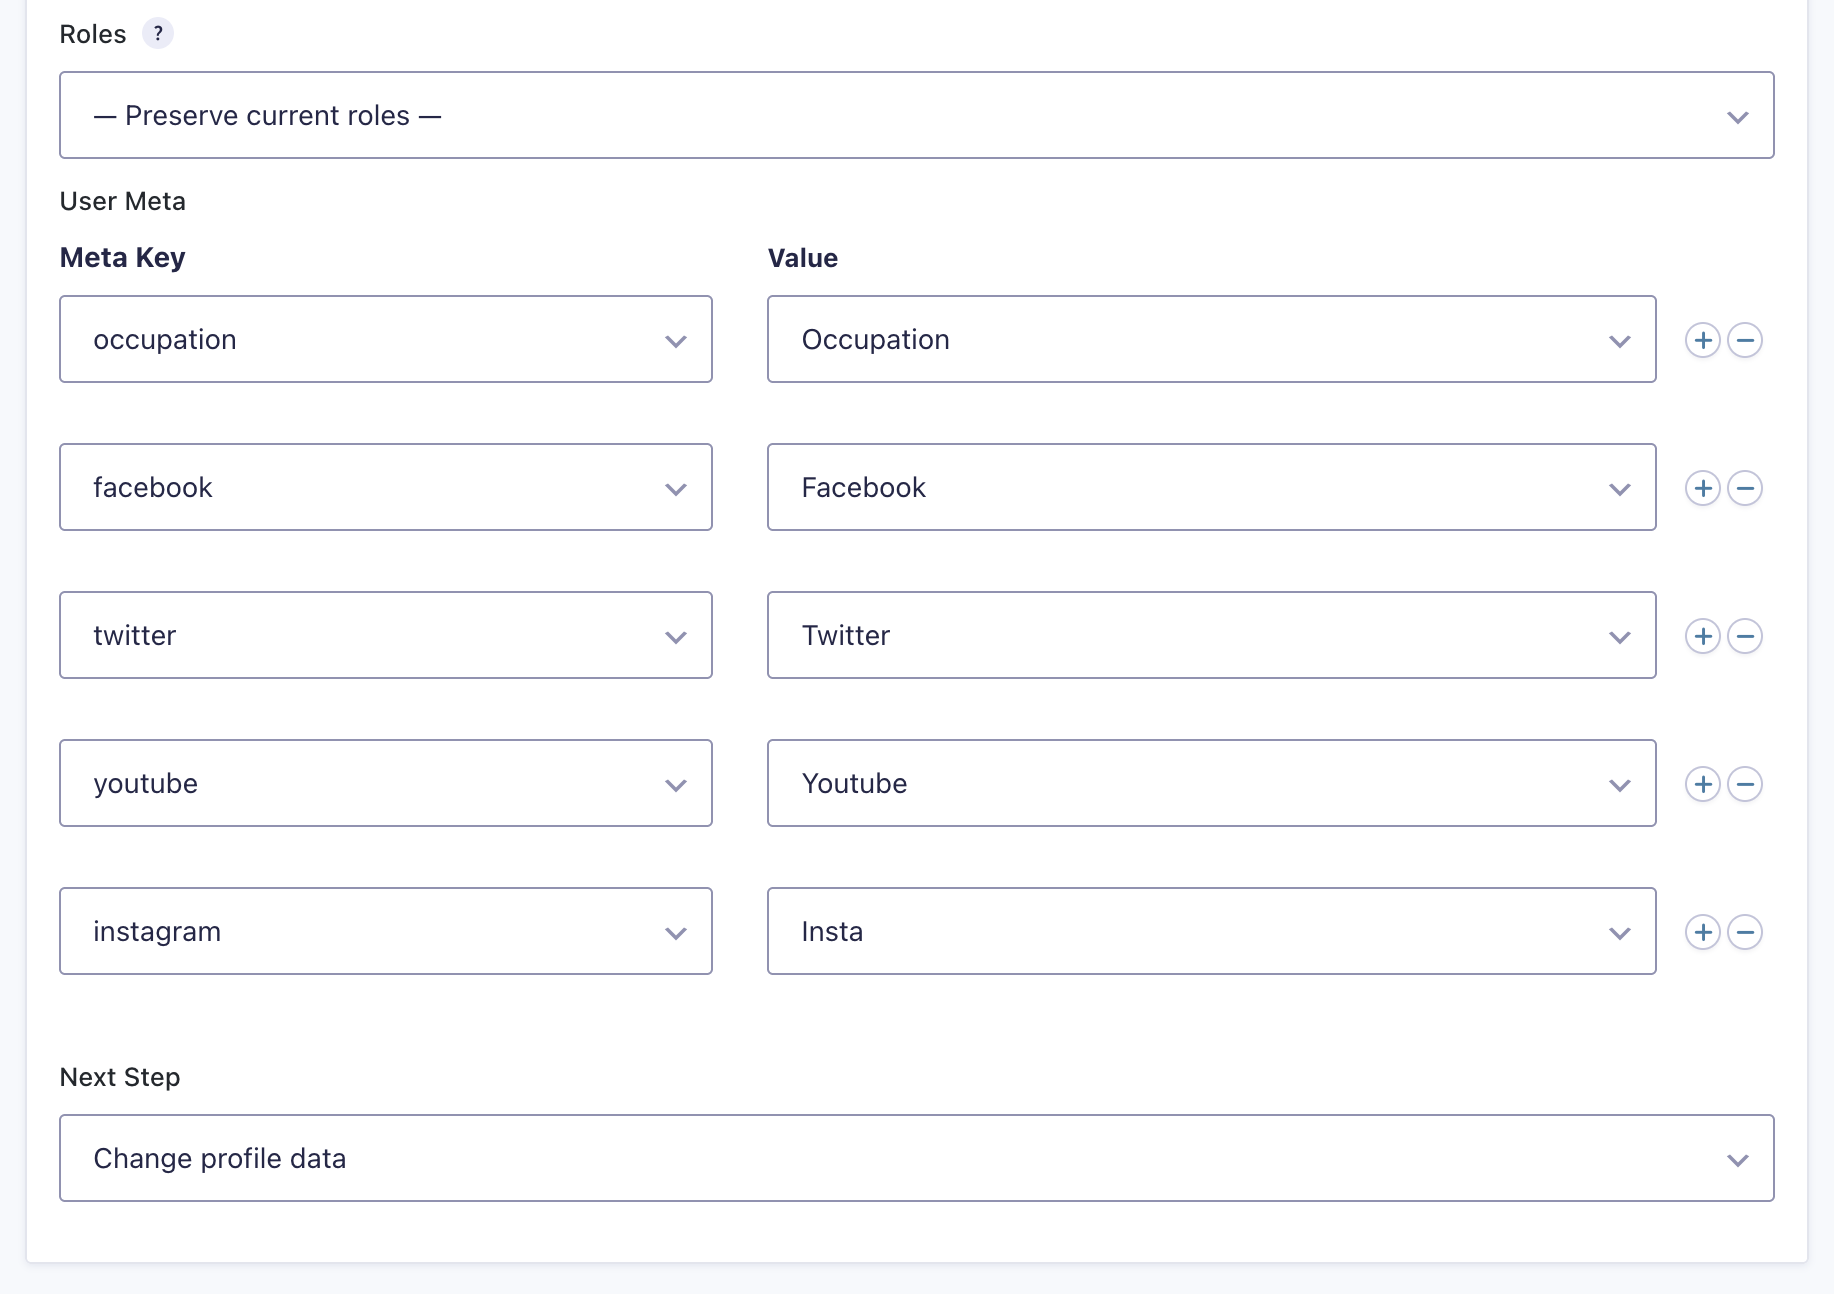
| Roles | Assigns user roles or preserves existing roles. |
| User Meta | Adds or updates user meta values by specifying a Meta Key and mapping it to a Value (form field). Multiple meta pairs can be added. |
| Next Step | Defines the next step in the workflow sequence. |