
Introduction
Many of the add-ons which Gravity Forms provides are based on feeds. With Gravity Flow active on your website, in addition to feeds being able to process a feed at the time of form submission, they can also be triggered as a step at any point in your workflow.
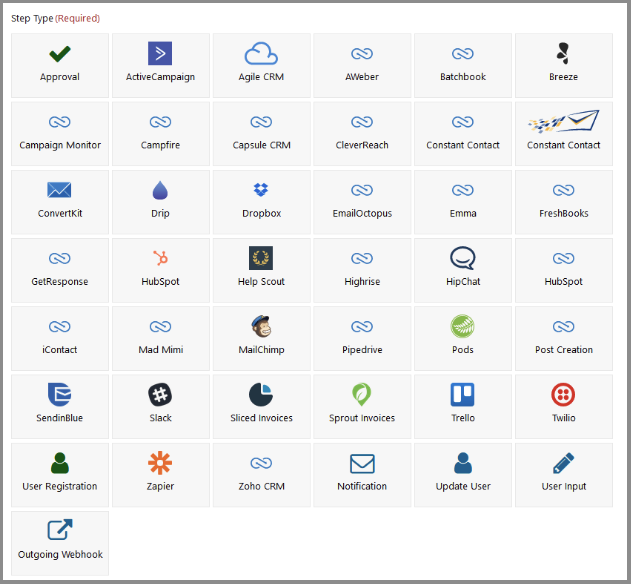
Gravity Forms has over 50 different feed-based add-ons covering a wide range of 3rd party systems which can generally be grouped into 3 types:
| Feed/Step Type | Details |
|---|---|
| External Feeds | Connects your form to an external site via an API key or unique identifier and allows you to map field data from the entry to the 3rd party system. The Gravity Flow steps for these feeds require no user interaction. |
| Payment Feeds | These follow a similar setup process to standard external feeds, but the payment focus brings additional data or integration options to your site. The Gravity Flow steps for them involve user interaction. In some cases, we have an entire extension dedicated to the depth of functionality and use cases they provide are covered in their extension documentation. |
| Internal Feeds | These trigger other activity within your WordPress site to do a wide variety of unique functionality. In fact, Gravity Flow is itself an example of a Feed Add-On. |
This documentation covers covers at least one feed of each type. The goal is to give you a good grasp of how Gravity Flow steps interact with that type of feed and confidence to set up any other feed of that type. Across the 3 types there are generally common setup activities you’ll be doing:
- Configure an API key or unique identifier that allows the external service to securely identify your submissions as coming from you.
- Identify the form you want to use to send the information.
- Map the form fields to the other add-on or service you want to populate.
A feed is like a notification that communicates information to an add-on or to an external service that the add-on integrates with each time a visitor successfully submits your form. Whereas a notification will fire an email off to a destination of your choice each time a Gravity Forms submission is completed, a “feed” is set-up within an add-on in order to define the way your form will notify the add-on (and potentially an external service) of a submission.
External add-ons Step Feeds
Gravity Forms offers a variety of external feed based add-ons to extend its functionality. In this guide, we will walk through setting up Slack and demonstrate how to trigger it as part of a workflow following an approval step.
Much of the content related to the Slack add-on and its feed configuration is based on the official Gravity Forms Guide for their Slack add-on. If you are working with other integrations, we recommend reviewing the available documentation for each Gravity Forms add-on.
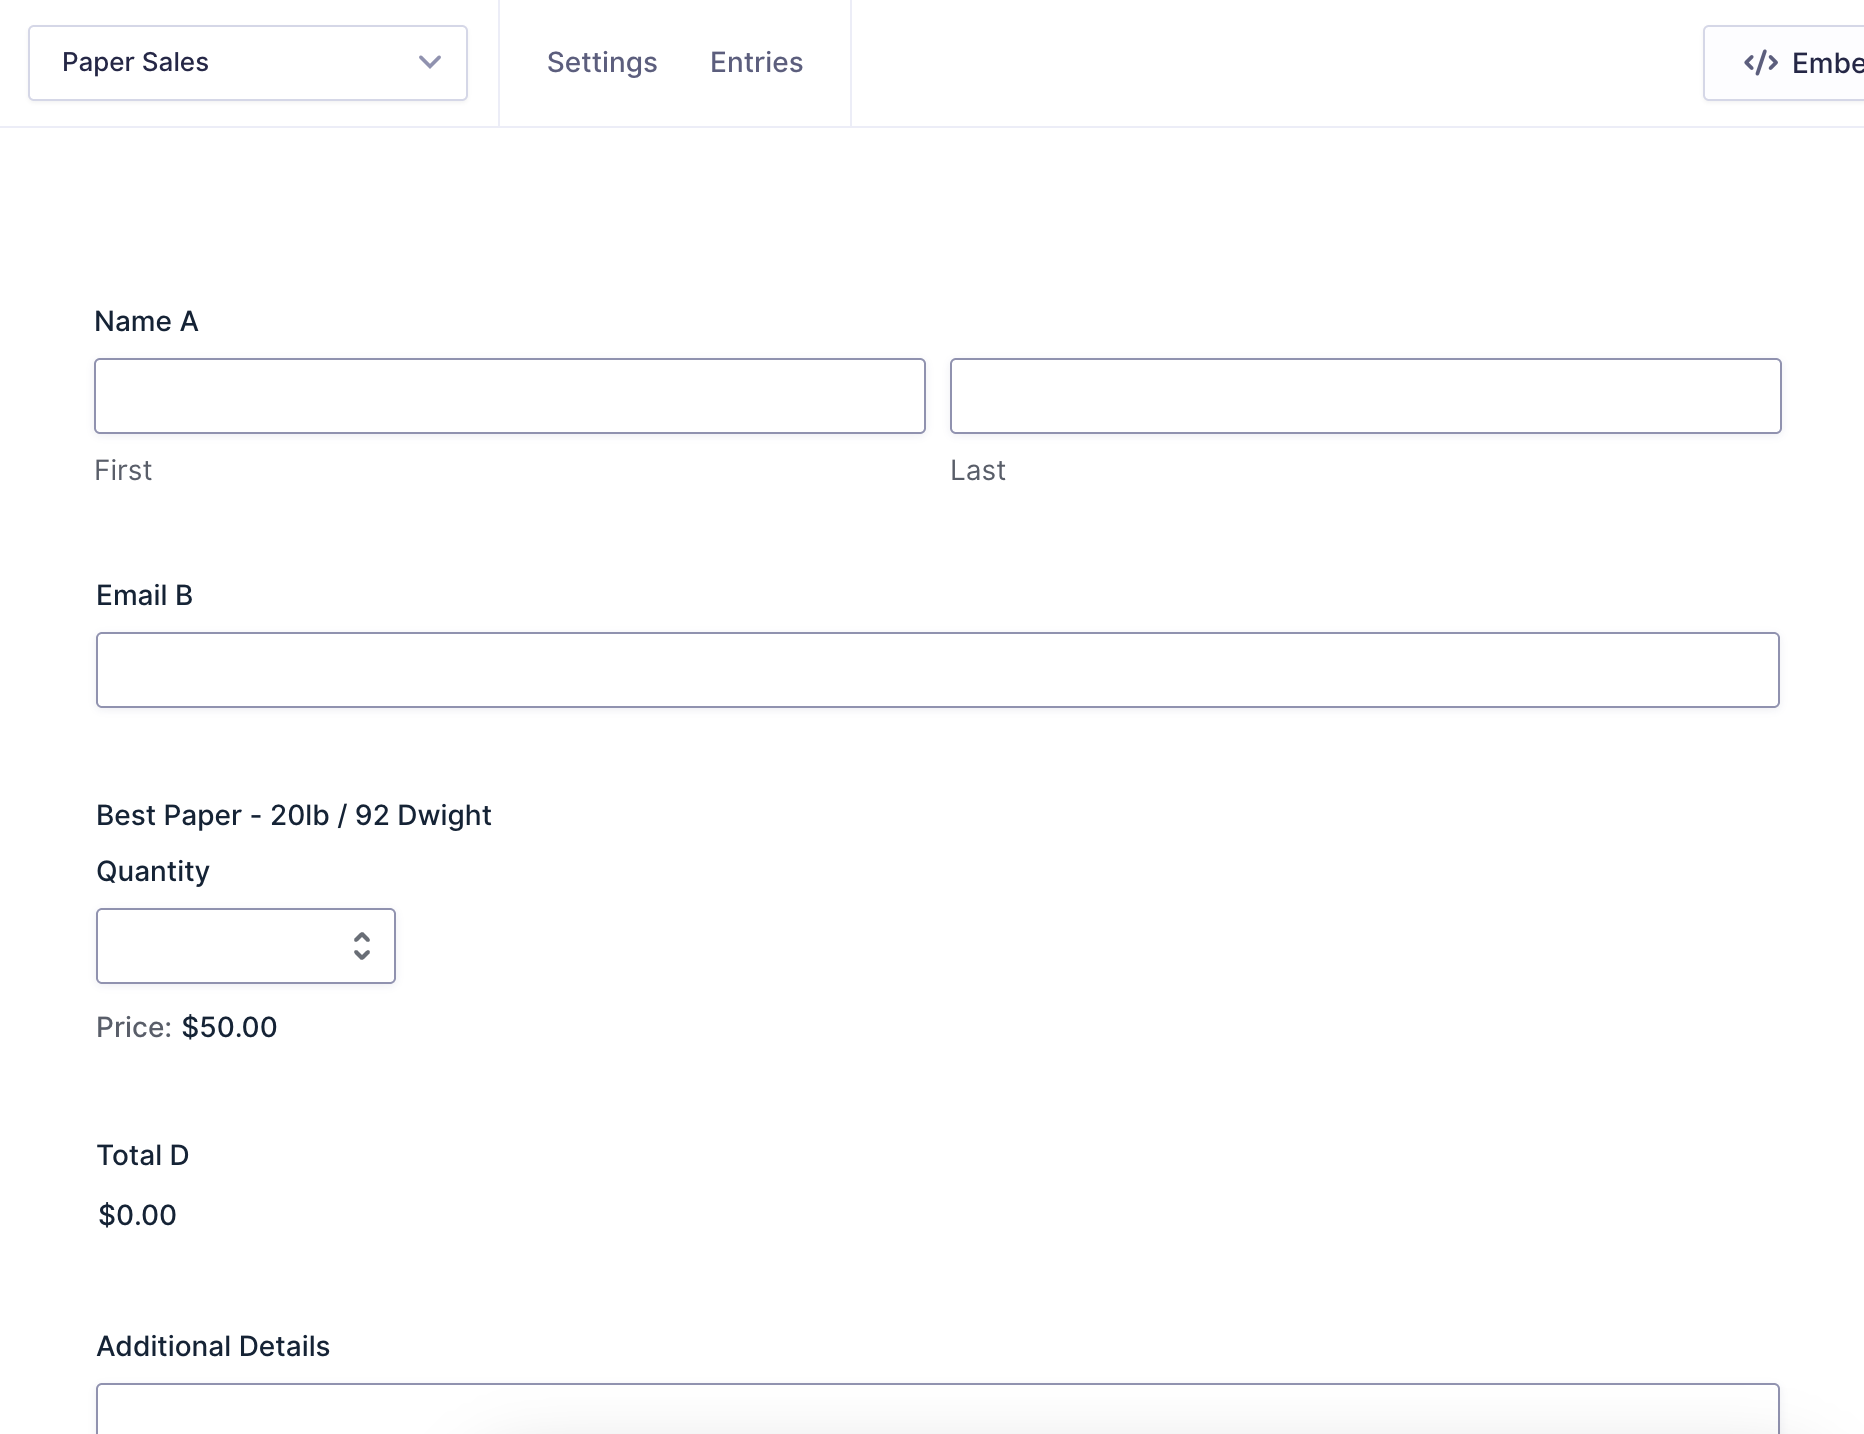
In this guide, we will create a cold-call sales form for the fictional paper company Dunder Mifflin. This form will be used to simulate a scenario in which the sales team’s Slack channel is notified whenever a high-value order request is approved. The form will contain five fields.
Prerequisites
Before proceeding, ensure that the Slack Add-On is installed, activated and authorized. Additionally, you must have an active Slack account.
Steps to Create the Form
- Create a new form.
Enter the form title as Paper Sales. - Add a Name field. Set the field to Required.
Add an Email field. Set the field to Required.
Add a Product field. Set the product label to “Best Paper – 20lb / 92 Dwight“. Set the price to $50. - Add a Total field to calculate the order total automatically.
- Add a Paragraph field.
Set the label to “Additional Details”. - Click the Update button in the upper-right corner to save the form.
Creating a Feed for the Slack Add-On
To create a feed to Slack using the Slack Add-On:
- Click on Forms in the left side menu.
- Select the form that you want to use with Slack.
- Once within your desired form, hover over Settings and click on Slack.
- Click Add New to create a new feed.
- You will be presented with the Slack feed settings screen where the following fields are available to populate
A feed Name is required. It is only used for identification.
An Action is required. Select Send Message to configure the feed to send a message inside Slack. - When Send Message is chosen as the Action, the following settings will display:
Send To: Based on your selection here, you will be able to send the triggered message to a channel, group, or individual. - Slack Channel: Select the specific channel, group, or individual that the message should be sent to. Use this drop down to select your desired destination.
The Message setting determines the content of the message that will be sent by the feed. Within this box, enter any text you would like to be within the message. This text area also supports the use of merge tags to dynamically generate content.
*Congratulations team!*
Our wonderful website has identified another potential paper order that is ready for one of our amazing sales associates to close. Please discuss who isn't so busy that they can take on the new customer and follow-up:

*Name:* {Name (First):1.3} {Name (Last):1.6}
*Email:* {Email:2}
*Request:* {Best Paper - 20 lb, 92 Dwight (Quantity):4.3} for {Total:5}
*Additional Details?*
{Additional Details?:6}

Creating the Slack Workflow Step
If the form were submitted at this stage, the Slack feed would execute immediately, sending a message to the designated Slack channel. However, to prevent potential misuse such as Jim attempting to interfere with Dwight, we will introduce an approval step for Michael before triggering the Slack notification for the sales team.
Gravity Flow automatically ensures that if your workflow contains a step associated with a feed, the default post-submission feed will not execute independently. This allows greater control over when integrations, such as Slack notifications, are triggered.
To add a Slack step to the workflow:
- From the Form Editor screen, navigate to Settings → Workflow.
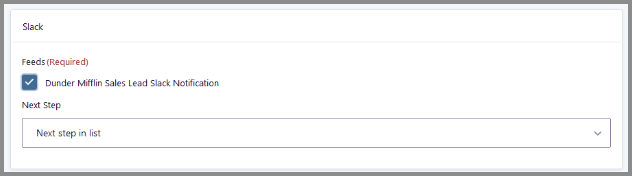
- Select Add New Step, and choose the Slack step type.
- Set the Step Name to ‘Notify Sales in Slack’.
- Select the Slack Feed that was configured earlier.
- Click the Update Step Settings button to save the step.
Once this is configured, any time Michael approves a form entry from his inbox, the entry timeline will reflect that the Slack notification has been successfully processed.

And the Slack channel paper-sales receives this cheeky notification if Michael doesn’t catch all of Jim’s funny names.

The feed type and what data you need mapped into it will obviously be very different for your use case. But hopefully you can see how standard external feeds are quite easy to set up as one step in a larger workflow. For new or small organizations, building an onboarding workflow that stitches together SAAS services can be a wonderful way to offer a seamless new customer experience.
Payment add-ons Step Feeds
Unlike the standard feed steps which will automatically be actioned when the workflow reaches them, a payment step requires additional user input. The way in which Gravity Forms supports (or each payment vendor requires) integration and user interaction has an impact on what the setup process for the feed or step looks like.
In each case, there is either a dedicated Gravity Flow extension dedicated to the Gravity Forms add-on (Stripe, Paypal), or the Gravity Flow Form Connector extension supports it via the Form Submission step
Each of these extensions has their own documentation that we recommend you review before setting up your form or workflow with it. Instead, we will use the Form Connector Extension and its’ Form Submission step type, to create seamless payment experience that any other form on your site could leverage.
About the Form Connector extension
The Form Connector extension allows Gravity Flow administrators to create steps at any point in a workflow that can interact with other forms either on the same installation or a different server. This includes the ability to delete entries, create new entries, update existing entries, complete an approval or user input step for an entry in a different form or wait for the submission of a different form.

A quick review of what the workflow will look like when we are done. The blue highlighted items are actually a second form for payments we will be setting up, but from the customer perspective the Form Connector Form Submission Step will make it a seamless experience.
Pre-Requisites
- Install + Activate Gravity Flow Form Connector Plugin
- Install + Activate Gravity Forms Paypal Checkouts Plugin
- Go to Paypal Developer Dashboard and create sandbox accounts for both merchant and consumer. Note the Email ID and generated password it provides for you for each as they will be used in your non-production/test environments.
- Follow the instructions from Gravity Forms PayPal Checkout Add-On with particular focus to setting up the Paypal Checkout Add-On to connect your Paypal Sandbox merchant account to your website.The portions related to creating a Paypal Checkout Compatible Form and Configuring a Feed for it will be covered briefly in context through the remainder of this lesson.
Create the Payment Form and Paypal Checkout Feed
The form will be similar to our original form – but with several of the common fields set to administrative as the form connector will populate them not the customer.
- On the left side navigation menu, hover over Forms and click on New Form.
- Give it a title of Paper Payments
- Press the Save button.
- Add a Name Field
- Set it to be required
- In the Advanced Field Settings set the visibility to Administrative
- Add an Email Field
- Set it to be required
- In the Advanced Field Settings set the visibility to Administrative
- Add an Address Field
- Set the Field Label to be ‘Shipping Address’
- Add a Product Field from the Pricing Fields
- Change the Field Type to Drop Down
- Set it to be required.
- Add the following choices
- “Best Paper – 20 lb” with a price of $50
- “Bester Paper – 50 lb” with a price of $75
- “Bestest Paper – 100 lb” with a price of $100
- Add a Quantity Field from the Pricing Fields
- Set it to be required
- Add a Shipping Field from the Pricing Fields
- Add a Total Field from the Pricing Fields
- Add a Paypal Field from the Pricing Fields
If you do not see the option, verify that the Paypal Checkout Add-on is installed/active.- Set it to be required
- Set it to only have Paypal Checkout as Supported Payment Methods
- Press the Update button in the upper right corner to save the form.
If you go to the Settings > Paypal Checkout menu, you will find that Gravity Forms has already created a Products and Services feed based on your inclusion of the Paypal field on the form. Verify that the following feed settings are associated and save the settings.
- Payment Amount = Form Total
- Billing First Name = Name (First)
- Billing Last Name = Name (Last)
- Billing Email = Email
Create a Page for the Payment Form
The Form Submission step will map in many of the details, but the customer will still be providing their data and the form requires a page in order to do so.
- On the left side navigation menu, hover over Pages and click on Add New
- Give the Page a Title of ‘Payment Form’
- Click the + at top of the page to open the block selector
- Type Gravity into the search box and select Form
- Click the ‘Select a Form’ dropdown and pick your saved form titled ‘Paper Payments’’
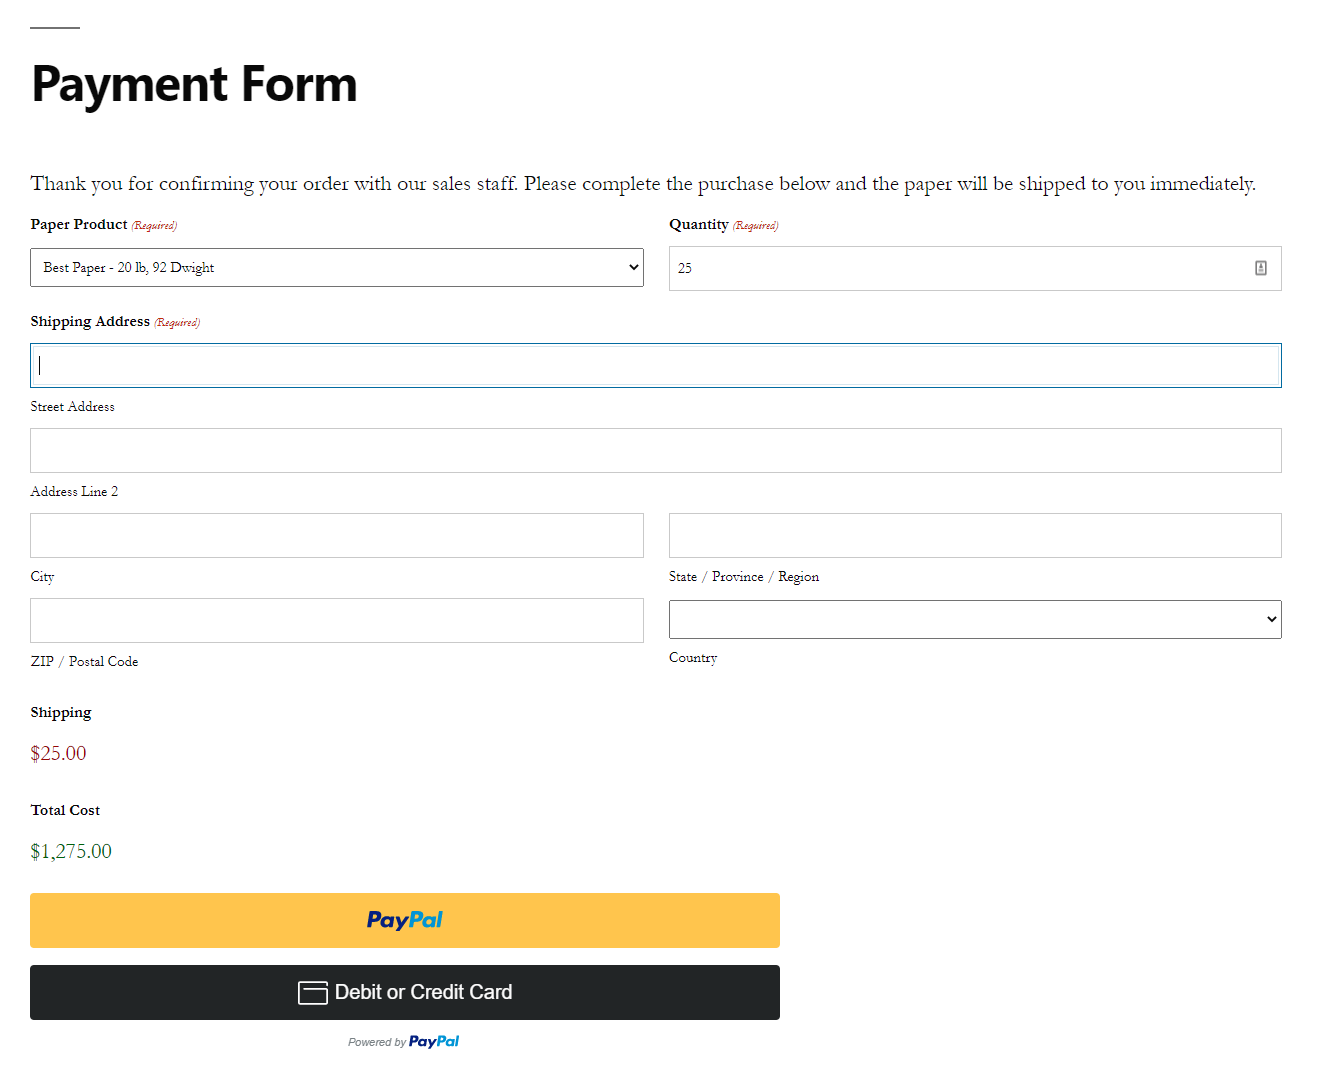
- The block will turn into a preview of the form with the non-administrative fields on display.
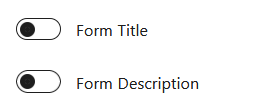
- On the right side under the Block settings tab turn the Form Title and Description sliders off.
- Publish your page from the link in the header of the block editor interface.
Create the Form Submission Step
With all that setup, we can now modify our existing Paper Sales forms’ workflow to add two new steps. The first will be a basic user input step that allows the sales team to contact the customer and confirm or upsell on their potential order. The latter will be the Form Connector Form Submission step that ensures the workflow will wait for the submission of our new payments form.
- On the left side navigation menu, click on Forms
- Hover over the ‘Paper Sales’ form and use the Settings dropdown to select Workflow
- Chose to Add a New Step to create the User Input step with the following settings
- Name: Close/Upsell the Sale
- Step Type: User Input
- Assign To: Select / Role of Sales
(or in your local environment whatever role is appropriate to allow you to test) - Editable Fields – Best Paper – 20lb, 92 Dwight and Total
- Assignee Policy – Only one assignee is required to complete the step
- Emails – Deactivate the default assignee email
(The slack notification already informed the sales team) - Press the Update Step Settings button
- Use the ‘Add Another Step’ link to create the Form Submission Step.
- Name: Customer Payment
- Assign To: Email Field
- The Assignee email is critical b/c email based assignees do not have an inbox to view steps assigned to them.
- From Name – Dunder Mifflin
- Subject – Confirm your Paper Purchase with Payment
- Message:
[Tooltip for copy paste – your field IDs in the merge tags may be slightly different depending on order of field creation]
{workflow_form_submission_link: text=”Please submit the following form to complete your purchase!”}
Order Summary:
Product:{Best Paper – 20 lb, 92 Dwight (Name):4.1}
Price:{Best Paper – 20 lb, 92 Dwight (Price):4.2}
Quantity: {Best Paper – 20 lb, 92 Dwight (Quantity):4.3}
Subtotal: {Total:5}
- Form – Paper Payments
- Submission Page – Payment Form
- Field Mapping
- Name (Full) / Name (Full)
- Email / Email
- Paper Product / Best Paper – 20 lb, 92 Dwight (Name)
- Quantity / Best Paper – 20 lb, 92 Dwight (Quantity)
- Press the Update Step Settings button
When the workflow gets to the Form Submission step, it uses the Form and Submission Page settings to generate the {workflow_form_submission_link} merge tag with a secure token that is unique to the entry and email field to provide payment. From the customer’s perspective:
- They submitted the original form
- A sales staff followed up with them to confirm details about their order.
- They received an email with a link to take them directly to provide payment for their order through Paypal.
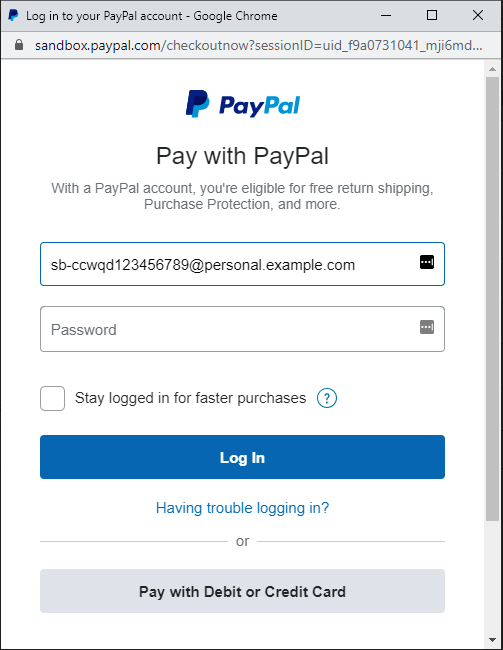
- When they click on the Paypal option it opens a secure link for them to select their payment details. Note that with your Paypal sandbox account used to set up the add-on, only your test consumer user/password will work to complete the step.
- Until the Form Submission (Payment Form) step is complete, the workflow will not proceed.
[Tooltip – While the approach for each payment feed add-on for Gravity Forms will have slight differences, creating a Form Submission step as a part of your workflow with the Gravity Flow Form Connector extension would be quite similar to the above. Be sure to check out our online documentation that goes into more detail until the full course is available.]
Internal add-ons Step Feeds
The last type of Gravity Forms feed add-ons which Gravity Flow provides native step type support for are ones which lead to data within your WordPress site being created/updated. They require comparatively little setup in contrast to some of the examples this lesson has gone in depth on.
Advanced Post Creation (APC)
This add-on enables you to convert a form submission into a blog post. After setting up the add-on and creating an APC feed to define how the form entry data should map into the potential blog post, you can create a Post Creation step type. The only step setting unique is to select the specific APC Feed the step should execute.

Any business/use cases involving guest authors or paid-article submissions would find this step type of particular use as you could coordinate topic outline, payment(s) and content review before the draft post gets created for final edits and layout tweaks.
Partial Entries
The Partial Entries Add-On for Gravity Forms allows you to capture user input before the form is fully submitted. This can be quite helpful in identifying where users may be abandoning your form or making offers to encourage their completion. Gravity Flow integrates with this to optionally allow workflows to start when a partial entry is created. This integration can be used to create a sequence of emails that is triggered after a form submission has been abandoned.
For details related to setting up a partial entry step refer to our documentation setup guide for it.